Last updated November 18, 2026


Free written scope consultation - allowances, timeline, and change-order rules on paper before a single trade is scheduled
Driveway & Pavers Troubleshooting: Common Problems and How to Fix Them
Replacing a single sunken paver costs about $12 – $40 in materials. Failing to find and fix the drainage channel that caused it costs $1,500 – $4,000 when the same section fails again after the next rain event. That gap is the whole story of paver troubleshooting. The problems you can see from the sidewalk – a rocking stone, a dipped section, a weed running through a joint – are surface evidence of something that started failing underground, usually months before it showed up. Fix the symptom and you buy yourself one good season. Diagnose the cause and the repair holds. This guide covers how to tell a base failure from a root intrusion from an edge problem, what the tap test actually tells you, and the documentation to collect before you call anyone in Santa Ana.
Quick Answer
Most driveway and paver problems fall into three categories: base and compaction failures (gradual, pattern-shaped depressions), water and drainage failures (joint sand washing out, efflorescence, weed lines), and edge or restraint failures (pavers spreading or fanning at the margins). The repair depends entirely on which one you have. Surface fixes like re-sanding or replacing a single unit only last when the underlying base and grading are sound. When they’re not, the same spot fails again within two seasons.
Styles & brands we work with
- Kitchen remodeling
- Bathroom remodeling
- Home additions & ADU
- Roofing
- Windows & doors
- Driveway & pavers
- Fence
Table of Contents
- How to tell the three failure types apart
- The tap test: reading voids under the surface
- Joint sand, polymeric sand, and when re-application works
- Efflorescence and Southern California water chemistry
- Drainage and grading: the root cause behind most repeat failures
- What to document before you call a contractor
- What paver repairs cost in Santa Ana
How to Tell the Three Failure Types Apart
Before you touch anything, look at the shape of the problem. The geometry of the failure points to the cause faster than anything else.
Base compaction failure. The depression is gradual and follows the paver pattern rather than crossing it. You’ll see a shallow bowl where several courses sink together, often near a driveway apron or where a vehicle parks repeatedly. The joints stay tight because the pavers are moving as a mat, not individually. This is the most common cause of a “sunken driveway” in Santa Ana, and it means the aggregate base wasn’t compacted in lifts or was too thin for the load.
Tree root intrusion. The lift is irregular and ridge-shaped, and it follows a line. Roots from a ficus or a mature ash will travel under a driveway from 10 to 20 feet away. You’ll see pavers pushed up in a jagged ridge, and the tenting typically changes with the season as the root grows. The joint pattern breaks apart because individual units are being levered upward.
Edge restraint failure. Look at the outer margins. If the pavers are fanning outward – spreading at the border, joints opening in a wedge shape – the edge restraint has failed. This is an aluminum or plastic edge that’s anchored into the subgrade to hold the field in compression. UV exposure, poor spike depth, or a subgrade that settles all break it. Once it lets go, the whole outer course moves.
Our technicians have up to 19 years of experience, and the pattern distinction is the first thing they check on a diagnostic visit. It determines whether the fix is a spot repair, a root cut and base rebuild, or a re-anchor of the edge.
The Tap Test: Reading Voids Under the Surface
The tap test is the simplest diagnostic there is, and it tells you where the bedding layer has failed. You need a rubber mallet and a systematic walk.
- Walk the pattern in a grid, tap each paver with a rubber mallet, and listen. Solid pavers make a tight, dead sound. Hollow pavers make a resonant, ringing sound.
- Mark every hollow paver with painter’s tape. A single hollow unit might be a bridging issue. A cluster of them means a void in the bedding sand.
- Walk the perimeter next. Hollow margins usually mean sand loss at the edge, which often traces back to an edge restraint failure.
- Test the same spot after a heavy rain. If it hollows out further, water is actively washing the bedding layer through an unsealed joint or open edge.
A hollow cluster near a downspout or driveway apron is a drainage reach problem, not a compaction problem. Hollow pavers across an entire parking area usually mean the bedding layer was too thin or had been washed out over years of runoff.
If the tap test reveals widespread voids, patching a few units is wasted money. Call Driveway & Pavers in Santa Ana for a diagnostic before you spend anything on materials.
Joint Sand, Polymeric Sand, and When Re-Application Works
Polymeric sand looks like it’s failing when it’s actually doing its job, and vice versa. The distinction matters because re-application is a $200 – $600 job that works, or a $200 – $600 job that fails in one season.
Polymeric sand is a joint sand with a binder that cures hard when wet. It’s meant to lock the joints, shed water, and prevent weed growth. When it’s intact, joints look uniform and the surface drains off. When it’s washing out, you’ll see channels, bare joints in a line, and weeds growing along the same line. That particular pattern – sand gone in streaks, not across the whole surface – is the tell.
Re-application is sufficient when the sand has worn out from UV, foot traffic, and time, and the joints are otherwise sound. It’s not sufficient when the sand is washing out in channels because the surface is graded toward the joint instead of off the driveway. In that case, adding sand gives you a failure that comes back after the next Santa Ana winter rain. The grading has to be corrected first, and that can mean re-screeding a section or adding a channel drain.
A quick test: pour a cup of water on the surface mid-slope. If it runs toward a joint and disappears, you have a grading problem, not a sand problem. If it beads and runs off, the sand is fine.
Efflorescence and Southern California Water Chemistry
Efflorescence is that white, chalky haze that shows up on concrete pavers after rain or irrigation. Underneath, it’s a mineral deposit. Portland cement in the paver carries calcium hydroxide that migrates to the surface with water, then reacts with CO2 to form calcium carbonate. The water is the delivery vehicle, and in Southern California, the water itself matters.
Santa Ana and much of Orange County get imported water with moderate to high mineral content, and local wells contribute calcium and magnesium. That water chemistry feeds efflorescence faster than the soft rainwater in cooler climates. Add irrigation overspray or a downspout that dumps onto the paver surface, and you’ll see white haze within a single season.
Cleaning it correctly:
- Use a proprietary efflorescence cleaner designed for concrete pavers, diluted per the label. Never use muriatic acid on a colored paver – it etches the surface layer and leaves a permanent dull patch.
- Wet the pavers before applying, let the cleaner dwell, and scrub with a stiff synthetic brush.
- Rinse thoroughly and let dry. If the haze returns within a month, it’s still migrating, not just a leftover deposit.
- Address the source – redirect irrigation or downspouts so water stops leaving deposits.
If the white haze is actually a mineral bloom that’s been sealed in, a professional can re-surface or strip the sealer. Call (833) 853-5955 to talk through the diagnosis with our crew.
Drainage and Grading: The Root Cause Behind Most Repeat Failures
Every paver repair we do in Santa Ana starts with the same question: where does the water go? A driveway that sheds water off toward the street is a driveway that stays together. A driveway that ponds, or drains to the joint instead of off the surface, is a paver failure waiting to happen.
The reliable signs of a drainage failure:
- Ponding in the middle or near a low edge that stays for hours after rain.
- Sand washed out along a single joint line or at the border.
- A hollow sound across a defined low spot (from the tap test).
- Efflorescence concentrating in one area rather than across the whole driveway.
- Weeds growing in a line that follows a water course.
The repair depends on the severity. For a shallow grading problem, re-screeding the bedding layer to a 1 – 2% slope away from the structure is enough. For a flat or negative slope, you’re adding a channel drain or a trench drain at the low point. In older Santa Ana neighborhoods where driveway aprons reach the sidewalk at a fixed grade, the low point is often already decided by the street, and the fix is a drain at the apron.
This is the same principle we apply on fence installation in Santa Ana – the post footing, the drainage, the whole system holds or fails together. If the base isn’t right, the surface doesn’t last.
What to Document Before You Call a Contractor
The single most valuable thing you can hand a contractor is a record. It shortens diagnosis and it protects you if a repair fails later. Collect:
- Timestamped photos across seasons. A photo of the problem in July and the same spot after a December rain tells a contractor whether the problem is progressive.
- Original installation paperwork if you have it – the installer, the material brands, and any warranties. If the driveway is under warranty, the paperwork decides who pays for the fix.
- Water meter readings to rule out a subsurface irrigation leak. Take a reading with every appliance and hose off, wait two hours, and read again. A meter that moves means water is going somewhere.
- Drainage observations. Where water ponds, where it exits, and whether a downspout or irrigation head is dumping onto the pavers.
- The tap test map. Photograph the tape marks you laid down during the tap test.
Bring this to any estimate. Our crew documents every visit with a photo record as a standard deliverable – what we found, what we recommend, what it costs. If you’re weighing a competitor’s number, we offer a free second opinion on any written estimate, reviewed line by line.
What Paver Repairs Cost in Santa Ana
Ranges depend on scope, but the numbers below reflect what we’ve seen on Santa Ana driveways. They’re a starting point for your estimate conversation, not a bid.
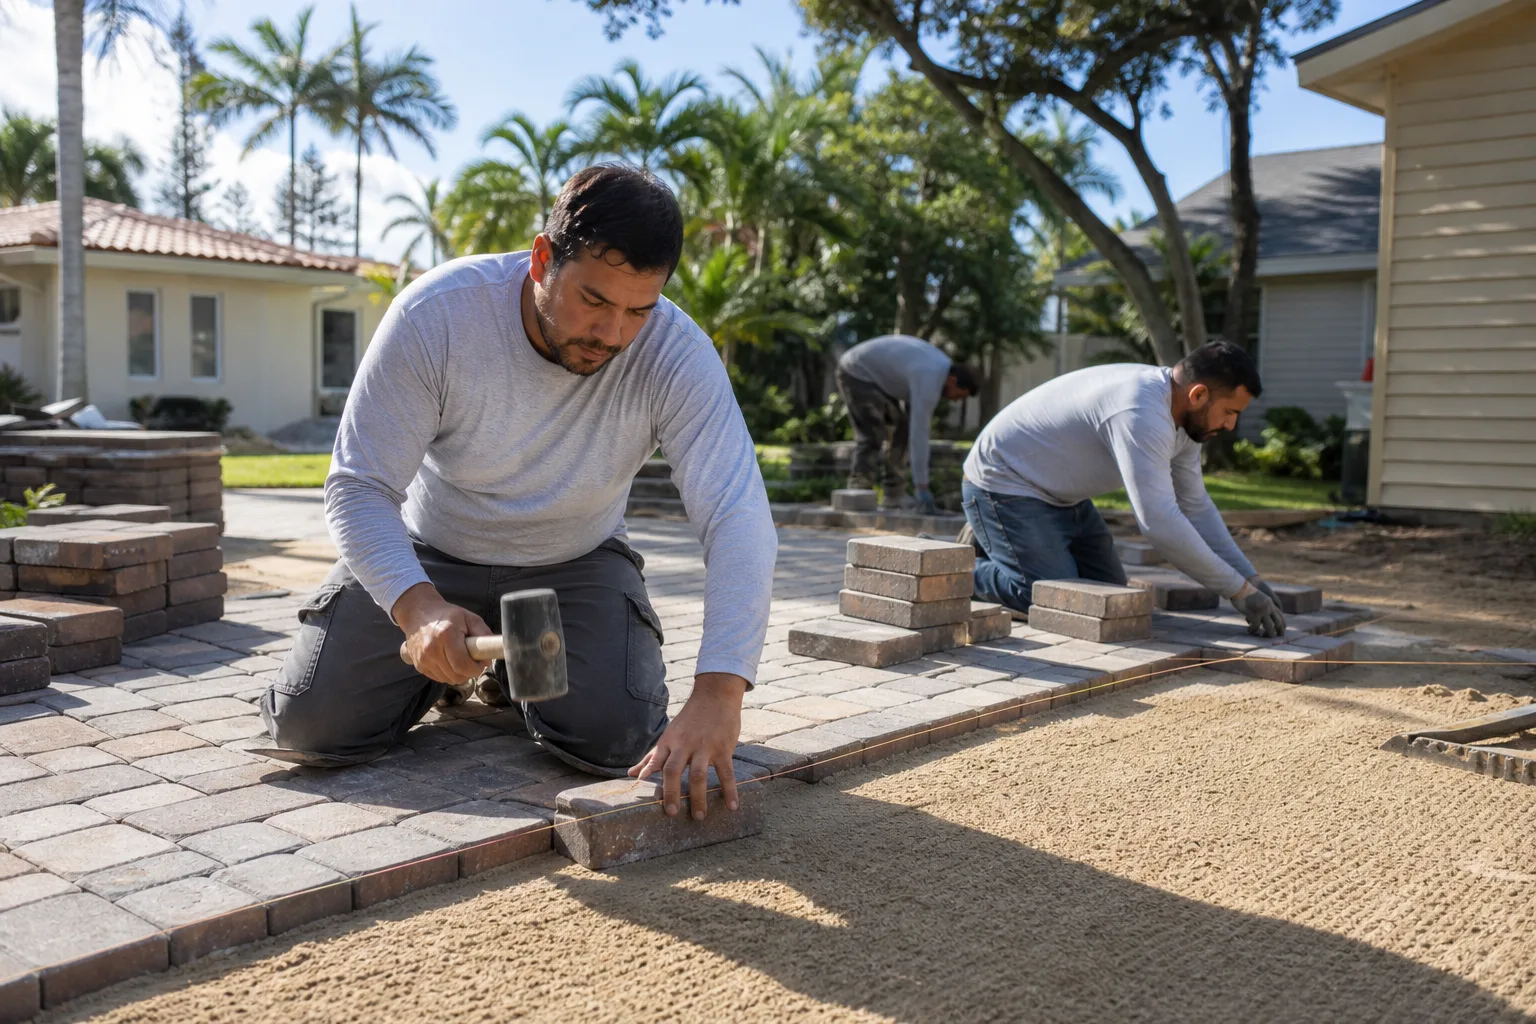
- Single paver replacement: $12 – $40 in materials; $150 – $300 installed, one unit.
- Joint sand / polymeric sand re-application: $200 – $600 for a standard two-car driveway.
- Efflorescence cleaning: $150 – $450 depending on area and severity.
- Edge restraint re-anchor and reset: $400 – $1,200 for a driveway perimeter.
- Section reset with re-screed and re-sand: $600 – $1,800 for a 100 – 300 sq ft section.
- Drainage correction with channel drain: $800 – $2,400 depending on run length and connection.
- Full driveway replacement (context): $12 – $20 per sq ft installed; a two-car driveway in Santa Ana lands $9,500 – $16,000.
Fixing the visible symptom without the cause is the $200 fix that becomes the $1,500 – $4,000 repeat. Our written price is a flat number with a written scope before anyone picks up a tool. No change proceeds without a signed change order, and our 365-Day Done Right Promise backs the repair for a full year.
Common Mistakes to Avoid
- Replacing one paver without tapping its neighbors. If the surrounding six are hollow, the replacement paver will go hollow within one season.
- Re-sanding without checking the grade. A channel-washed joint refilled and left on the same slope will wash out again in the first Santa Ana rain.
- Using muriatic acid on colored pavers. It etches through the color layer. Use a proprietary paver cleaner.
- Cutting a tree root without a replacement plan. Removing the root causes the tree to sink (and can destabilize it). Cut, but plan a barrier, or you’ll be back with the same ridge in two years.
- Setting an edge restraint with short or missing spikes. A misplaced spike on a 1-inch subgrade lets the whole outer course move. Set spikes to the manufacturer’s depth, in the specified pattern.
- Ignoring downspout placement. A downspout routed onto the drivewall in a Santa Ana tract home is a drainage correction waiting to happen. Redirect before you re-sand.
- Assuming a puddle is a “grading issue” without a water meter check. A subsurface irrigation leak mimics a drainage problem exactly. Check the meter first.
See the difference
 Before
 After
 Before
 After
 Before
 After
When to Call a Professional
Call a professional when the tap test shows hollows across a section larger than a few units, when pavers are tenting in a ridge pattern (root intrusion), when the edge restraint has visibly failed, or when joint sand is washing out in channels rather than by surface wear. Also call when you can’t find the source of an efflorescence bloom that keeps returning after cleaning. And call when the driveway is more than 15 years old and showing widespread settling – that’s a base failure, not a repair.
If you’re planning a larger project – a new driveway, a hardscape, or an addition that needs a proper paver apron – start with the Rowan Construction Group Santa Ana home page. If the driveway is part of a bigger plan, see our home additions and ADU in Santa Ana services, where the apron, the drainage, and the structure have to be planned together. Rowan Construction Group Santa Ana offers free estimates in Santa Ana – call (833) 853-5955.
Frequently Asked Questions
Most single-paver resets run $150 – $300 installed, but that only holds if the surrounding bedding is sound. If the tap test shows a hollow cluster, the real cost is a section reset at $600 – $1,800. Call (833) 853-5955 for a diagnostic and a written price – estimates are free.
Polymeric sand stops weeds when it’s intact and the joints are sound. It doesn’t stop weeds when the joint is washing out due to a grade problem – the weeds follow the water, and the sand is gone. Fix the grade, then re-sand.
That’s efflorescence, a calcium carbonate deposit carried to the surface by water. In Santa Ana’s climate, imported water with higher mineral content feeds it, and irrigation overspray accelerates it. A proprietary efflorescence cleaner removes it without etching the paver face. Muriatic acid on colored pavers causes permanent damage – don’t use it.
Yes, for section-level failures. A section reset means removing a defined area, re-screeding the bedding layer, re-compacting the base, and resetting the field with re-sanded joints. A full removal is only necessary when the base is compromised across the whole drive or the edge restraint has failed on multiple sides.
The lift pattern is a tell. A root ridge is irregular and follows a line; a base compaction failure is a graduated bowl that follows the paver pattern. Root ridges also tend to grow over years and shift with the season. If you see a ridge, call for a diagnostic before cutting – the fix depends on the tree species and its root structure.
Minor paver repair typically does not require a permit. Work that involves regrading toward the street, altering a driveway apron at the right-of-way, or replacing a full driveway can require a permit and inspection. The scope, not the size, decides. Ask the contractor to confirm permit requirements in writing before work starts.
The Bottom Line
Most paver problems trace to three causes – base compaction, drainage, or edge restraint – and the shape of the failure tells you which. Diagnose before you repair. Tap the surface, check the grade, look at the edges, and if you’re not sure, document everything and get a second opinion. The $200 symptom fix and the $2,000 cause fix look the same on the invoice, but only one holds through the next Santa Ana rainy season. A written price, a written scope, and a documented record are the difference between a repair and a repeat. Call Rowan Construction Group Santa Ana at (833) 853-5955 to schedule your free estimate.
Written by the team at Rowan Construction Group Santa Ana.