Last updated November 18, 2026






Free written scope consultation - allowances, timeline, and change-order rules on paper before a single trade is scheduled
Bathroom Remodeling Warning Signs Every Homeowner Should Know
A soft spot in a bathroom floor within 12 inches of the toilet base is almost never a flooring problem. It’s a wax ring failure that has been migrating moisture into the subfloor, potentially for years. We’ve pulled up tile in Santa Ana homes where the subfloor had gone from solid plywood to something closer to wet cardboard, and the homeowner’s first clue was one slightly springy step near the toilet. By then the repair had already climbed into four figures. This guide maps the physical symptoms you can see and smell to the failures happening underneath, with current Santa Ana repair cost ranges so you can decide whether to grab a tube of caulk or call someone before the weekend.
Quick Answer
Bathroom remodeling warning signs are physical symptoms that point to a hidden failure: white mineral crust around a faucet base means a slow supply-line seep, bubbling paint above the tile line means failed caulk letting steam into the wall cavity, and a musty smell with no visible mold means moisture trapped behind the backer board. The earlier you read these signs, the smaller the bill. A wax ring replacement runs $150 – $250 caught early; once the subfloor rots, you’re looking at $800 – $2,400. Most five-figure bathroom repairs we see in Santa Ana were visible 12 to 18 months earlier as something a homeowner ignored.
Styles & brands we work with
- Kitchen remodeling
- Bathroom remodeling
- Home additions & ADU
- Roofing
- Windows & doors
- Driveway & pavers
- Fence
Table of Contents
- The Symptom-to-Cause Map
- Repair Costs: Caught Early vs. Caught Late
- Warning Signs That Are Contractor-Made
- What to Document Before You Call Anyone
- DIY vs. Licensed Contractor: Where the Line Is
- Santa Ana Conditions That Speed Up the Damage
- A 10-Step Inspection You Can Do This Weekend
The Symptom-to-Cause Map
Most homeowners describe what they see. A knowledgeable eye reads what it means. Here’s how we translate the common complaints we hear from Santa Ana homeowners into the underlying failure, so you can do the same reading in your own bathroom.
- White mineral crust around a faucet base or supply-line escutcheon. That crust is calcium and mineral residue from water that has been weeping, not gushing. A pinhole leak or loose compression fitting on the supply line leaves a tiny deposit each day, and over a year it grows into a visible ring. The wood behind the drywall at that point is usually damp. Caught at the ring stage, tightening or replacing the fitting solves it. Caught after the cabinet bottom swells, you’re into cabinet repair.
- Bubbling or peeling paint above the tile line. Latex paint lifts off a damp substrate. The most common cause is a failed caulk joint at the tub or shower surround, which lets steam into the wall cavity every time someone showers. The paint is the messenger; the caulk joint is the problem. In Santa Ana’s dry climate this can take longer to show than in damper regions, which is exactly why homeowners miss it.
- A musty smell with no visible mold. Smell travels through gaps; mold doesn’t always grow where you can see it. A persistent musty odor in a bathroom with no visible growth usually means moisture is sitting behind the backer board, often at a shower wall or beside the tub. Cement backer board resists water but isn’t a membrane; if the waterproofing behind it was never done right, the cavity stays damp.
- A soft spot near the toilet base. The classic wax ring failure. The wax seal between the toilet and the flange compresses over time and eventually loses its seal, letting a small amount of water escape with every flush. It travels under the tile and into the subfloor. By the time the floor feels soft, the wood has been wet for a while.
- Grout turning dark or crumbling at floor joints. Grout is porous. Dark lines mean water is getting behind the tile, and crumbling grout means the substrate underneath has been moving, often because it has swelled or shrunk with moisture. Re-grouting a surface with active moisture behind it just hides the problem for a season.
- Loose or hollow-sounding tile. Tap a tile with the back of a screwdriver handle. A tile that sounds hollow has lost its bond to the thinset, usually because the substrate shifted. In a floor, that’s a sign the subfloor underneath has taken on water or is failing structurally.
The pattern to notice: nearly every visible symptom is downstream of a plumbing or waterproofing failure that started earlier and somewhere less visible. If you’re planning a larger project, the same diagnostic eye applies to bathroom and home construction work across Santa Ana, where a moisture problem found before demolition saves the most money.
Repair Costs: Caught Early vs. Caught Late
The gap between early and late is the argument for paying attention. Here are the ranges we see at current Santa Ana labor rates, split by how soon the symptom gets addressed. These are repair figures, not full remodel numbers.
| Warning Sign | Caught Early | Caught Late |
|---|---|---|
| Wax ring / toilet seal | $150 – $250 (ring and reset) | $800 – $2,400 (subfloor section replacement) |
| Supply-line seep at faucet | $90 – $180 (fitting or line) | $400 – $1,200 (vanity bottom, drywall) |
| Failed caulk at tub surround | $40 – $120 (recaulk, seal) | $600 – $1,800 (backer board and wall cavity) |
| Crumbling grout at floor | $150 – $400 (re-grout) | $900 – $2,600 (tile and membrane) |
| Musty smell, no visible mold | $250 – $500 (find and seal source) | $1,500 – $5,000+ (mold remediation and rebuild) |
The pattern is consistent. Catching the wax ring failure in the first month is a $150 – $250 job even at Santa Ana rates. Waiting until the floor gives is a subfloor replacement, and if the toilet flange or the framing under it has been compromised, it climbs further. Same failure, different timing, tenfold difference in cost. The math on a moisture meter and a weekend of looking is good.
This is the same logic that applies to the bigger projects around the house. A driveway or paver surface that’s failing at the edge is a smaller fix than one that’s heaved out of grade, which is why the crew at our Driveway & Pavers service in Santa Ana prefers to quote the small fix early. A fence post that’s leaning is a $40 post replacement, not a whole-run rebuild.
Warning Signs That Are Contractor-Made
Not every failing joint is normal wear. Some are the signature of shoddy work, and homeowners deserve to know the difference before they blame themselves or the age of the house. These are the patterns that usually point back to whoever did the last job.
- Caulk that failed within two years. Correctly applied 100% silicone over a clean, dry joint lasts a decade or more. Caulk that shrinks, cracks, or pulls away in a year or two was likely applied over a damp or dirty surface, or was the wrong product. GE Silicone II is the standard for tub and shower joints; a cheap latex caulk in the same spot is a tell.
- Grout cracking in straight lines along tile edges. Uniform cracking along every edge of a shower floor usually means the substrate wasn’t rigid enough, or the tile was set without movement joints. That’s a workmanship issue, not a wear issue.
- A shower pan that flexes underfoot. Step into the shower and feel the pan move. A properly built pan shouldn’t flex at all. Flexing means the mortar bed underneath wasn’t done right, which often means the waterproof membrane beneath it is also suspect.
- Waterproofing you can see because there isn’t any. If the backer board behind a tile in a wet area is standard drywall, or if you can see no red or blue waterproofing layer behind it during a small repair, that’s a shortcut. It’s the single most common builder error we find.
- Vent or pipe penetrations sealed with painter’s caulk. Any penetration through a shower wall or floor needs the right sealant. Painter’s caulk is for trim, not for a wet area. If the sealant around a shower valve or a pipe stub has already failed, it wasn’t the right product.
If the symptom is contractor-made, gather the original contract and invoices before you call anyone new. The original installer may be responsible, and in Santa Ana a written scope and a named schedule can support a warranty claim or a small-claims action. Our fence installation service in Santa Ana uses the same reasoning: any post that leans within a year was set wrong, and the contractor should be back to fix it.
What to Document Before You Call Anyone
The clock on a symptom matters. When did the stain first appear? When did the grout start crumbling? That date drives warranty coverage, insurance decisions, and sometimes the difference between who pays. Gather this before the first call.
- Photos with dates. A phone photo of the mineral crust around a faucet, taken with date stamp visible, does more than a description. Take a wide shot and a close-up. If a stain grows, photograph it again on the same date each month.
- A short written timeline. Note when each symptom first appeared, in a notebook or a document. “Cracked grout noticed March; soft spot near toilet noticed July” tells a much clearer story than trying to remember later.
- Receipts and contracts for prior work. The original remodel contract, the last plumbing invoice, the warranty paperwork. If a previous contractor did the work, the contract is evidence of what was promised and what was charged.
- The names of anyone who worked on the bathroom. Even a handyman who caulked the tub two years ago is a data point. Whether a joint failed inside the expected life of the product is a fact, not an opinion, and it’s much easier to prove with names attached.
- Moisture meter readings if you have one. A $30 pin-style meter from a hardware store will tell you whether a spot is damp. Record the reading and the date. It’s a fair piece of evidence and helps a contractor plan without guessing.
Get this in order before you call. A contractor who sees dated photos and a clear timeline can give a more accurate written price, because they’re not pricing against uncertainty. Under Clause 1 of The Haven Standard, our promise is a written price before any work starts; on our side, evidence from the homeowner is what makes that number tight instead of padded.
DIY vs. Licensed Contractor: Where the Line Is
Some bathroom fixes are a weekend job. Others are legally and safely the domain of a licensed professional, and getting that boundary wrong is where DIY projects turn into five-figure repairs.
You can reasonably do these yourself:
- Recaulking a tub or shower surround with 100% silicone (GE Silicone II is the standard for wet joints). Remove the old caulk fully, clean with a mildew remover, let it dry completely, then run the new bead.
- Re-sealing grout on a floor or wall where the underlying substrate is solid and there’s no active moisture behind it.
- Replacing a toilet supply line and the shutoff valve if it’s a quarter-turn quarter-inch compression fitting. Easy, low-risk, and worth learning.
- Replacing a faucet aerator or a showerhead. Twenty minutes, no permit.
- Replacing a toilet wax ring, provided the flange is intact and the subfloor shows no softness. If the flange is cracked or the floor is soft, stop and call.
These need a licensed professional:
- Any work inside the wall on the supply or drain plumbing: moving a shower valve, relocating a drain, replacing a tub, or any repair where the drain line or the flange itself is damaged.
- Replacing a shower pan or rebuilding a shower’s waterproofing. The membrane is the part that matters and the part you can’t see.
- Any repair that touches the electrical circuit in the bathroom. GFCI receptacles, exhaust fan wiring, and vanity lighting all require a licensed electrician in Santa Ana.
- Subfloor replacement or structural repair. The scope is small on paper but the failure mode is a toilet dropping through the floor, and that’s not worth the risk.
The general rule: anything that involves opening a wall, the plumbing behind one, or the waterproofing beneath tile, hire a licensed contractor. Anything that’s surface and sealant, you can do with a tube and a Saturday. If a small repair turns up something bigger underneath, that’s when to call. Rowan offers a free second opinion on any written estimate from another contractor; we’ll review it line by line and tell you what we’d do in your spot, whether or not you hire us.
Santa Ana Conditions That Speed Up the Damage
Southern California weather has a reputation for being forgiving, but that’s not quite right for bathrooms. Santa Ana’s dry summer air means exterior moisture problems are rare, which lulls homeowners into ignoring interior moisture. Meanwhile, the temperature swings between warm days and cooler nights cause more expansion and contraction of subfloor materials than you’d get in a steadier climate. That movement opens small gaps at grout lines and caulk joints, and once a gap is open, steam from showers finds it.
Older Santa Ana housing stock matters too. Homes built from the 1940s through the 1970s often have cast-iron drain lines and original subfloors, and many have had a budget remodel or two along the way. The bathrooms in these homes are where we see the most hidden damage: cast-iron drains that have rusted through at the traps, subfloors that have taken on moisture from an earlier decade of wax ring leaks, shower valves that were never updated and are one bad cartridge from a full leak. If you’ve bought a home built before 1980 in Santa Ana, assume the bathroom has a story, and read the symptoms with that in mind.
The El Niño winters also matter. During a wet year, exterior wall moisture and roof or window leaks find their way into bathroom walls from the outside. A musty smell in January that clears by April is often a wall that took on water from a bad window flashing or a roof leak, not from inside the bathroom. If your bathroom smells in the rainy season only, look up before you look down. The window and door sealing work that goes with our home additions and ADU projects in Santa Ana applies the same standard: a wet wall is evidence of a failing exterior detail until proven otherwise.
A 10-Step Inspection You Can Do This Weekend
- Walk the bathroom floor in socks. Feel for any give, especially within a foot of the toilet and in front of the tub.
- Look at the base of every faucet and the escutcheons where the supply lines enter the wall. Any white crust is a slow leak. Note it.
- Look at the paint above the tile line. Bubbling or peeling points to a failed caulk joint or a damp wall cavity.
- Sniff. If the bathroom smells musty when it’s been dry for weeks, moisture is trapped somewhere. If it smells only after a shower, that’s steam, not a problem.
- Press on the shower pan. Any flex at all is a flag, and it means the membrane underneath is suspect.
- Run a fingernail along the caulk at the tub or shower base. If it peels up easily, or if you can feel a gap under it, it’s due for replacement.
- Tap the floor tile with the back of a screwdriver handle. Hollow sounds mean the tile has debonded from the substrate.
- Look at the grout lines. Uniform light gray is fine. Dark lines, especially in a pattern, mean moisture is getting in.
- Check the exhaust fan. Turn it on and hold a piece of toilet paper near the grill. If it doesn’t hold the paper, the fan isn’t clearing moisture, and every shower is adding humidity to the walls.
- Open the vanity cabinet under the sink. Look at the cabinet floor and the wall behind the supply lines. Any water stain, swelling, or dark wood is a leak that has been running.
If any of these come back with a flag, you don’t need to guess at the fix. Note the date and take a photo, and use the cost ranges above to know whether it’s a weekend of caulk or a call to a professional. Our crews are background-checked and uniformed, calls are answered by a live person, and every visit includes a documented photo record of what we found, so you leave with evidence rather than a hunch.
Common Mistakes to Avoid
- Re-caulking over wet caulk. New silicone won’t bond to old, and it traps moisture behind it. Remove every bit of the old bead first, and let the joint dry fully. We see this mistake in Santa Ana homes constantly because it’s the fastest fix on a Saturday.
- Treating a soft floor as a flooring problem. The tile is the last thing to fail. If the floor is soft, the problem is the subfloor and often the wax ring above it, not the tile.
- Ignoring a musty smell because there’s no visible mold. Mold grows where moisture sits. The absence of visible growth is not evidence of no moisture; it just means the moisture is behind something solid.
- Going straight to a full remodel quote. Don’t. A written repair quote for the underlying failure is cheaper to get and tells you whether a remodel is genuinely needed. If a contractor leads with a remodel before diagnosing the symptom, ask what they’re seeing that justifies it.
- Skipping the documentation. If a prior contractor’s work failed early, unphotographed evidence becomes your word against theirs. Date and photograph everything as it appears.
- Letting a small leak sit over a summer. Santa Ana’s dry air slows mold growth on visible surfaces but doesn’t stop rot behind a wall. Water in a sealed cavity doesn’t evaporate as fast as homeowners expect.
- Not checking the exhaust fan. A bathroom without working ventilation is the root cause behind most of the moisture problems we see, and it’s a $150 – $350 fix that extends the life of everything else in the room.
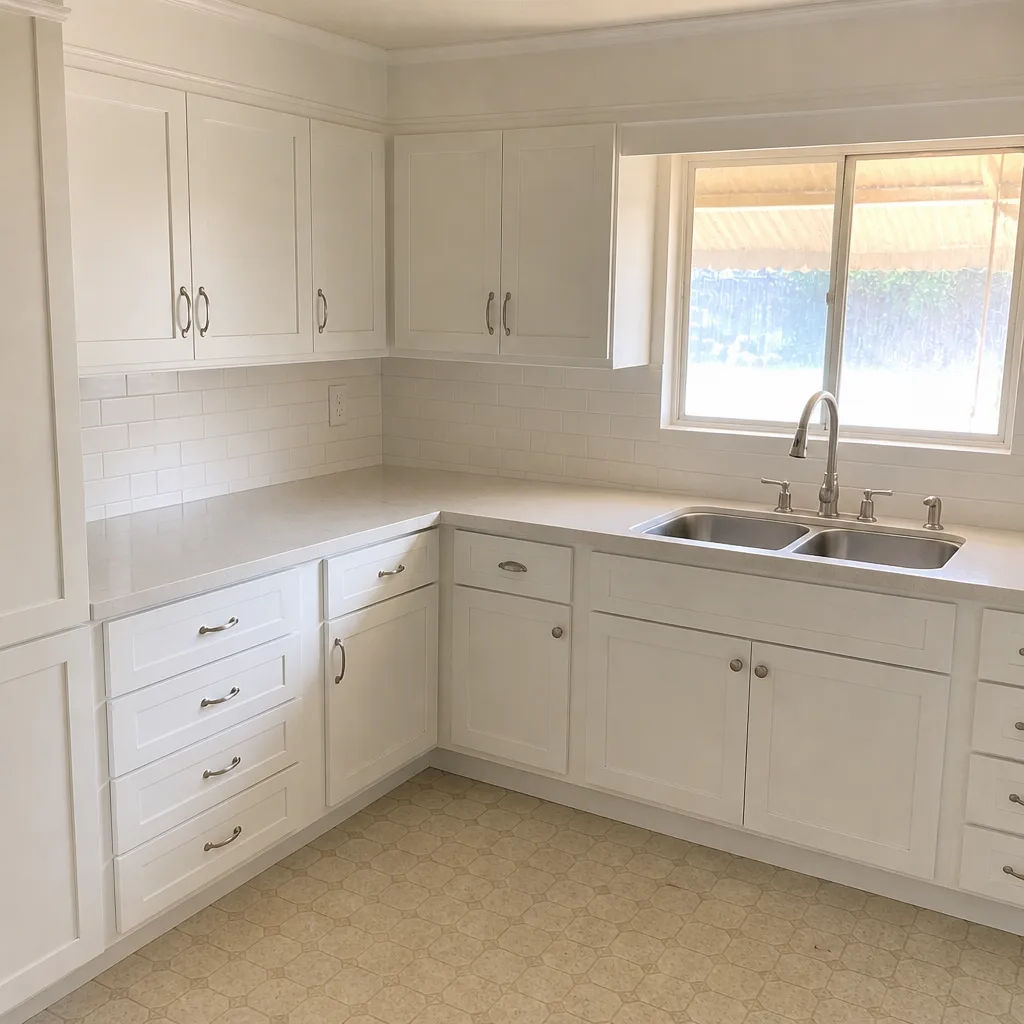
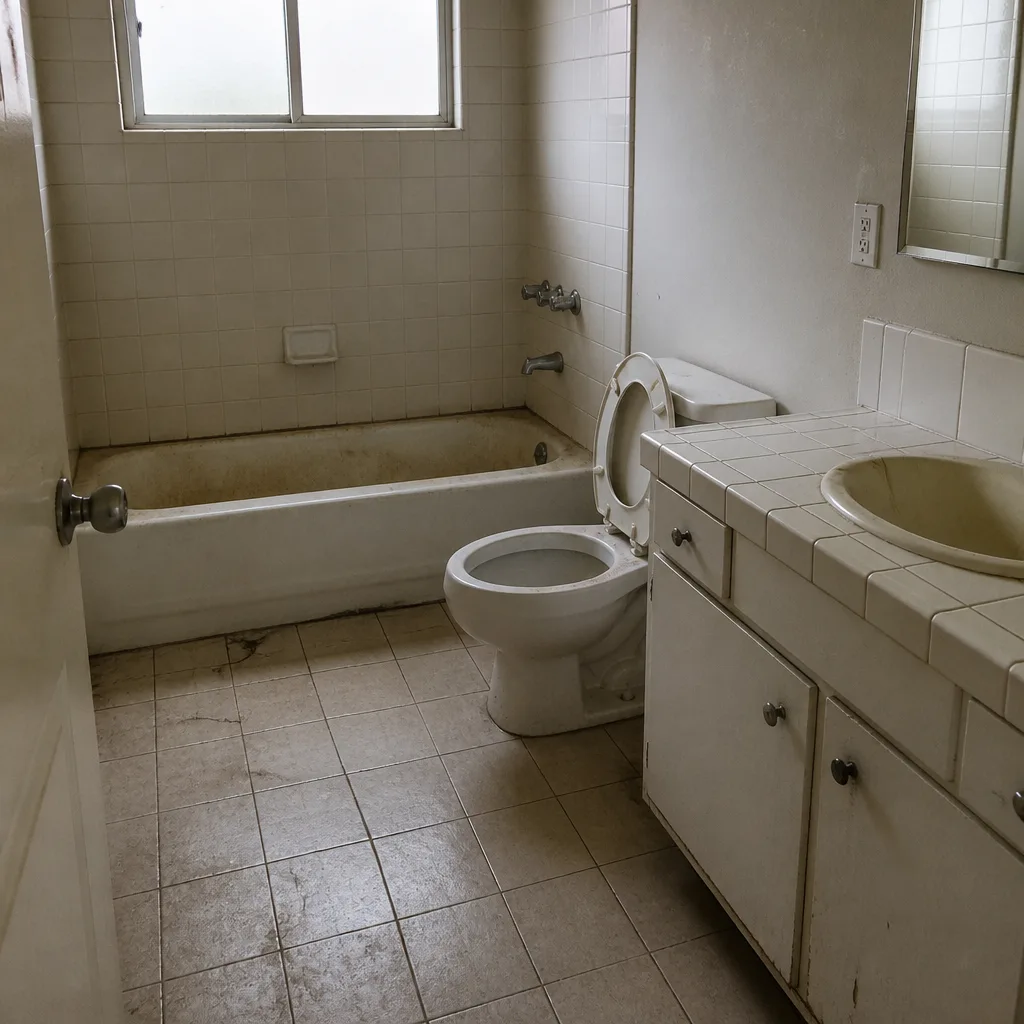
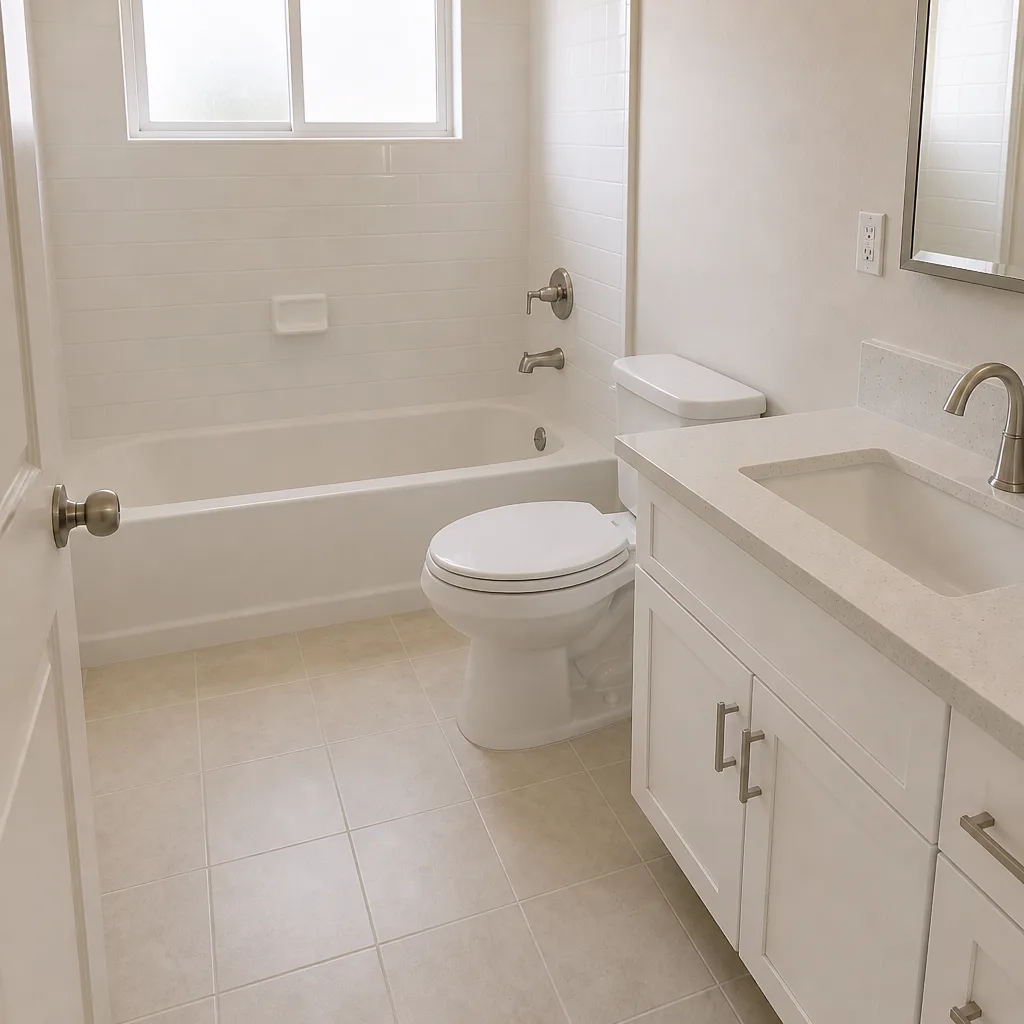
See the difference
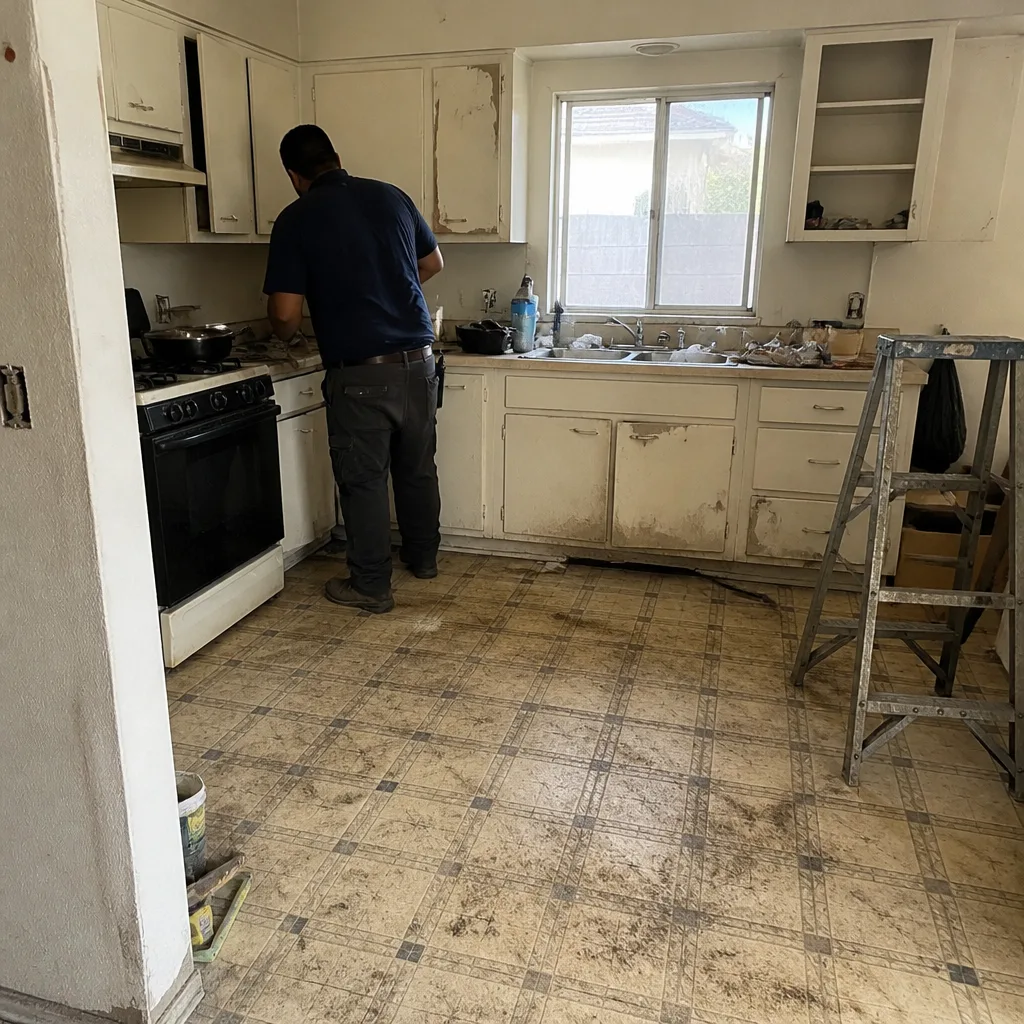 Before
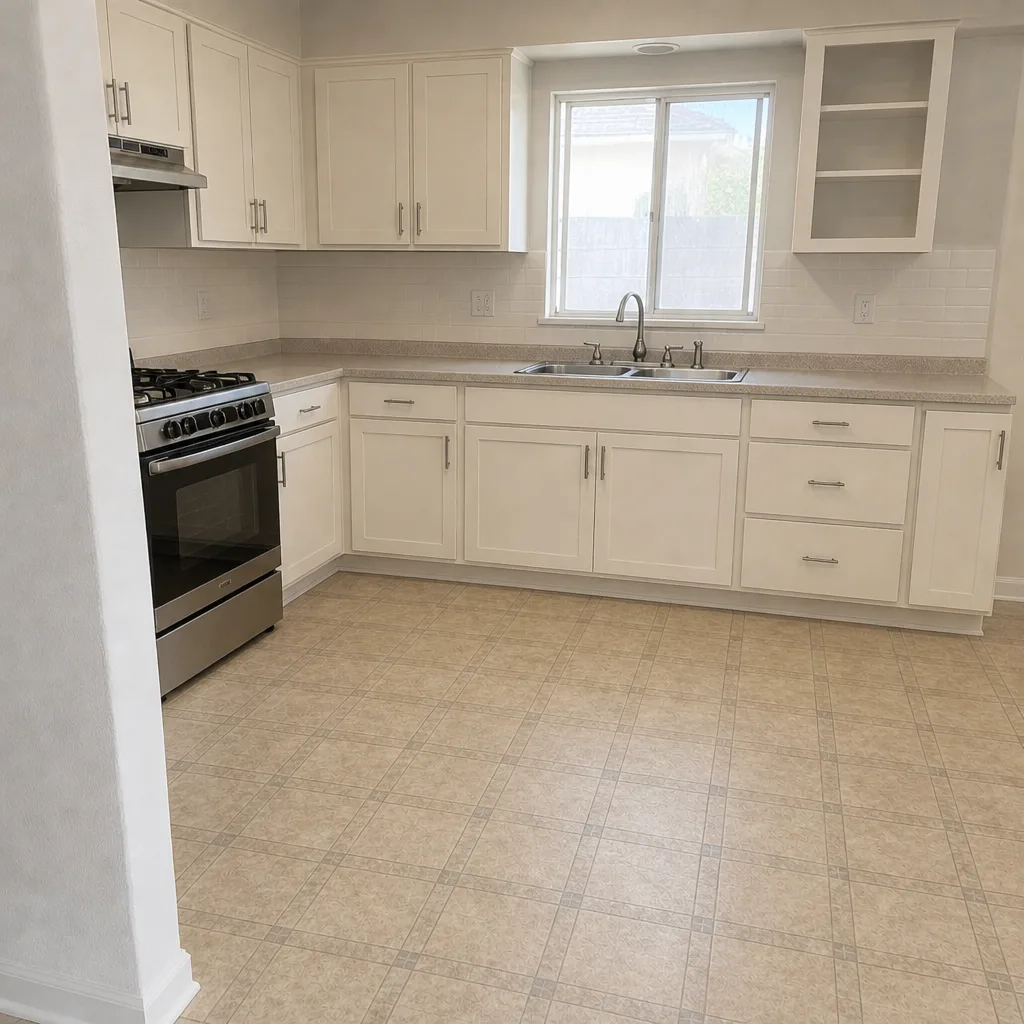 After
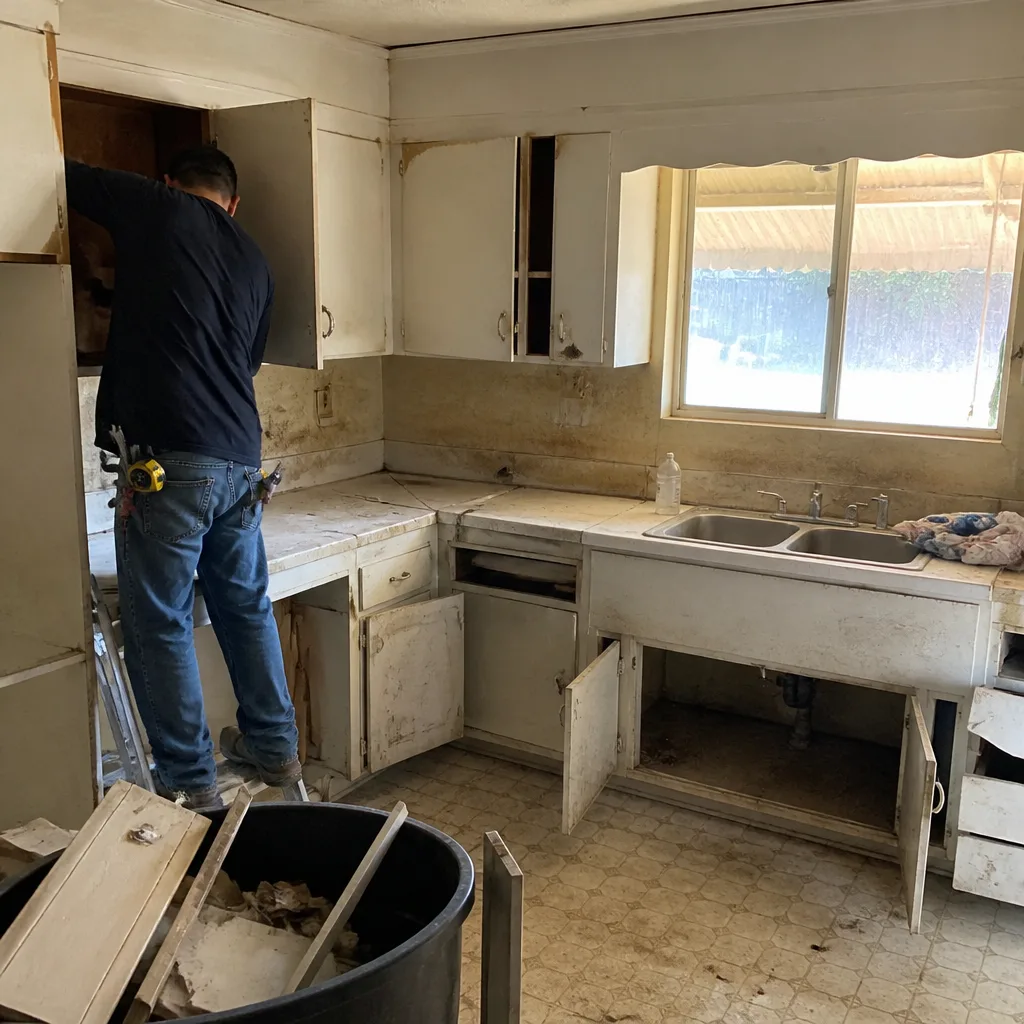 Before
 After
 Before
 After
When to Call a Professional
Call a licensed contractor if any of the following is true: the floor feels soft anywhere, the shower pan flexes, water appears on the ceiling below the bathroom, the smell is musty after weeks of dry weather, or the plumbing behind the wall has failed. Those are the situations where a $150 – $250 repair turns into a $2,400 one if it’s deferred. DIY is fine for recaulking, re-grouting on a solid surface, and replacing a supply line. Rowan Construction Group Santa Ana offers free estimates in Santa Ana, with a written price before any work starts and no change orders without your signature. If you have a written estimate from another contractor and want a second read, we’ll review it line by line at no charge. Call (833) 853-5955 to schedule your free estimate.
Frequently Asked Questions
A minor bathroom leak repair in Santa Ana typically costs $90 – $400 depending on what’s leaking: a supply-line fitting is at the low end, a wax ring and toilet reset at $150 – $250, and a shower valve cartridge or drain repair in the middle. If the leak has reached the subfloor or the wall cavity, the repair climbs to $800 – $2,400 and higher. Call (833) 853-5955 for an exact quote; estimates are free and we put the price in writing before any work starts.
Look at timing and pattern. Caulk that fails in two years instead of ten, grout that cracks in a uniform line along every tile edge, or a shower pan that flexes underfoot are all workmanship signatures, not wear. Normal wear looks gradual and random; contractor-made failure looks systematic. Gather photos, dates, and the original contract before you call, because a written scope from the prior job decides who pays for the fix.
No, but treat it as a moisture problem until proven otherwise. A musty smell with no visible mold usually means moisture is trapped behind the backer board or inside a wall cavity, whether or not mold has grown yet. A smell that appears only during or right after a shower is usually steam; a smell that’s there on a dry afternoon is a leak. Call (833) 853-5955 if the smell persists for more than a few weeks, since early diagnosis keeps the repair to $250 – $500 instead of a $1,500 – $5,000 remediation.
Yes, if the flange is intact and the floor feels solid. A wax ring replacement runs $150 – $250 with a licensed professional, and the parts are $20 – $40 for a DIY version. That said, once the floor is soft or the flange is cracked, the job moves from a wax ring to a subfloor repair and needs a licensed contractor. If your floor is soft within a foot of the toilet base, don’t start the DIY version; get a written estimate first.
It depends on scope. Replacing a wax ring, caulking, re-grouting, and swapping a faucet or showerhead don’t require a permit. Moving a shower valve, relocating a drain, replacing a tub, converting a tub to a shower, and any electrical work inside the wall all typically do. When a permit is required, the contractor pulls it and the inspection passes before the job is signed off. Ask before work begins, and get the permit number in the written scope.
Three signals together point to a remodel rather than a spot repair: soft subfloor over more than a couple of square feet, a shower pan and waterproofing that have both failed, and a bathroom with no functioning exhaust that has been that way for years. In those cases, repairing the surface without addressing the substrate and ventilation is money spent twice. Rowan offers a free second opinion on any written estimate from another contractor before you decide, and a documented photo record of what we find on the first visit.
The Bottom Line
Bathroom damage is rarely sudden. It’s a wax ring that’s been failing since last spring, a caulk joint that opened two winters ago, a musty smell that a homeowner talked themselves out of. The signs are visible and the cause is guessable with a walkthrough and a moisture meter. Read the symptom, note the date, and use the cost ranges to decide quickly: a $150 – $250 catch today prevents a $2,400 floor repair next year. If a symptom points to a wall, a subfloor, or the plumbing behind it, that’s a licensed professional’s job, not a Saturday project.
Written by the team at Rowan Construction Group Santa Ana.
Call (833) 853-5955 to schedule your free estimate. We put the price in writing before any work starts, back every job with the 365-Day Done Right Promise, and review any competitor’s written estimate line by line at no charge.