Last updated November 18, 2026



Free written scope consultation - allowances, timeline, and change-order rules on paper before a single trade is scheduled
Driveway & Pavers Warning Signs Every Homeowner Should Know
A paver that rocks underfoot feels like a small annoyance. It isn’t. In our experience across Santa Ana, a single rocking paver usually means the bedding sand beneath it has migrated, and water is now moving through the base layer – which means the section around that stone is often failing in a radius three to four times its size. Catching that early is the whole game. This guide covers the five ground-level warning signs, how to track settlement with real measurements instead of eyeballing, and how to document what you find so a repair costs $200 to $600 instead of $1,500 to $3,000.
Quick Answer
The five warning signs of paver driveway trouble are rocking pavers (bedding sand migration), widening joints (edge restraint failure or lateral spread), surface pooling (a cross-slope change from base settlement), white mineral streaking (subsurface water movement), and weeds growing in a consistent line (joint sand voids acting as a drainage channel). Any of these caught six to eighteen months before obvious failure usually means a minor correction; caught late, it means section replacement.
Styles & brands we work with
- Kitchen remodeling
- Bathroom remodeling
- Home additions & ADU
- Roofing
- Windows & doors
- Driveway & pavers
- Fence
Table of Contents
- Sign 1: Rocking Pavers and What They Diagnose
- Sign 2: Widening Joints and Edge Restraint Failure
- Sign 3: Water Pooling on the Surface
- Sign 4: White Mineral Streaking
- Sign 5: Weeds Growing in Lines
- How to Track Settlement Progression With a String Line
- Surface Staining vs. Subsurface Discoloration
- When a Warning Sign Is DIY vs. a Contractor Call
- The Documentation Protocol: Photos, Dates, Measurements
Sign 1: Rocking Pavers and What They Diagnose
Press your foot on each corner of a suspect paver and watch the joint lines around it. If the stone tips even a millimeter, the bedding sand – the thin layer of coarse sand that levels each paver over the compacted base – has migrated out from under it. That migration doesn’t happen in a sealed, dry, stable section. It happens when water is passing through the joints and washing the fines out of the base. The paver is the messenger; the base is the problem.
What makes this sign worth acting on early is the radius. A paver that rocks at its edge has already lost bedding support across a wider footprint than the stone itself. In Santa Ana, where we get intense sun that bakes the surface and then sudden winter rain that hits dry soil hard, that thin strip of exposed base near a driveway edge is where this starts most often.
What to do:
- Mark the rocking paver with a piece of chalk so you can watch it across seasons.
- Check whether the joints immediately around it have opened – that tells you how far the problem has spread.
- Note whether the rocking worsens after rain. If it does, water is actively moving through the base.
- Do not just lift and re-sand the one paver. If the surrounding bedding has migrated, you’ll be back within a season.
One rocking paver is a $200 to $400 correction. A section that has spread across ten square feet is a $1,500 to $3,000 replacement, because the base has to come up and be re-compacted. That gap is why we tell homeowners in Santa Ana to mark and measure, not ignore.
Sign 2: Widening Joints and Edge Restraint Failure
Paver joints should hold steady at roughly 3 to 6 millimeters. If you can slide a house key into a joint that used to be tight, something has moved. Two things cause it: the edge restraint – the concrete or aluminum curb that pins the outer course of pavers – has failed or pulled away, or the pavers have spread laterally because the restraint was never deep enough for the traffic load.
Edge restraint failure is common on older Santa Ana driveways where the original curb was set on a shallow base. The pavers push outward under the wheel load, the joints open, and joint sand drains out through the widening gaps. Once the sand is gone, water enters freely and the whole failure accelerates.
Walk your perimeter and look for:
- A curb that has separated from the pavers by more than a few millimeters.
- Pavers overhanging the curb or cantilevered beyond it.
- A visible gap between the curb and the adjacent concrete walk or apron.
- Joint widths that are noticeably wider at the driveway edge than in the center.
A failed edge restraint is a fixable, isolated repair if caught early – the restraint gets re-set, joint sand gets replaced, and the section is re-compacted. Left alone, the pavers continue to spread and the repair grows toward the center of the driveway. If you’re also noticing fence posts leaning or gate hardware shifting along the same property line, that’s a related soil-movement story worth reading on our Fence Installation in Santa Ana page.
Sign 3: Water Pooling on the Surface
A paver driveway should shed water toward the street or a drain. If a puddle sits in the same spot for more than an hour after rain, the cross-slope has changed – usually because the base beneath that low point has settled. Pooling isn’t just ugly. Standing water works its way into the joints, softens the base, and speeds up the next round of settlement.
In Santa Ana, our rain comes in concentrated bursts rather than a slow season. That means a low spot that would drain slowly in a milder climate gets hammered all at once, and the puddle sits long enough to do damage. We see this most on driveways that slope away from the garage toward a street with a crowned center – the water has nowhere to go once the cross-slope flattens.
How to check your cross-slope without a level:
- Wait for a rain event, or run a hose at low flow across the high side for ten minutes.
- Watch where water accumulates and how long it takes to clear.
- Photograph any puddle and note the time it was still standing afterward.
- Repeat after the next rain and compare – a puddle that grows in size or depth is an active settlement signal.
The fix ranges from re-sanding and re-sloping a small area to lifting and re-bedding a section. The earlier you catch it, the more likely it’s the smaller number.
Sign 4: White Mineral Streaking
White, chalky streaks running across paver faces in a consistent direction are a moisture signature. They form when water travels through the base or through joint sand carrying dissolved minerals, then evaporates at the surface and leaves the minerals behind. The streak isn’t the problem – the path the water took to get there is.
You’ll most often see this in Santa Ana on driveways shaded by a tree or an overhang, where evaporation is slower and the minerals have time to concentrate. It also shows up on the downslope side of a driveway, which fits the theory that water is moving through the base toward the low point.
What mineral streaking tells you:
- The direction of the streak points to where the water is coming from and going.
- More than one streak pattern means more than one water path through the base.
- Streaking combined with any of the other four signs moves the diagnosis from “watch it” to “get it looked at.”
Not every white mark is mineral. Calcium from a nearby concrete pour, efflorescence from a retaining wall, or simple hard-water deposits can all look similar. That’s where a photo record with dates helps – a stain that grows season over season is mineral movement, a stain that hasn’t changed in two years is likely cosmetic.
Sign 5: Weeds Growing in Lines
Weeds in a paver driveway are usually a joint-sand story. Sand has washed out of the joints, leaving voids where seed can land and root. When the weeds grow in a straight line – one joint after another, or along the edge course – that line is telling you where water is draining through the surface. It’s a drainage channel, and channels form where the sand is gone.
What to do with weed lines:
- Pull one weed and look at the joint. If the joint is empty of sand, the drainage channel is confirmed.
- Note whether the weed line runs toward a low spot or a failed edge restraint – that connects the sign to signs 2 and 3.
- Do not rely on herbicide alone. Killing the weed without replacing the joint sand leaves the channel open.
Replacing joint sand is inexpensive and, done at the right time of year, closes the channel before the next rainy season. In Santa Ana, joint sand replacement is a small, fast job compared to the base repair that follows an open channel through a wet winter.
How to Track Settlement Progression With a String Line
Eyeballing a driveway tells you nothing across time because your eye calibrates to whatever you looked at last. A string line with a tape measure at the same points, measured on the same schedule, gives you data you can actually hand a contractor and compare season over season.
The method we suggest to Santa Ana homeowners:
- Drive two stakes at the corners of the suspect area, one at the top of the driveway near the garage, one at the bottom near the street.
- Stretch a string line taut between the stakes, just above the paver surface.
- Mark a reference point on each stake so the next measurement is from the same height every time.
- Measure from the string down to the paver surface at the same three or four points along the string – record each in a small notebook with the date.
- Repeat quarterly and after any major rain event.
- Photograph the setup each time so the geometry of the measurement is documented.
A quarter-inch of change over three months is a watch signal. Half an inch or more over the same window means the settlement is active and you should book an inspection before it compounds. We’ve seen Santa Ana driveways hold steady for years and then drop half an inch in a single wet winter – the difference is often a soil expansion issue on the clay-heavy lots near the older neighborhoods.
Surface Staining vs. Subsurface Discoloration
Two marks that look alike on a paver driveway mean opposite things. A surface stain is cosmetic. A discoloration pattern that follows a joint line, a slope direction, or the base edge is usually a moisture signal, and it’s the one worth measuring.
Cosmetic stains (no repair urgency):
- Rust from a fertilizer spreader or a bicycle left on the driveway.
- Oil drips from a vehicle.
- Leaf tannin stains where a tree drops debris.
- Hard-water spots from a sprinkler overshooting.
Subsurface patterns (worth a measurement):
- Discoloration in a consistent band along the driveway edge – base water movement.
- Faint whitish or grayish tint spreading in a fan from a joint.
- A color change that appears the day after rain and fades over a dry spell – active wicking.
- Texture change (the surface feels slightly rougher) in the same area as the discoloration.
The distinction matters because staining can often be cleaned or sealed without touching the base. Discoloration that follows water means the base itself is the project. If you’re not sure which you’re looking at, the documentation protocol below is designed to answer that question definitively.
When a Warning Sign Is DIY vs. a Contractor Call
Some paver driveway maintenance is genuinely homeowner-level: joint sand replacement, pulling weeds, cleaning a stain. Others mean the base is involved, and that’s where you want a contractor and a written diagnosis, not a YouTube repair.
DIY-appropriate, in our view:
- Pulling weeds from a joint and inspecting for sand loss.
- Replacing joint sand on a clean, stable section.
- Cleaning cosmetic surface stains.
- Setting up the string-line measurement and recording quarterly numbers.
Contractor-appropriate:
- Any paver that rocks underfoot, because the bedding sand migration is almost always wider than the visible stone.
- A visible gap at the edge restraint (curb separation) – re-setting it correctly means re-compacting the base below.
- Pooling water that hasn’t cleared within 24 hours of rain.
- Mineral streaking that continues to grow after a fresh joint sand refill.
- Any settlement you’ve measured at half an inch or more in a season.
If you’re also weighing the pavers-vs-concrete decision for a replacement, our Driveway & Pavers in Santa Ana page lays out the maintenance math honestly – pavers need joint sand refills every few years, and concrete cracks differently. Knowing both costs helps you judge whether a repair or a rebuild is the right answer for a specific driveway.
The Documentation Protocol: Photos, Dates, Measurements
A contractor can only give an accurate diagnosis if you hand them evidence. Otherwise the estimate defaults to worst-case – full section replacement scored at the higher number – because that’s the only safe answer when the condition isn’t documented. The protocol below is what we ask our own customers to prepare, and it’s the same structure that shows up in the documented photo record included on every Rowan visit.
Collect, in one folder:
- Site photos – a wide shot of the driveway from the garage and from the street, in daylight, taken at the same angle each time.
- Close-up photos – one for each warning sign, with a coin or a tape alongside the joint or paver so scale is visible.
- Measurement sheet – the string-line readings, dated, from the quarterly tracking above.
- Rain log – a note after each significant rain: date, where water pooled, how long it took to clear.
- A short written description – in plain words: “rocking paver at the north edge near the hedge, joint width at the curb has grown from 4mm to 8mm over the last year.”
- Existing documentation – any prior paver install invoice, warranty, or product specification you have on hand.
With that in hand, a contractor can tell you specifically what’s failing and what’s not. Without it, the diagnosis defaults to the ceiling. And if you already have a written estimate from another contractor, our Free Second Opinion offer reviews it line by line at no charge – a good way to check whether the scope matches the signs, or whether you’re being quoted for a replacement where a repair would hold.
Common Mistakes to Avoid
- Ignoring a single rocking paver as “just one stone.” It is rarely just one. The bedding sand migration ripples outward, and the repair grows a few square feet every season it sits in a Santa Ana wet winter.
- Re-sanding joints without fixing the drainage channel. Fresh sand in a joint that still has an open water path washes out in one rain. Find the source before you refill.
- Pressure-washing the surface to “clean” a mineral streak. It removes the visible symptom and drives more water into the base. Measure first, clean later.
- Treating a weed line as a lawn-care problem. Weeds follow joint-sand voids, and joint-sand voids are drainage channels. Herbicide without sand replacement leaves the channel open.
- Eyeballing settlement instead of measuring it. Half an inch is invisible by eye but measurable with a string line, and that measurement is what turns a $2,500 guess into a $350 repair.
- Waiting for the “obvious” failure. By the time a paver is broken or the section is offset, the base has been failing for a year. The signs on this page appear six to eighteen months ahead of that.
- Hiring on a verbal estimate. Under Clause 1 of the Haven Standard, the price is written before anyone starts – on every trade, including pavers. A verbal number and a handshake is how repairs grow.
See the difference
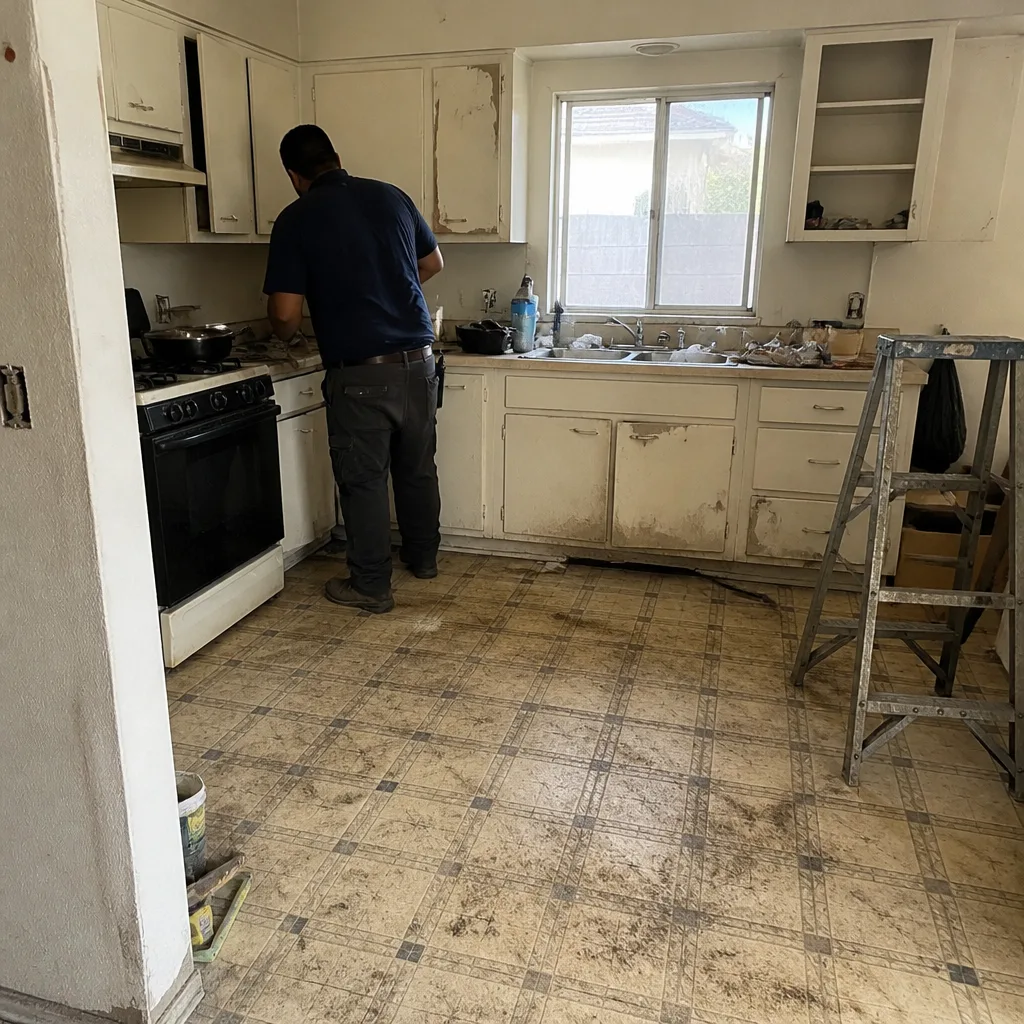 Before
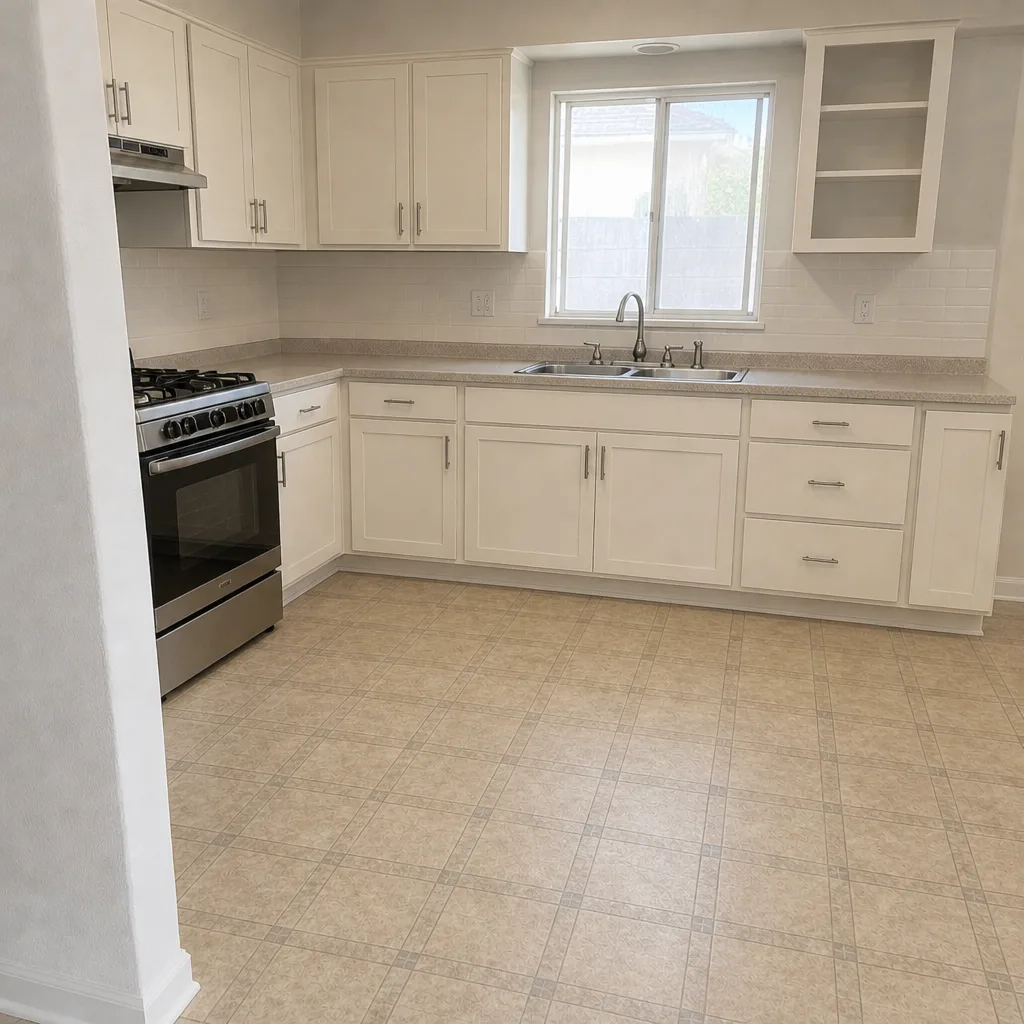 After
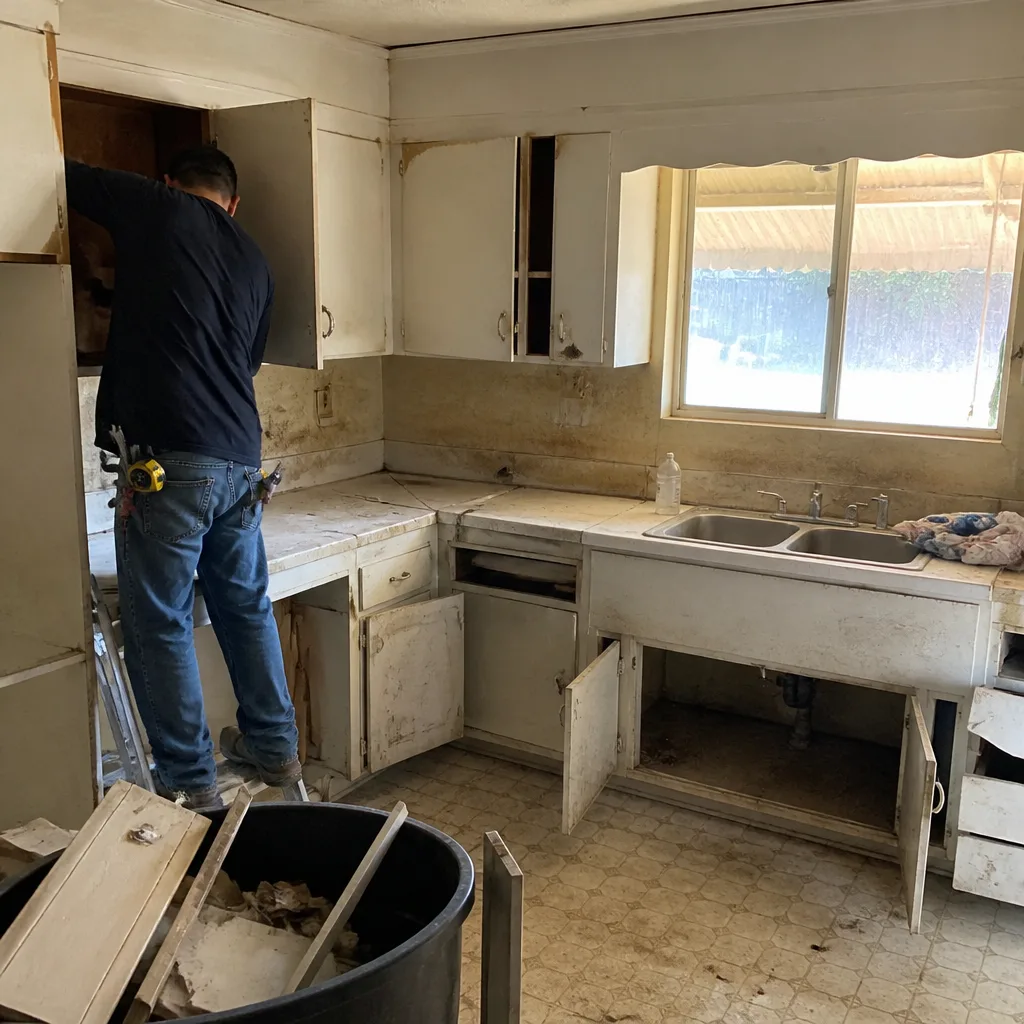 Before
 After
 Before
 After
When to Call a Professional
Call a professional when the sign is one of the four structural ones: rocking pavers, a failed edge restraint, water pooling that doesn’t clear within 24 hours, or mineral streaking that keeps growing. These are symptoms of base movement, and base repairs require excavation, re-compaction, and re-bedding that aren’t a homeowner project. If you’ve measured half an inch of settlement in a season, or your string-line readings show a trend, that’s the point to book an inspection rather than wait for the next wet winter. For a broader walk-through of what a paver driveway involves beyond the repair stage, our Rowan Construction Group Santa Ana home page outlines the trades and standards we work to. Rowan Construction Group Santa Ana offers free estimates in Santa Ana – call (833) 853-5955. Every estimate is a flat written price with a written scope, and the photo record on every visit is included, not optional. If you already have a written estimate from another contractor, we’ll review it line by line at no charge.
Frequently Asked Questions
Minor corrections – one rocking paver, joint sand replacement on a section, a small edge-restraint re-set – typically run $200 to $600 in Santa Ana. Section replacement, where the base has to be excavated and re-compacted, runs $1,500 to $3,000 or more depending on square footage and paver type. Full concrete driveway replacement in Santa Ana generally runs $5,000 to $12,000. Call (833) 853-5955 for an exact quote – estimates are free and written.
No. Under Clause 1 of the Haven Standard, the price is written before anyone starts, and no work proceeds on a change until a signed change order is in hand. That discipline is the reason our projects finish within a few percent of the number the customer agreed to across 4,000-plus jobs since 2007. Call (833) 853-5955 to schedule your free written estimate.
Whether a paver repair requires a permit depends on whether the scope touches the driveway apron at the street (the city’s right-of-way) or changes drainage patterns that affect the adjacent lot. Repairs within the property line – re-bedding, joint sand, edge restraint – generally don’t require a permit. Where a permit is required, it’s pulled and the inspection is passed before the project closes out. Call (833) 853-5955 and we’ll tell you specifically what your scope requires.
A single-paver correction or joint sand replacement is often a half-day. An edge-restraint re-set with base re-compaction is typically one to two days. A full section replacement runs three to five days depending on square footage, weather, and whether the base has to be brought up to grade. Written timelines are part of the written scope, not an after-the-fact conversation.
Usually, yes. Most of the warning signs on this page – a rocking paver, a failed edge restraint, a pooling low spot – are section-level problems, not whole-driveway problems. Pulling the whole driveway to fix one 20-square-foot area is exactly the kind of overscope that the measurement and photo protocol above is designed to prevent. Call (833) 853-5955 and we’ll diagnose the section before quoting anything.
Paver driveways do well in Santa Ana’s hot, dry summers and concentrated winter rains because individual units can be lifted and re-set when the base needs work. The trade-off is joint sand maintenance every few years and honest base prep at install. Concrete cracks and repairs as one slab; pavers repair as sections, which is why our teams work with materials like Belgard and Techo-Bloc on installs and repairs. If you’re weighing a replacement, the Driveway & Pavers in Santa Ana guide compares both options with dollar ranges.
The Bottom Line
Paver driveway failure is slow and legible. A rocking paver, a widening joint, a pooling low spot, a mineral streak, a weed line – each is a readable signal of where the base is failing, and each appears six to eighteen months before the failure goes obvious. If you catch the signs early and bring a measurement sheet plus dated photos to a contractor, you’re usually looking at $200 to $600, not $1,500 to $3,000. If you catch nothing, the base keeps failing under the same sun and the same concentrated Santa Ana rain, and the repair grows. Call (833) 853-5955 to schedule a free estimate.
If you’re planning a larger project alongside the driveway – an addition or an ADU – the Home Additions & ADU in Santa Ana page covers what a written scope for that work looks like, and why the same documentation discipline carries across trades.
Written by the team at Rowan Construction Group Santa Ana.