Last updated November 18, 2026
Free written scope consultation - allowances, timeline, and change-order rules on paper before a single trade is scheduled
Driveway & Pavers Maintenance Schedule: What to Do and When
Polymeric joint sand, the material that locks pavers together and blocks weeds, has a functional lifespan of about 5 to 8 years under Southern California UV exposure. Most homeowners don’t find that out until weeds are already established and ants have moved into the empty joints. In Santa Ana, the calendar that matters most isn’t the four seasons. It’s the two weeks after the first real rain of the year. Get that window right and a paver driveway lasts 25 years. Miss it a few times and the same installation starts failing at 12. This guide lays out the month-by-month schedule Santa Ana climate actually calls for, plus the cost benchmarks to check any contractor quote against.
Quick Answer
A paver driveway in Santa Ana needs almost no work during the dry months, then a focused inspection and cleanup in the two weeks after the first significant rain, usually November or December. Add joint-sand replacement every 5 to 8 years, edge-restraint checks once a year, and a penetrating sealer reapplication every 3 to 5 years. That’s the whole schedule, and none of it is expensive if it’s done on time.
Styles & brands we work with
- Kitchen remodeling
- Bathroom remodeling
- Home additions & ADU
- Roofing
- Windows & doors
- Driveway & pavers
- Fence
Table of Contents
- Why Santa Ana’s Climate Changes the Maintenance Calendar
- The Month-by-Month Paver Care Schedule for Santa Ana
- The Two-Week Window After the First Rain: A Post-Rain Inspection Checklist
- Polymeric Joint Sand: When to Top It Off and When to Replace It
- How to Check Edge Restraints Before They Loosen
- Sealing Concrete Pavers in a High-UV Environment
- What Each Maintenance Task Should Cost in Santa Ana
- When Routine Care Isn’t Enough
Why Santa Ana’s Climate Changes the Maintenance Calendar
Most paver care advice online was written for the Midwest or the Northeast, where the enemy is freeze-thaw cycling and salt. Santa Ana doesn’t get a hard freeze. It gets something different: roughly 13 inches of rain a year, almost all of it between December and March, followed by long dry stretches with intense sun. That combination creates two specific problems a four-season checklist won’t catch.
The first is thermal movement. Paver surfaces in direct Santa Ana sun can reach 140°F or hotter in August. Concrete pavers and the sand between them expand and contract daily. Over years, that cycling works joint sand loose and pushes individual units slightly out of alignment. The second is water concentration. Because rain arrives in a few concentrated storms rather than spread out, the soil under the pavers goes from bone dry to saturated fast. That’s when displaced joint sand washes out, base material shifts, and stones start to rock.
Dry-season maintenance in Santa Ana is mostly sweeping. Wet-season maintenance is where the real work happens, and the first storm of the year is the trigger. Getting out there with a broom and a hose two weeks after that first rain, instead of two months later, is the single habit that separates pavers that look new at 15 years from pavers that need a rebuild.
The Month-by-Month Paver Care Schedule for Santa Ana
This calendar assumes a standard concrete paver driveway installed over a compacted aggregate base with polymeric joint sand and plastic or aluminum edge restraints. Adjust the timing slightly based on what the first rain actually does in a given year, but keep the order of tasks the same.
- January through March: This is peak rain season. After each storm, sweep off leaves, seed pods, and driveway grit before they stain or clog joints. Check for standing water in low spots, which signals a base or grading problem, not a surface one.
- April: Do the full post-rain inspection and joint-sand top-off (details in the next section). Assess whether any stones need resetting before the ground dries hard.
- May: Apply a penetrating sealer if it’s due. Do it now, before the hottest, highest-UV months, so the product cures properly.
- June through September: Dry-season minimum. Sweep weekly. Pull weeds by hand while they’re small. Rinse off bird droppings quickly, since they etch chemically in high heat. No sealing, no sanding, no scrubbing with pressure.
- October: Annual edge-restraint check, while the weather is mild and comfortable for kneeling and crawling along the driveway perimeter.
- November: Pre-rain prep. Clear the joints of debris and loose sand so the first storm doesn’t wash out more than it should. Rake leaves away from the perimeter drain.
- December: Watch for the first significant rain. Two weeks after it, run the post-rain inspection and squeeze that into the December or early January schedule.
One more local note: Santa Ana gets occasional Santa Ana wind events, which drop dry, dusty air and blow debris across hardscape for days. If a wind event hits between rains, a quick sweep afterward prevents the grit from grinding into surface sealant.
The Two-Week Window After the First Rain: A Post-Rain Inspection Checklist
This is the most important maintenance event of the year for a Santa Ana paver driveway, and it’s the one most homeowners skip. Once the first real storm has soaked the ground and the surface has dried enough to walk on comfortably (usually a few days after, and fully settled about two weeks in), check four things in this order.
- Joint sand displacement. Walk the driveway looking for joints where the sand level has dropped noticeably below the paver surface, or where uniform grooves appear across a section. That means water carried sand out. If more than a few percent of the total joint area is affected, plan a full re-sanding.
- Stone rocking. Stand on a few stones in each quadrant and rock your weight side to side. Movement of even a millimeter is a warning sign. A rocking paver usually means the base material beneath it has shifted or the joint sand around it has washed free, letting water in to soften the bedding.
- Edge movement. Look along the perimeter where the driveway meets soil, lawn, or a curb. The edge should be tight and flat, held by a visible restraint. If stones at the border have begun to spread outward or sit a little proud of the field, the restraint is loosening or failing.
- Surface staining from organic debris. Leaves, seed pods, and twigs that sat through the storm leave tannin stains that darken in the sun. Catch them in the first two weeks, when a stiff brush and warm water still lift most of it. Leave them a few months and the stain bonds into the paver surface.
Document what you find. A written note and a few phone photos of any displaced joints, rocking stones, or edge movement give a contractor exactly what they need to quote the right scope, rather than driving out to guess. We keep a documented photo record on every visit for the same reason, so the homeowner has evidence of what was found and what was done.
Polymeric Joint Sand: When to Top It Off and When to Replace It
Polymeric joint sand is paver sand mixed with a binder that hardens in the joint to lock the pavers together and keep weeds and ants out. In Santa Ana’s UV load, that binder breaks down over roughly 5 to 8 years. When it breaks down, sand starts washing out of the joints, joints widen, weeds find toeholds, and moisture gets under the pavers where it does the damage that matters.
The right approach is a forecast, not a reaction. Watch the joints across seasons. If they hold a crisp, full profile after a storm, the sand is doing its job. If they’re visibly sunken after each rain or you can press a finger into them, the binder is past its useful life and a full re-sand is due, not just a light top-off.
Topping off is a quick patch between full replacements. A full re-sand means removing the remaining old joint material, cleaning the joints thoroughly, and working fresh polymeric sand in to the proper depth, then wetting it correctly to activate the binder. Do that properly and it holds for another 5 to 8 years. Do it wrong, by over-watering or filling shallow, and it fails in one season. We’ve seen Santa Ana driveways where a well-timed re-sand at year 6 prevented the stone resetting that would have been needed by year 10.
How to Check Edge Restraints Before They Loosen
The edge restraint is the plastic, aluminum, or concrete border that runs along the perimeter of the driveway and holds the outer row of pavers from spreading under load. Without it, the field of pavers slowly creeps outward, joints open up, and the whole surface loosens. It’s one of the cheapest components in the installation and one of the most expensive to ignore, because once the edge has moved far enough, fixing it means lifting the perimeter pavers and re-bedding them.
Check the restraint once a year, ideally in October before the rainy season, following these steps:
- Walk the full perimeter and look for the restraint itself, usually a narrow plastic or metal profile pressed down over the edge pavers and spiked or glued into the base.
- Press down on the outer row of pavers with your foot. If they tip or slide outward even slightly, the restraint has loosened or the spikes have worked free from the base.
- Inspect corners and points where the driveway meets a step, planter, or curb. These are the first places to fail because load concentrates there.
- Look for gaps opening between the outer pavers and adjacent soil or lawn. A visible gap means the edge has already moved and needs to be re-anchored.
If the restraint is intact and tight, leave it. If it has separated at even one short run, fix it before the rainy season, while the fix is a local repair. Catching this in October is a small job. Catching it in March, after a wet winter has let the edge walk out, is a re-lay.
Sealing Concrete Pavers in a High-UV Environment
Sealer is where Santa Ana’s sun changes the answer. There are two kinds: penetrating sealers, which soak into the paver surface and protect it from within, and film-forming sealers, which sit on top as a visible glossy coat. For concrete pavers in a high-UV environment like Santa Ana, a penetrating sealer is usually the more appropriate choice. It protects against staining and moisture and doesn’t trap moisture underneath, and it’s the kind that survives intense sun without chalking or turning a driveway milky.
Film-forming sealers can look spectacular the first season and cause problems later. In Santa Ana’s heat, the film expands and contracts with the pavers beneath it, and if any moisture gets trapped under a section of film, it has nowhere to go and eventually blisters or clouds the surface. That’s the trap: a glossy coat that looks like care, but acts like a moisture barrier over material that needs to breathe.
Apply or reapply a penetrating sealer every 3 to 5 years, in late spring, before the hardest UV months. Have the surface clean, dry, and free of joint-sand dust first, and follow the manufacturer’s coverage rate. Sealers differ on the number of coats and required cure time. Brand names like Belgard and Techo-Bloc, which we source for paver projects, publish sealers and specifications compatible with their products, and the written quote should name the product it’s using, not just “sealer.”
What Each Maintenance Task Should Cost in Santa Ana
These are typical ranges for maintenance on a standard two-car paver driveway, about 400 to 600 square feet. Get them in writing before work starts, with a flat price and a written scope. A “call for a quote” on maintenance work is a sign to get a second bid.
- Sweep and clean (seasonal or one-time): $100 to $250.
- Joint-sand top-off (partial re-sand): $150 to $400.
- Full joint-sand replacement (polymeric): $300 to $700.
- Edge-restraint repair (local run): $200 to $500.
- Edge-rebuild plus re-bedding the outer row: $500 to $1,200.
- Reset a few rocked or displaced pavers: $150 to $450.
- Penetrating sealer application: $400 to $900, depending on product, number of coats, and square footage.
- Organic stain removal (post-rain): often included with a clean, $100 to $250 stand-alone.
Those ranges are the benchmark. If a Santa Ana quote for a full re-sand comes in at $1,400 for a 500-square-foot driveway, ask what else is included, because that’s above what the work should cost. If it comes in at $90, ask what product they’re using and how deep they’re filling the joints, because that’s below what correct work costs. Both answers belong in the written scope before anyone touches a broom.
When Routine Care Isn’t Enough
Some paver problems are past the point of sweeping. Call a professional when water stands in low spots after a storm, when stones rock more than a few millimeters across a section, when the edge has spread visibly from the field, or when joint sand washes out so completely that resetting the pavers is the only real fix. A failing base under the driveway, usually signaled by widespread rocking or recurring sink spots, needs excavation and re-compaction, not sealing. And any full re-sand over about 600 square feet is worth doing right, since a sloppy re-sand fails within a season.
Rowan Construction Group Santa Ana offers free estimates in Santa Ana, with a flat written price and a written scope before any work starts. If you’ve got a written estimate from another paver contractor, we’ll review it line by line at no charge as a free second opinion. Call (833) 853-5955 to schedule.
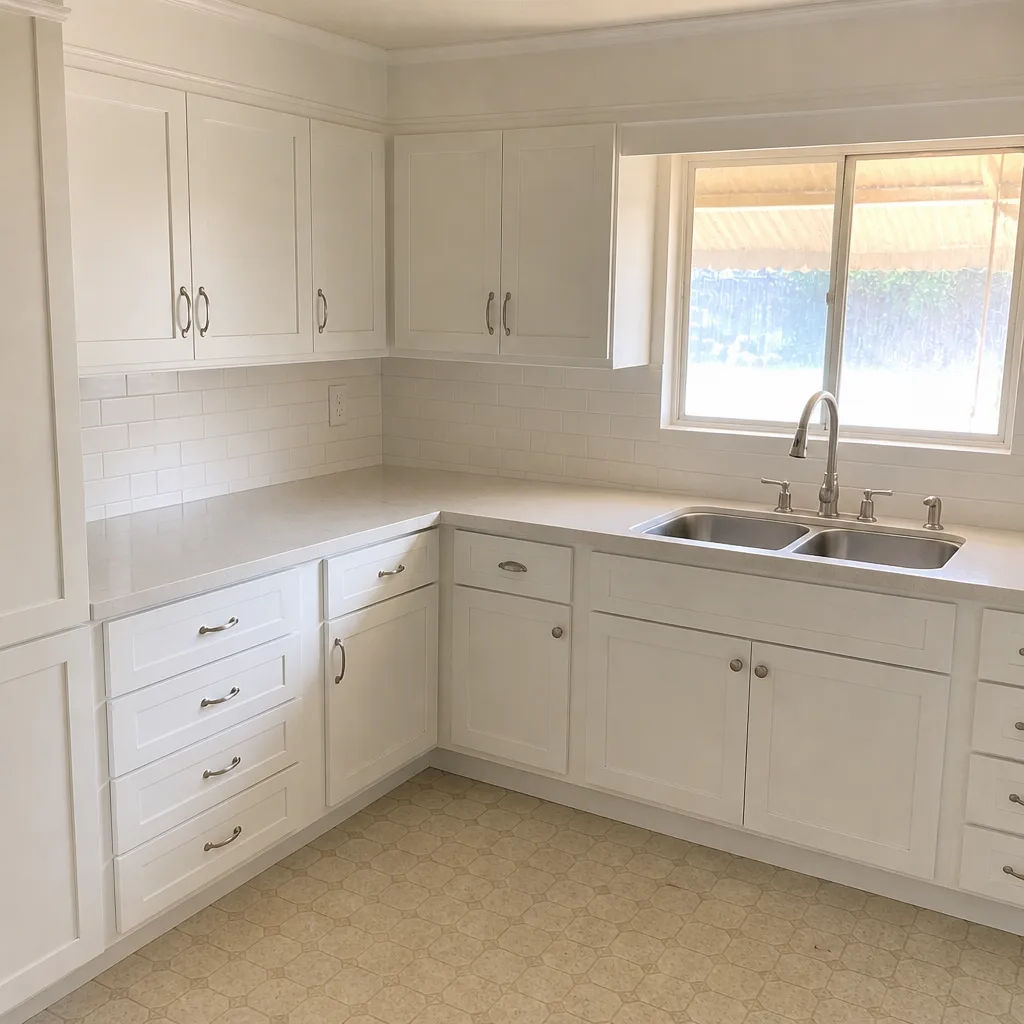
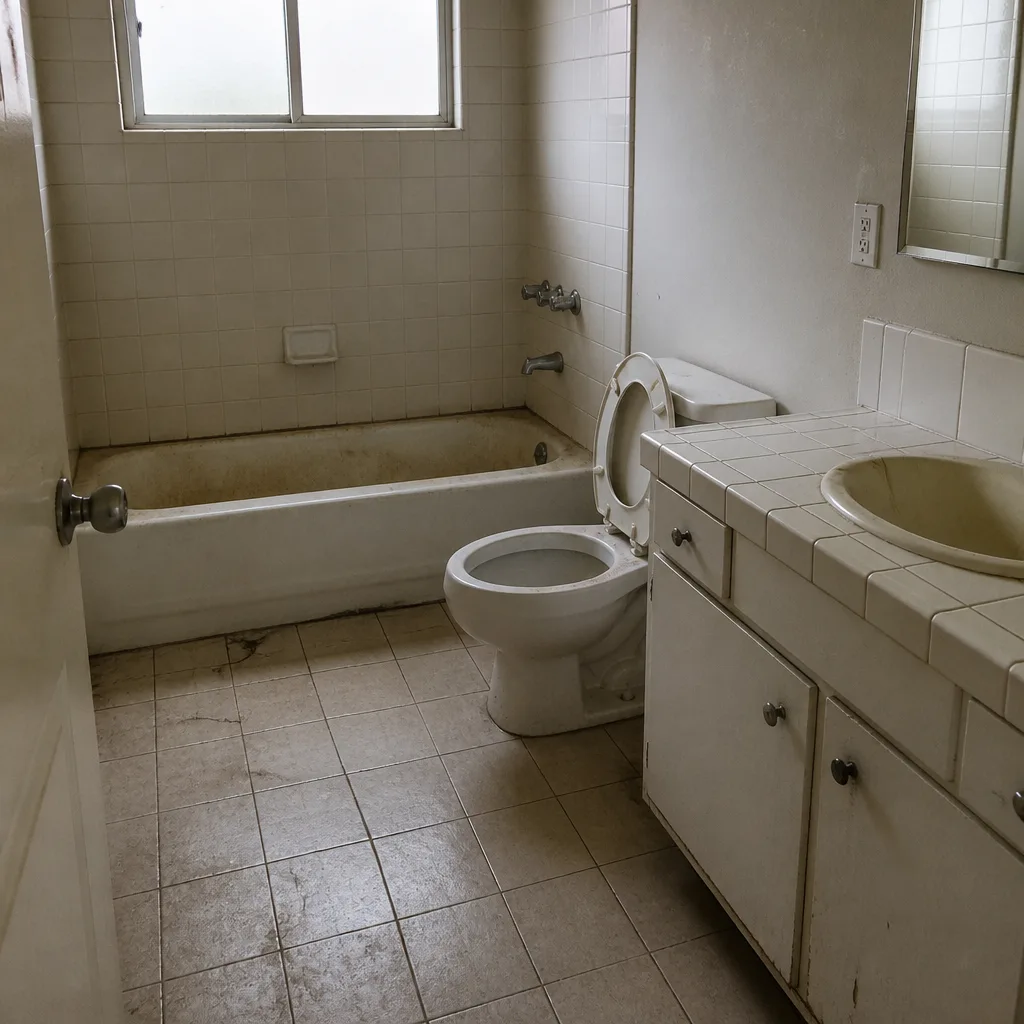
See the difference
 Before
 After
 Before
 After
 Before
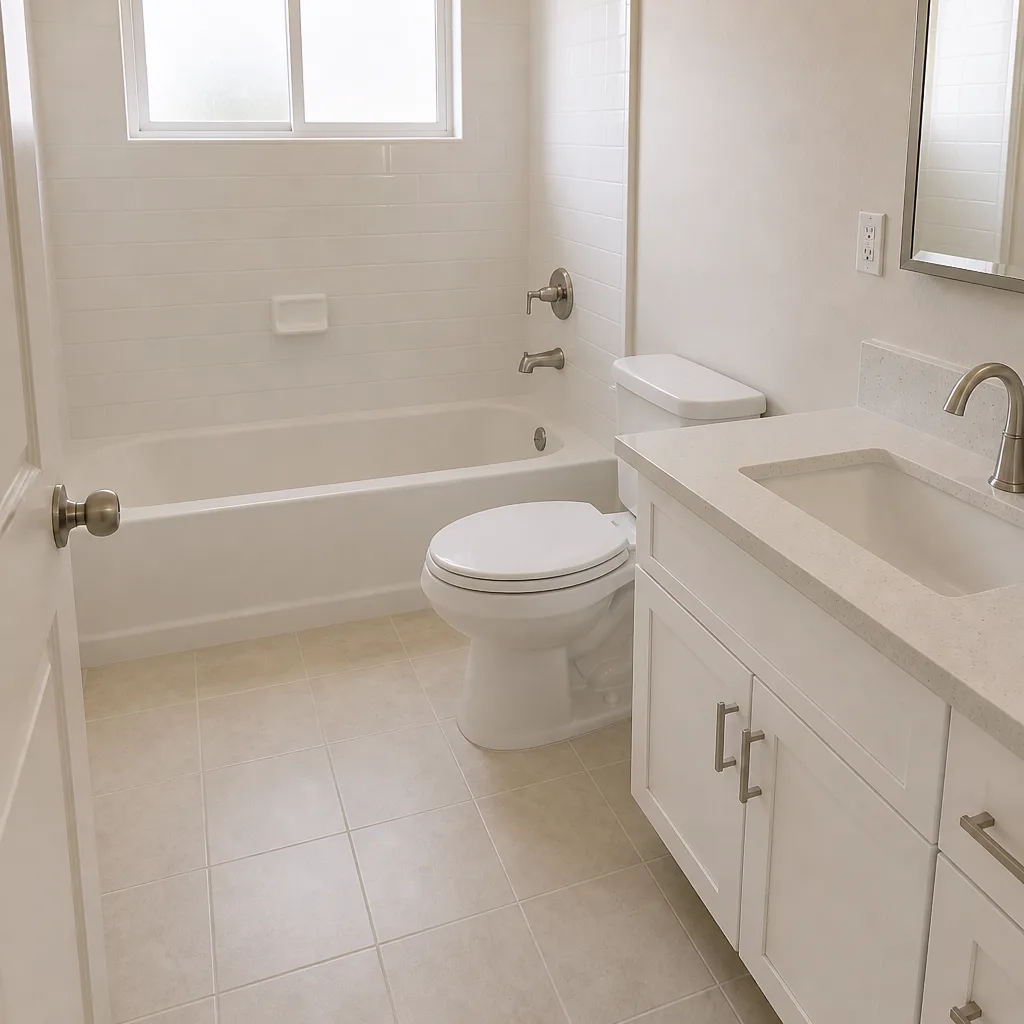 After
Common Mistakes to Avoid
- Pressure-washing the joints on high grit. It feels productive and looks clean, but it blows the polymeric binder and base sand straight out of the joints, which sets up the exact failure the sand was there to prevent.
- Waiting until spring to deal with post-rain damage. In Santa Ana, the two weeks after the first storm is when a rocking stone or displaced joint is a small repair. By March, the same problem usually involves re-bedding.
- Topping off joint sand as a substitute for a full re-sand. Topping off a joint that’s already lost its binder looks fine for a month and then washes out again. It’s a patch, not a fix.
- Using a film-forming sealer for a glossy look. In high UV, film can trap moisture, bubble, and cloud. A penetrating sealer protects from within and doesn’t cause the trapped-moisture problem.
- Forgetting the edge entirely. Homeowners inspect the field of pavers and never look down at the restraint. It’s the cheapest thing to check and the most expensive one to ignore.
- Letting organic debris sit through a storm and dry. Leaves and seed pods stain deeper in the sun. What a brush lifts in December needs a chemical wash by March.
- Accepting a verbal quote on maintenance. A flat written price and a written scope are how you compare a $400 task to a $1,400 one. Ask for both before work starts.
Frequently Asked Questions
Full polymeric joint-sand replacement is typically needed every 5 to 8 years in Santa Ana’s UV exposure. Between replacements, plan on a partial top-off on high-traffic or low sections once every year or two, checked during the post-rain inspection. Call (833) 853-5955 for a free estimate on whether your driveway needs a top-off or a full re-sand.
No. A penetrating sealer is reapplied every 3 to 5 years, not annually, and applying it more often than that is wasted money and extra product buildup. Apply in late spring, before the hardest UV months. Call us for a free estimate with the product named in writing.
Widespread rocking across multiple sections, recurring water pooling in low spots after storms, and edges that spread repeatedly even after repair all point to the base, not the surface. Surface issues are single stones or joints. Base issues are sections that move together. Get a written inspection before assuming the surface is the problem.
Use a garden hose and a stiff brush, not a pressure washer, for post-storm cleanup. High pressure on the joints will blow out the polymeric sand and re-create the displacement you’re trying to fix. Save pressure washing for a surface stain problem, and only at low pressure on the paver face, never into the joints.
A local edge-restraint repair on a standard driveway usually runs $200 to $500. A full repair where the perimeter pavers need re-bedding is $500 to $1,200. Ask for a flat written price and a written scope before work starts, then call (833) 853-5955 for a free second opinion if you’ve got a quote already.
Check the joint sand level first. Walk the driveway looking for sagging joints or washed channels. If the sand level is noticeably lower than the paver surface across a section, sand is moving under water and a re-sand is likely due. That one check tells you more about the health of the driveway than anything else you can do.
The Bottom Line
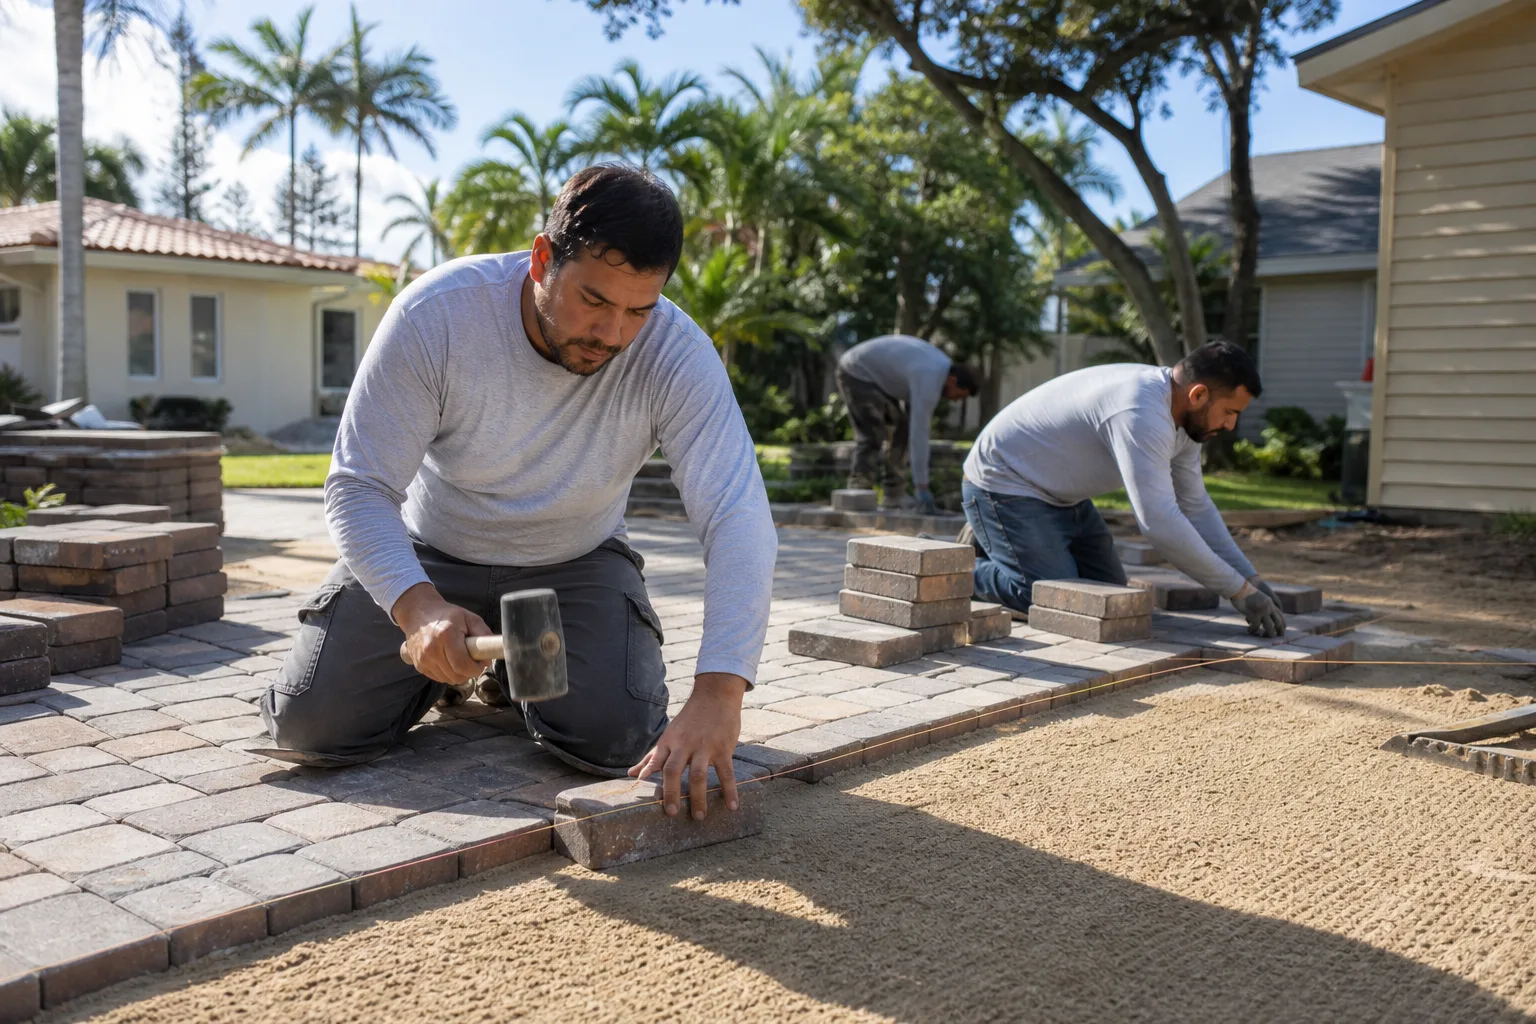
A paver driveway in Santa Ana is a low-maintenance surface, as long as the low-maintenance work happens on time. Sweep through the dry months. Sweep and rinse after any major Santa Ana wind event. Then in the two weeks after the first real rain of the year, walk the driveway and check joint sand, stone stability, edge restraints, and organic stains, in that order. Every 3 to 5 years, reseal with a penetrating sealer. Every 5 to 8 years, replace the polymeric joint sand. Price the whole thing against the ranges above. The work is modest, the schedule is thin, and the penalties for skipping it are years of service life.
Every paver maintenance quote from Rowan Construction Group Santa Ana is a flat written price with a written scope before any work begins, the 365-Day Done Right Promise backs the result, and every visit includes a documented photo record as standard. Rowan Construction Group Santa Ana home lists the full range of seven trades, from Driveway & Pavers in Santa Ana to Fence Installation in Santa Ana and Home Additions & ADU in Santa Ana. If your paver project involves a wider site plan, it’s worth knowing that brands such as Dvele and Mighty Buildings bring precision modularity to those conversations. Call (833) 853-5955 for a free estimate and a free second opinion on any written estimate you already have.
Written by the team at Rowan Construction Group Santa Ana.