Last updated November 18, 2026



Free written scope consultation - allowances, timeline, and change-order rules on paper before a single trade is scheduled
Windows & Doors Warning Signs Every Homeowner Should Know
Interior wall staining below a window is the symptom most homeowners notice first. In Santa Ana, stucco-clad houses are the norm, and the actual entry point is almost always the exterior sill-to-stucco joint roughly 18 inches from where the stain appears. The window frame itself is usually fine. That gap between where the damage shows and where the water gets in is the reason small window problems turn into five-figure repairs. This guide maps each visible symptom to the failure point actually responsible for it, tells you which warning signs belong to the product, which belong to the installer, and which are just age, and shows you how to document what you find before you call anyone.
Quick Answer
Windows and doors rarely fail without warning. Look for condensation trapped between panes (sealed glass unit failure), staining or soft drywall near a sill (water getting in at the exterior flashing joint), sticking sashes (hardware or settling, not necessarily a failed frame), and daylight or a lifted handle at a closed door (hinge or strike plate movement). The sign you see is usually not the part that failed, so identify the cause before you price the repair. A $200 – $400 fix caught in the first season often becomes a $1,500 – $4,500 repair once water reaches stucco and drywall.
Styles & brands we work with
- Kitchen remodeling
- Bathroom remodeling
- Home additions & ADU
- Roofing
- Windows & doors
- Driveway & pavers
- Fence
Table of Contents
- Condensation: Between the Panes vs. on the Glass
- Staining and Soft Drywall: Where the Water Actually Enters
- Sticking Windows and Doors: Hardware First, Frame Second
- Door-Specific Warning Signs
- Installer Defect vs. Product Failure vs. Normal Wear
- What It Costs to Catch Each Sign at the Right Stage
- How to Document a Warning Sign Before You Call
- Common Mistakes to Avoid
Condensation: Between the Panes vs. on the Glass
These two look similar and mean completely different things. Where the moisture sits tells you who owns the fix.
Condensation between the panes means the sealed glass unit, or IGU (insulated glass unit), has lost its seal. The desiccant inside has absorbed all the moisture it can, and the gas fill has escaped. The fix is replacing the glass unit, not the whole window. On most standard frames, that’s a glazing swap: the sash comes out, the new IGU goes in, the frame stays. Homeowners who replace an entire window for this are usually paying for something they didn’t need.
Condensation on the interior glass surface is a humidity and ventilation issue. The window is doing its job. Santa Ana homes run into this in winter, when cooler nights meet a closed-up house with a running shower, a gas range, and no mechanical ventilation. The window is the coldest surface in the room, so moisture collects there first. Wiping it and moving on hides the cause. A bathroom exhaust fan that actually vents outside, or a dehumidifier in the cooler months, addresses it.
A related sign worth knowing: fogging that appears only in one corner of the glass usually points to a seal failure at the edge, often from a frame that flexes. That’s a good moment to check whether the unit was set out of square during installation, which is slow to compound but costs more the longer it runs. If you’re weighing a glass swap against a full replacement, our crews work through the decision on Rowan Construction Group Santa Ana home the same way we do in the field: by measuring first and pricing the smaller fix honestly.
Staining and Soft Drywall: Where the Water Actually Enters
Water stains below a window are the classic symptom. They’re also the most frequently misdiagnosed. In Santa Ana’s stucco construction, the entry point is rarely the window. It’s the exterior joint where the sill meets the stucco, and it’s usually 12 to 24 inches from the stain.
Here’s what we’ve seen in our experience across Santa Ana homes: the stain shows up on the drywall below the window, the homeowner calls a glass company, the glass gets replaced, and the stain comes back the next rain. The reason is that the window was never the problem. The failure is the sill pan flashing or the sealant joint at the sill-to-stucco transition. When it fails, water tracks along the framing and drops at the lowest point it can reach, which is the drywall below the window.
Signs the flashing joint is the real culprit:
- The stain appears or worsens shortly after a rain, then dries out during a dry spell.
- The drywall below the window feels soft or spongy when pressed, not just stained.
- Paint on the interior wall bubbles or peels in a line below the window.
- The exterior sealant at the sill looks cracked, pulled away, or missing when you look up close.
- Stucco near the sill is crumbly or hollow-sounding.
On the exterior, look closely at the joint where the sill meets stucco. A hairline gap there is an entry point. So is a sill that was set flat instead of with a slight outward slope, which allows water to sit. If the stain is below the window but the interior glass and frame look clean, treat the flashing joint as your first suspect, not the window. Our team handles that repair under our Windows & Doors service in Santa Ana because it’s a flashing and stucco repair, not a glazing one.
Sticking Windows and Doors: Hardware First, Frame Second
A window that won’t slide or a door that drags feels like a structural alarm. Most of the time it’s not. Before you assume the frame has warped, work through the cheap causes.
- Check the track or hinge. On sliding windows and doors, debris, paint overspray, or a bent roller is the usual culprit. On a hinged door, a hinge screw that’s backed out a quarter-inch explains a surprising amount of drag.
- Look for paint or caulk bridging. A sash sealed to its frame with a bead of paint from a recent repaint will stick. Score the joint with a utility knife and test it.
- Check for seasonal movement. In Santa Ana, doors that stick only in summer are telling you about wood movement from humidity and heat, not a failed frame. Doors that stick year-round are a different story.
- Inspect the frame after the cheap causes are ruled out. Shine a light along the top and side of the frame. A gap that runs the full length points to a frame that has moved, which is when the diagnosis gets more serious.
One Santa Ana-specific note: houses built before the 1990s often have aluminum window frames, which expand and contract noticeably with temperature swings. A bathroom window that binds in the afternoon sun and slides fine in the morning is likely doing exactly that, not failing. Older wood frames on original windows need a different check: probe the sill and lower corners for softness. If the wood gives under a screwdriver, you have rot, and that changes the repair.
Door-Specific Warning Signs
Doors wear and doors move, but three signs mean something specific is happening rather than general age.
Daylight visible around a closed door. A thin line of light at the top or side of a closed door means the door, the frame, or the strike plate has moved relative to the other. Check whether the gap is even all the way around. A gap that’s consistent is usually a weatherstripping failure – the seal has compressed and needs replacing. A gap that’s wider at the top corner points to hinge sag, and a gap concentrated at the latch side points to the strike plate.
A lock that needs the handle lifted before it engages. This is the one homeowners most often misread. If you have to lift the handle to get the deadbolt in, the door has sagged at the hinge side, so the bolt no longer lines up with the strike plate hole. Lifting the handle closes the gap. The fix is usually adjusting or replacing the hinges, or repositioning the strike plate, not replacing the door. But a door that has dropped enough to need a lift should be checked for a loose hinge plate in the jamb, which is a longer repair.
Threshold gaps that appear suddenly after a wet winter. A gap under an exterior door that shows up after heavy rain usually means the threshold or the door frame swelled, or the subfloor beneath has moved. In Santa Ana, a season with heavy rain can reveal this on doors that had no visible gap the year before. Water that gets under the door and into the threshold can rot the framing below. Look for a dark, damp edge at the threshold or softness when you step on the interior floor near the door.
Interior doors deserve the same look. A bedroom door that swings on its own (called a “creep”) usually means the frame is out of plumb, and in an older Santa Ana house that’s often worth checking on the broader level of the floor.
Installer Defect vs. Product Failure vs. Normal Wear
Before you call anyone, it helps to know what kind of failure you have. It decides who pays.
Installer defect. Signs that point to a bad installation: fogging in an IGU that shows up within the first few years, water entry traced to flashing that was improperly lapped or missing, a window set out of square, sagging doors with one hinge plate not properly anchored, or sill pans that weren’t sloped. These are the installer’s responsibility, and the window’s product warranty typically won’t cover them.
Product failure. Signs that point to the product: a failed IGU seal on multiple windows of the same age, hardware that fails in the same way across several units, a frame finish that’s peeling from the bottom up, or a mechanism that binds without visible damage. These often fall under the manufacturer’s warranty, and the window or door brand matters – the documentation you need differs between a premium brand and a builder-grade unit.
Normal wear. Weatherstripping that’s compressed flat, sealant joints that have cracked and dried after years in the sun, hinges that have loosened, and sliding rollers that are worn. This is maintenance, not a claim against anyone. In Santa Ana, the sun is a real factor on the south- and west-facing windows, and exterior sealant on that side ages roughly twice as fast as the shaded side.
One practical note: before you contact a previous installer or a manufacturer, the documentation you gathered before they arrive is what determines whether the claim goes anywhere. Our Bathroom Remodeling in Santa Ana team runs into the same issue in reverse – a bathroom window that fogs because the exhaust fan was never vented outside is a ventilation defect, not a window defect, and it needs to be fixed at the source before the glass is replaced.
What It Costs to Catch Each Sign at the Right Stage
This is the number that matters. Catching a warning sign early and catching it after secondary damage are different repairs at different prices. Here are the ranges we work from in Santa Ana.
- Failed IGU (sealed glass unit) replaced: $150 – $400 per unit. Full window replacement is typically $500 – $1,200 or more, often without a functional reason.
- Failed sill pan flashing or exterior sealant joint, caught before water infiltrates: $200 – $400.
- Same flashing failure, after stucco and interior drywall damage: $1,500 – $4,500 or more, depending on how much framing is wet.
- Sticking window, hardware adjustment or roller replacement: $75 – $200.
- Warped or moved frame requiring reframing: $400 – $1,200 per opening.
- Door hinge adjustment or strike plate reset: $75 – $250.
- Threshold or frame rot from a wet-winter door gap: $400 – $1,500, more if the subfloor is involved.
The pattern is consistent: the repair that addresses the symptom early costs a fraction of the repair that addresses it after water reaches the framing and drywall. A flashing reseal is a $200 – $400 line item. The same failure, eight months later, is a stucco patch, drywall replacement, and framing check. This is also why a written scope matters before anyone starts – the same flashing repair quoted without a scope can be re-quoted for framing work the moment the drywall comes down. Under Clause 1 of The Haven Standard, we hand you a flat written price and a written scope before any work begins, and no change proceeds without a signed change order.
For pricing on larger finishes around a window or door replacement, it helps to know what the rest of the room costs. Our Kitchen Remodeling in Santa Ana team prices window and door replacement alongside trim and paint when a kitchen is already getting opened up, and the same discipline carries over: written line items, no surprises at the end.
How to Document a Warning Sign Before You Call
The photos you take before you call anyone are the evidence that gets a warranty or insurance claim considered. Take them first.
- Photograph the condition with a timestamp. Most phones add the date and time automatically. Take one wide shot showing the whole window or door, and one close-up of the specific sign – the condensation line, the stain, the daylight gap, the lifted handle.
- Write a short description of the conditions at the time. Note the weather (raining, dry, recent rain), the season, and the interior humidity if you have a reading. “Stain appeared after the storm on the 12th, drywall soft to the touch” is worth more than “window leaking.”
- Photograph the exterior joint, not just the interior damage. For any stain, take a photo of the sill-to-stucco joint from outside at close range. That exterior shot is the one that proves where the water entered.
- Photograph the manufacturer’s label on the glass or hardware. Window and door glass carries a manufacturer’s mark in the corner. Photograph it. It tells a manufacturer and a contractor exactly which unit and which production run you’re dealing with.
- Keep your original paperwork in one place. Your purchase or install records, any prior warranty work, and the written estimate from the previous installer all belong together. If you don’t have them, that’s worth knowing early.
- Do not caulk over the problem before you document it. A quick bead of sealant hides the evidence and can make the failure harder to trace. Photograph first, then repair.
A written description of what you found and a photo record is exactly the deliverable we hand you on every visit, in reverse – our crews document what they found and what they did, so you have the record whether or not you’re home when they arrive. If you’ve been considering a new door along with other exterior work, our Fence Installation in Santa Ana crews document the same way, because the record is often what backs a warranty on exterior work.
Common Mistakes to Avoid
- Replacing a whole window for a failed IGU. Homeowners overpay by hundreds of dollars for this because the seal failure only looks like a whole-window problem. Replace the glass unit, not the frame.
- Treating an interior stain without finding the entry point. If the exterior flashing joint isn’t fixed, the stain returns the next rain. In Santa Ana stucco homes, look 18 inches away from the stain.
- Caulking a joint without documenting the failure first. Sealant hides evidence and complicates a warranty claim. Photograph, then repair.
- Assuming a sticking door means the frame has warped. Check hinges, tracks, paint bridging, and debris before you price a reframe. The cheap fix is often the right one.
- Ignoring condensation on interior glass. It’s usually ventilation, not a window defect, and a bathroom fan that doesn’t vent outside will keep fogging the glass on every cool morning.
- Waiting a full season to document a threshold gap. A wet-winter gap that isn’t tracked down can let water into the subfloor. Photograph it the week it appears.
- Not checking the manufacturer’s label on the glass. The mark on the glass corner tells you exactly which unit was installed, which is the first thing a warranty claim needs.
See the difference
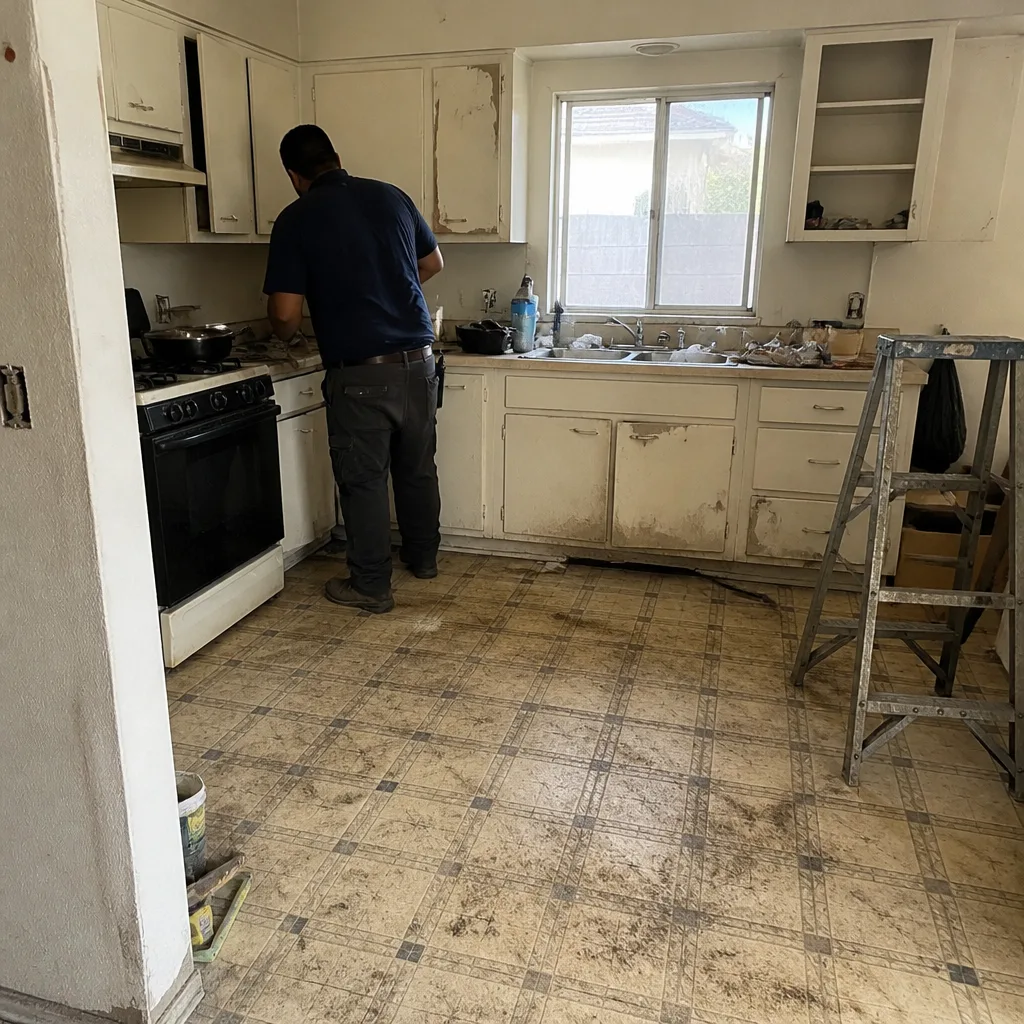 Before
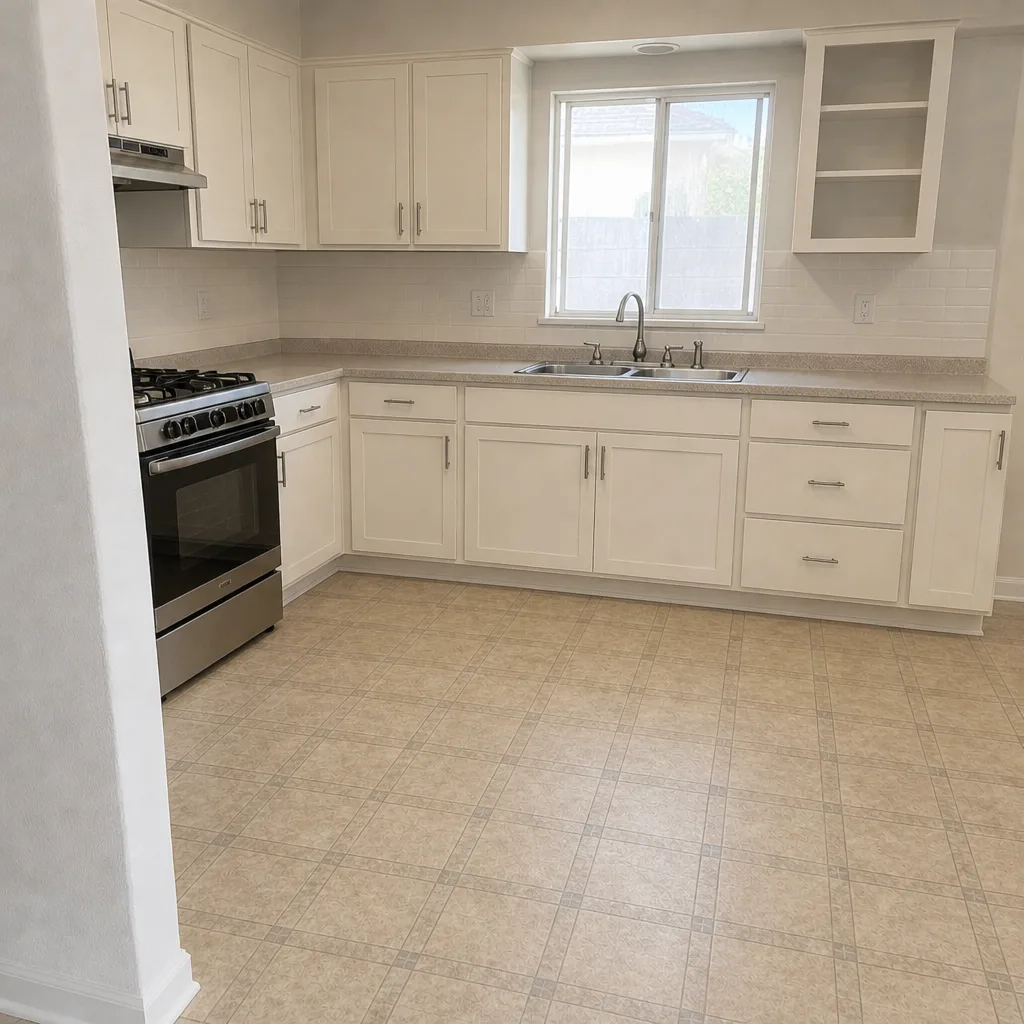 After
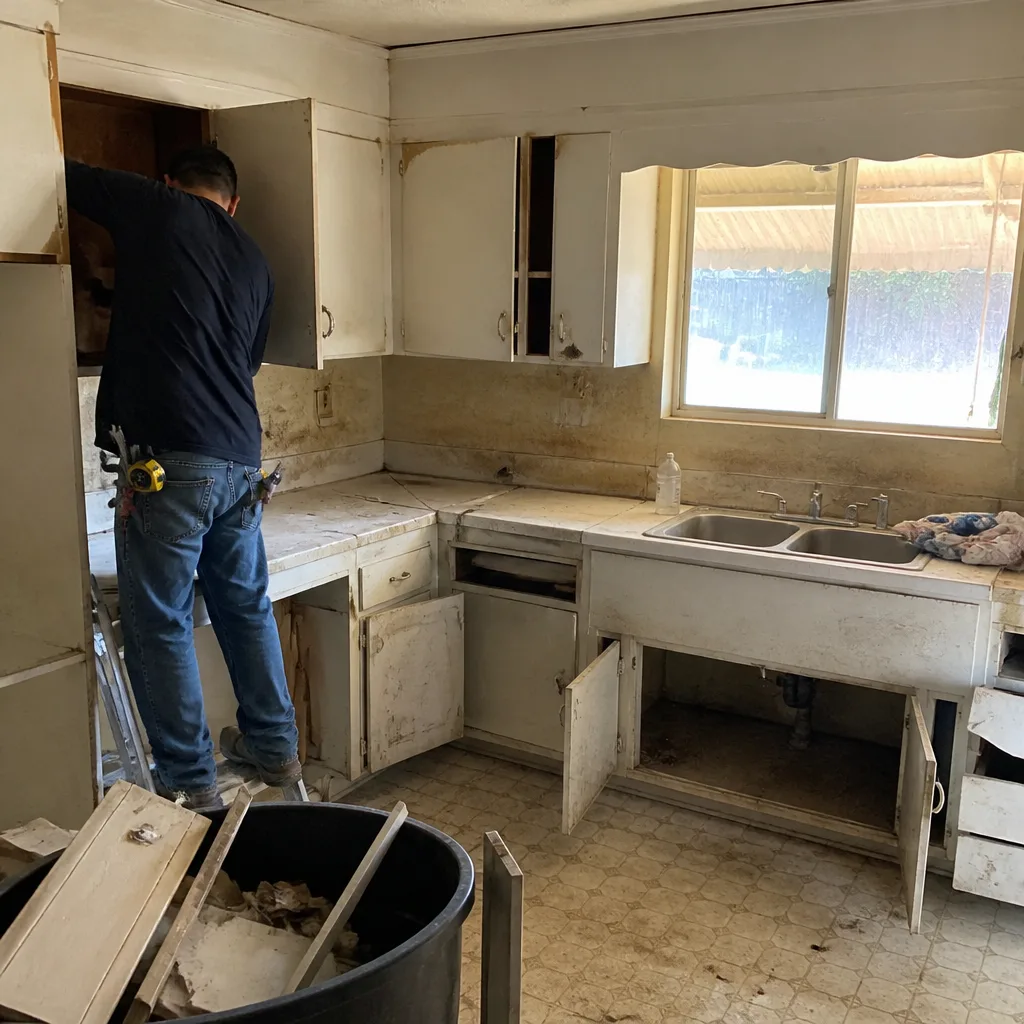 Before
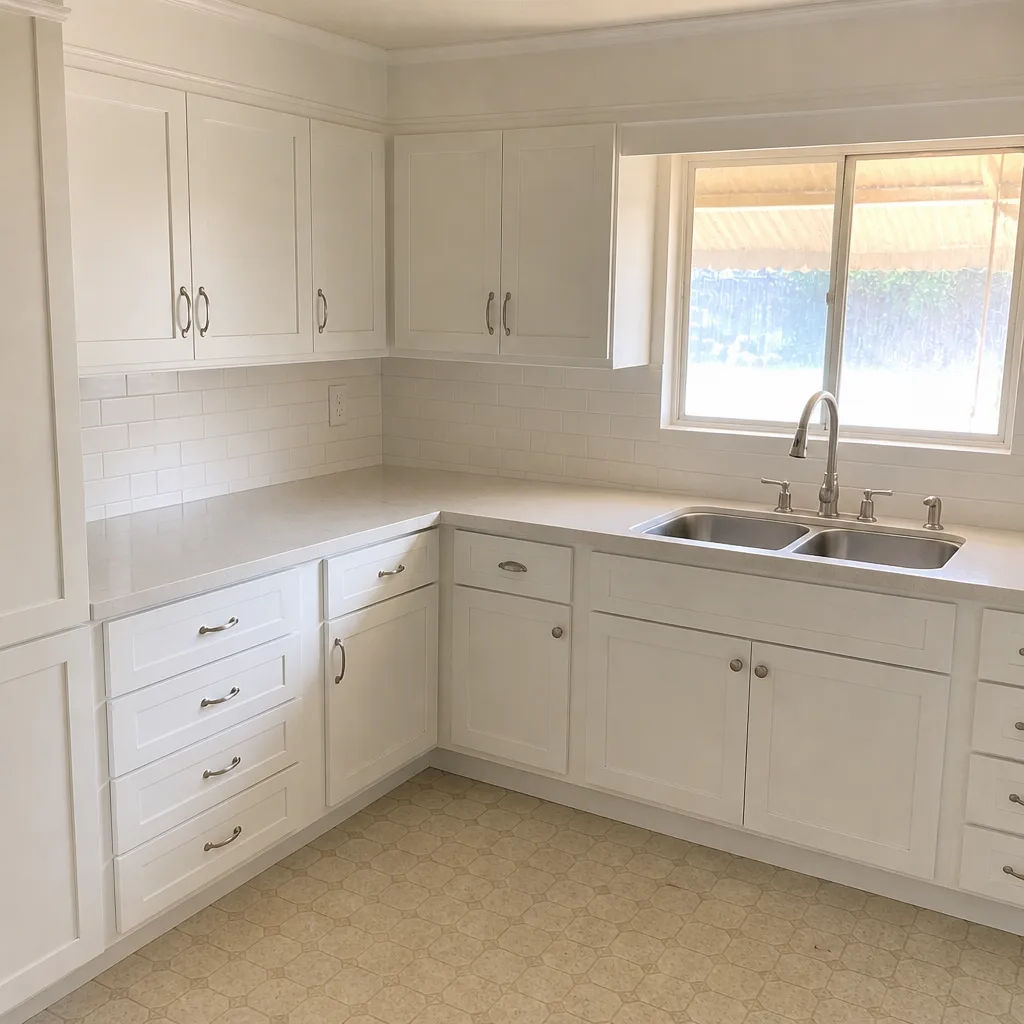 After
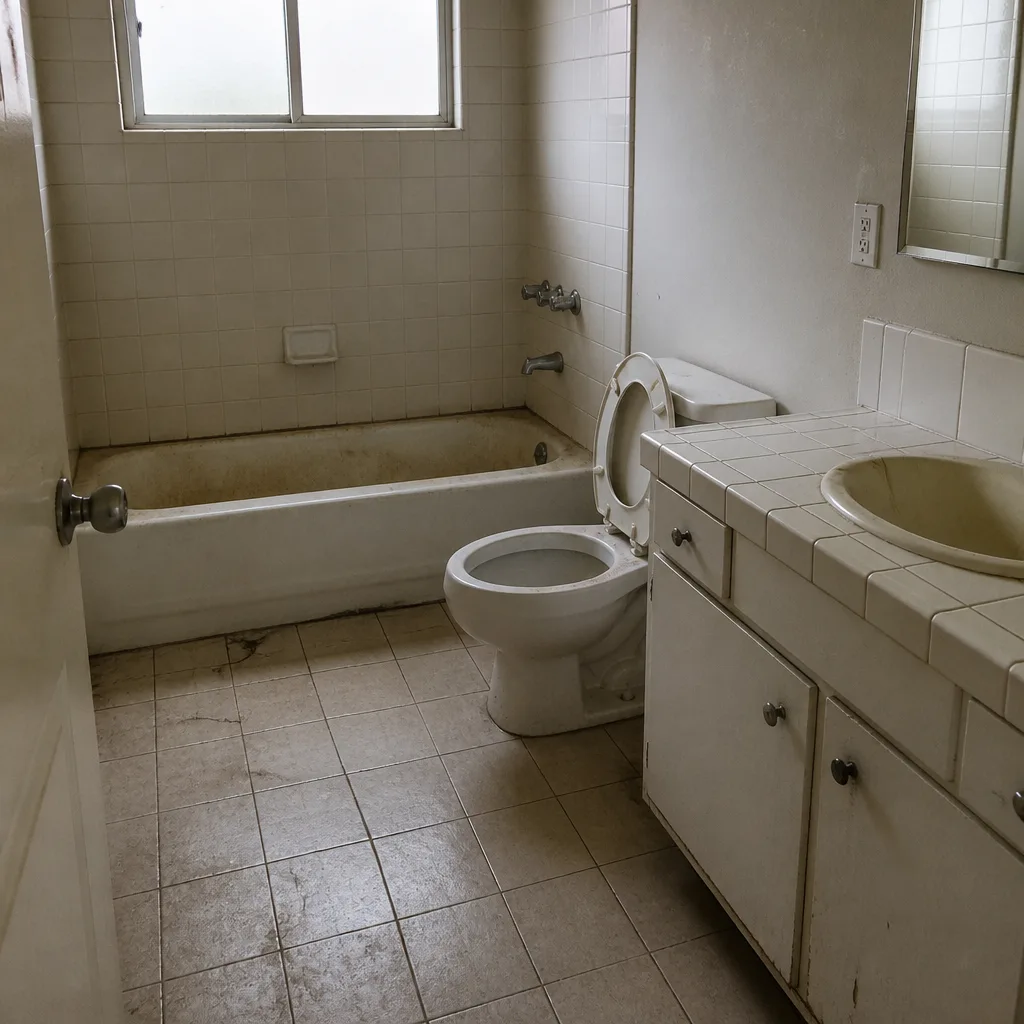 Before
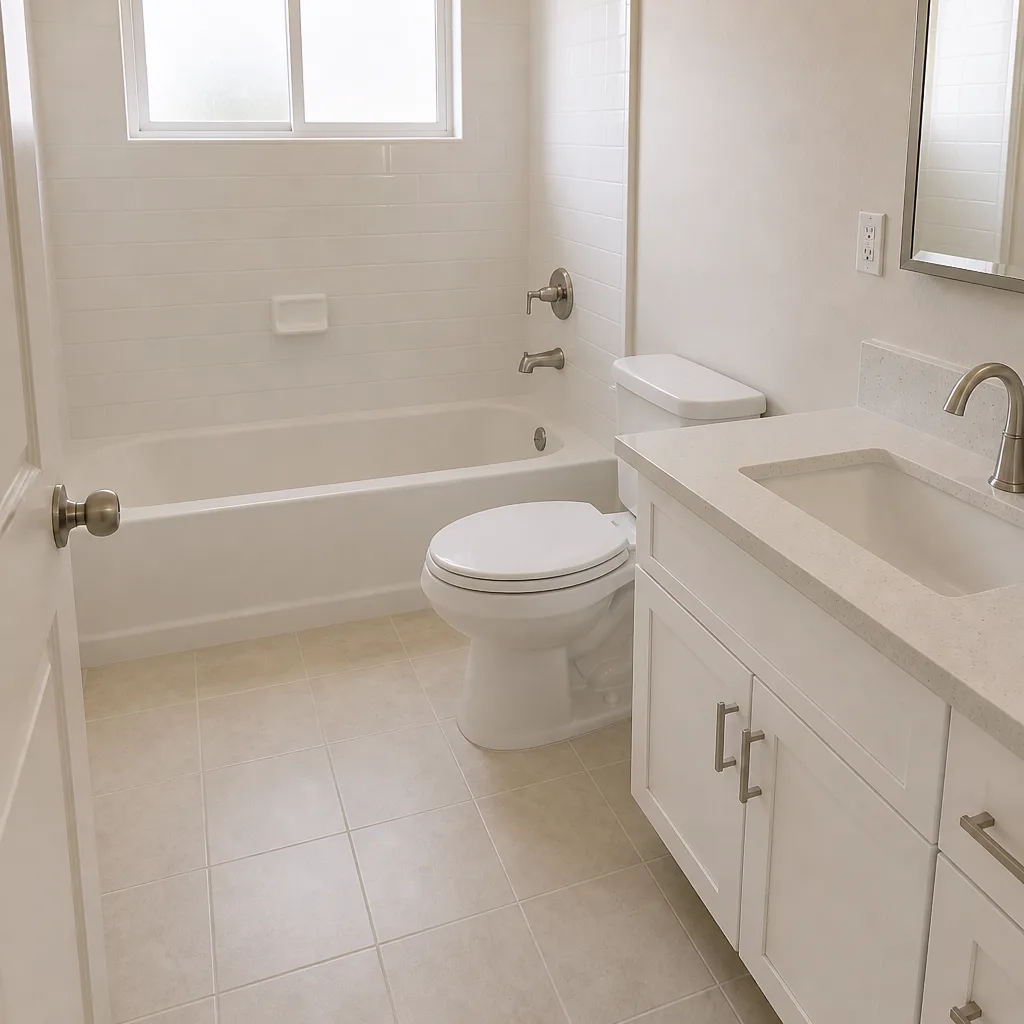 After
When to Call a Professional
Call a professional when water has reached drywall or framing, when a stain returns after an earlier repair, when a door needs the handle lifted to lock, or when you can see the manufacturer’s glass label but can’t tell whether the failure is the unit or the installation. These are the signs that cost the most to leave alone. Some repairs are beyond a homeowner’s scope for good reason – anything involving overhead work, moving a large sash, or getting onto a roof to look at a flashing joint from above should be handled by someone who does it regularly. Our team recommends a trained professional for exterior flashing work at height. Rowan Construction Group Santa Ana offers free estimates in Santa Ana, with a written price and a written scope before any work starts. Call (833) 853-5955 to schedule yours. If you bring a competitor’s written estimate, we’ll review it line by line at no charge – the free second opinion is a standing offer, not a marketing line. Our technicians have up to 19 years of experience, and every visit includes a documented photo record.
Frequently Asked Questions
A flashing reseal or sill pan repair caught early runs $200 – $400. Once water has reached stucco and interior drywall, the same repair typically runs $1,500 – $4,500 or more depending on how much framing is wet. Call (833) 853-5955 for an exact quote – estimates are free.
No. Condensation between the panes means the sealed glass unit (IGU) has failed and needs replacing, not the frame. A glazing swap costs roughly $150 – $400 per unit, well under the $500 – $1,200 or more for a full window replacement. Call (833) 853-5955 for a written quote on the glass swap.
In Santa Ana’s stucco construction, the entry point is almost always the exterior sill-to-stucco joint roughly 18 inches from the stain, not the window frame itself. Water tracks along the framing and drops at the lowest point. Call (833) 853-5955 for a free estimate to trace the actual entry point.
Usually not. Sticking is more often a worn roller, a backed-out hinge screw, paint bridging the sash, or seasonal wood movement from Santa Ana’s heat and humidity. Check the hardware first. If the tracking continues, call (833) 853-5955 for a free second opinion on any written estimate.
Usually not. A handle that must be lifted to engage the deadbolt is a sign the door has sagged at the hinge side, so the bolt no longer lines up with the strike plate. The fix is usually hinge adjustment or a strike plate reset, at roughly $75 – $250. Call (833) 853-5955 for an exact quote.
Fogging inside the glass, multiple units failing the same way, and finish peeling from the bottom up usually point to the product and fall under the manufacturer’s warranty. Water entry traced to improper flashing, a window set out of square, or a sill pan that wasn’t sloped points to the installer. Compressed weatherstripping and cracked sealant are normal wear. The photos and written conditions you gather before calling are what determine which path the claim follows. Call (833) 853-5955 if you want a professional to look before you file. Estimates are free.
The Bottom Line
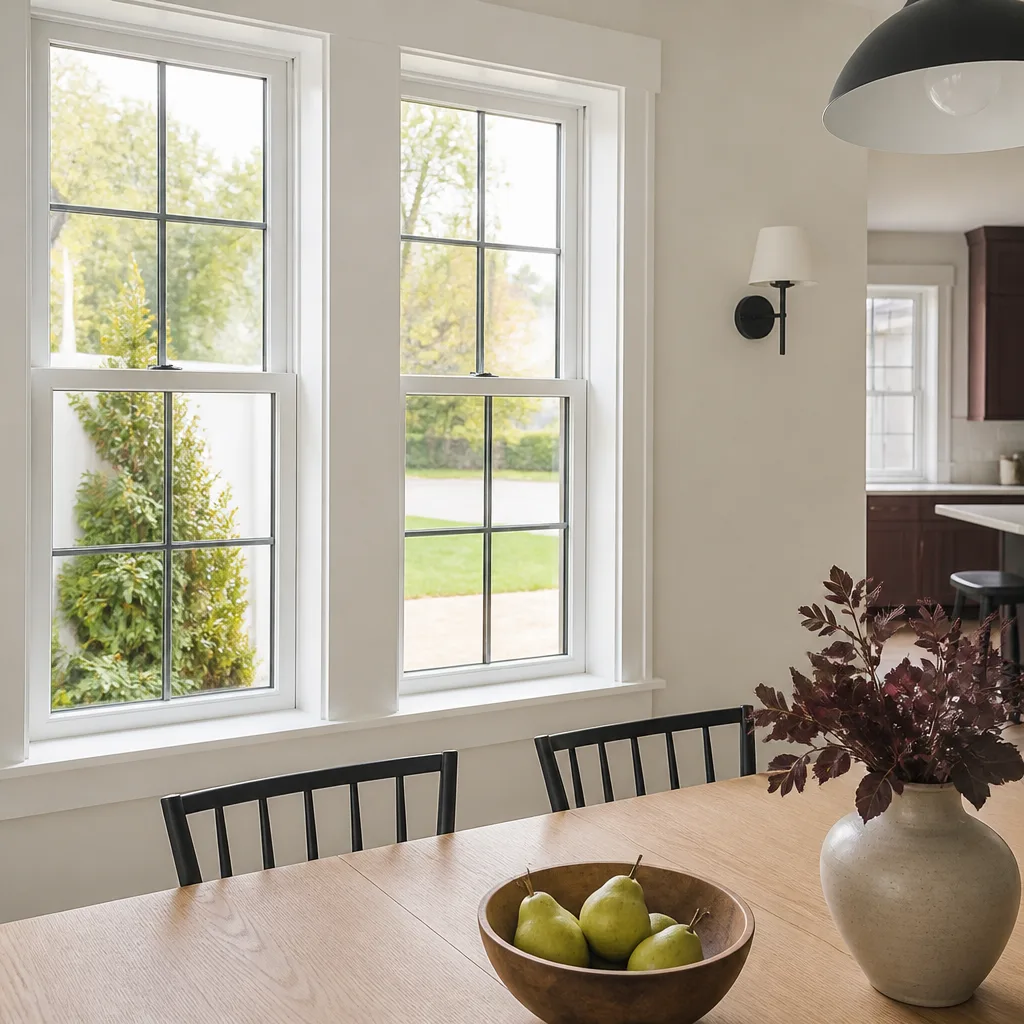
The sign you see is rarely the part that failed. Staining below a Santa Ana window almost always traces to the exterior sill-to-stucco joint, not the frame. Condensation between panes means a glass unit, not a whole window. Sticking operation usually lives in the hardware. Daylight and a lifted door handle point to hinges and strike plates, not a failed door. Catching each one in the first season keeps a $200 – $400 repair from becoming a $1,500 – $4,500 one. Photograph the condition, note the weather and season, and keep your paperwork together before anyone shows up.
When you’re ready to have someone look, call Rowan Construction Group Santa Ana at (833) 853-5955 for a free estimate. We hand you a written price and a written scope before any work begins, document what we found in photos, and back the work with the 365-Day Done Right Promise. Bring a competitor’s written estimate and we’ll review it line by line at no charge. Every crew member is background-checked, and a live person answers the phone around the clock.
Written by the team at Rowan Construction Group Santa Ana.