Last updated November 18, 2026








Free written scope consultation - allowances, timeline, and change-order rules on paper before a single trade is scheduled
Bathroom Remodeling Troubleshooting: Common Problems and How to Fix Them
Grout cracking at tile corners within 12 months of a remodel is not a grout problem. It is the absence of a movement joint, which the Tile Council of North America has specified as required at every change of plane since 1994. It is a spec violation, not a material failure, and it is the single most reliable signal that other steps in your bathroom were skipped too. Most post-completion failures trace back to a specific step that was left out during installation. This guide names those failures, explains the skipped step behind each one, and tells you how to tell whether a fix is a tube of silicone and an afternoon or a licensed trade. The failures homeowners call us about most in Santa Ana are the same five we cover here.
Quick Answer
The five most common post-remodel bathroom failures are cracking grout at corners, leaking shower pans, exhaust fans that don’t clear humidity, slow drains, and cold spots in heated floors. Each has a predictable installation cause: no movement joint, an improperly integrated pan liner or clamping drain, a fan undersized or vented into the attic, a trap blocked by thinset or construction debris, and a heating mat laid over a floor that wasn’t flat. Diagnosing which cause you have is what determines whether the fix is $15 in silicone or a $2,000 re-tile.
Styles & brands we work with
- Kitchen remodeling
- Bathroom remodeling
- Home additions & ADU
- Roofing
- Windows & doors
- Driveway & pavers
- Fence
Table of Contents
- Why Is My Grout Cracking at the Corners?
- How Do I Find Out Where My Shower Leak is Coming From?
- Why Doesn’t My Exhaust Fan Clear the Steam?
- What Causes a Slow Drain in a Newly Remodeled Bathroom?
- Why Are There Cold Spots in My Heated Floor?
- Why Does One Tripped GFCI Knock Out Three Bathrooms?
- What Do I Do About Mold Found Behind Tile or Under Flooring?
- How Do I Document a Defect to Trigger a Warranty Repair?
Why Is My Grout Cracking at the Corners?
Because grout has no flexibility and tile corners do. The two walls in a shower move by fractions of an inch as the framing takes on and gives off moisture and as the house expands and contracts with temperature. That movement is normal, and it has to go somewhere. At a corner, it goes into whatever is filling the joint.
At interior corners, at the curb-to-wall junctions, and where the wall tile meets the floor pan, that joint should be filled with flexible sealant, not grout. The industry term is a movement joint, and it is required at all changes of plane. A crew that grouts right into the corner is saving about four minutes. A few months later, that joint pops. In our experience, a Santa Ana bathroom exposed to hot interior air and a cool tile surface on swap, with the doors shut and no fan running, cycles through hundreds of those temperature swings a year. And a corner grouted instead of sealed cracks fast.
What to look for:
- A uniform hairline crack exactly along the corner line. The sealant was skipped.
- A crack with a jagged, broken edge inside it. Grout was going to fail there regardless.
- Cracks on a flat field of tile, not at a corner. That is a different problem: likely a substrate deflection issue, which is a structural question and worth another look.
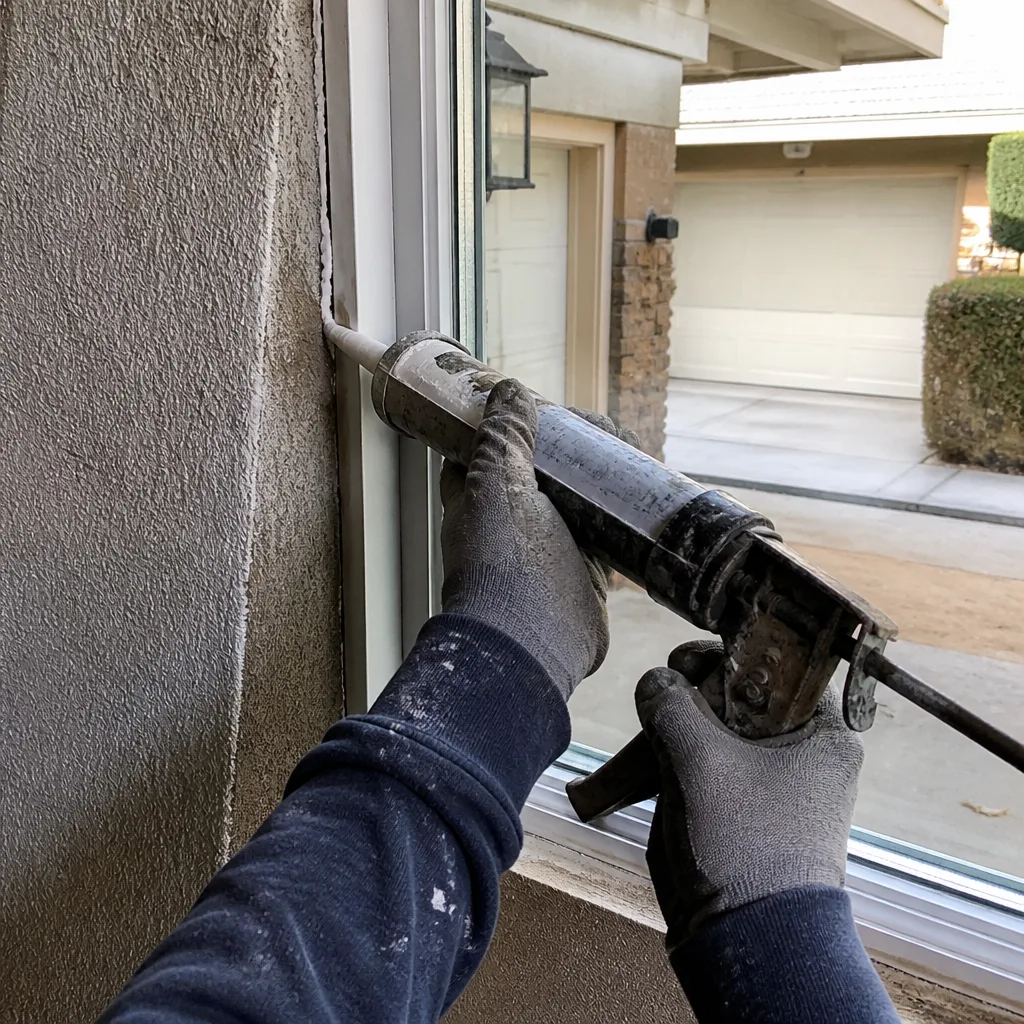
How to fix it: You can cut the old grout from the corner with a grout saw and fill it with a color-matched silicone, and it will last several years. It is not a true movement joint, but it slows the water intrusion while you plan a proper fix. The correct repair is to cut the joint out, install a compressible backer rod, and seal with a flexible joint sealant. Grout cracking is one of several tells we watch for during a full bathroom remodel, because a corner done wrong usually means the rest of the waterproofing needs a closer look. If the crack is paired with softness in the drywall next to it, read on.
How Do I Find Out Where My Shower Leak is Coming From?
Start with the drain, then the pan, then the wall tile. It is the path of elimination, and it saves you from tearing out a wall when the problem is a $2 gasket.
- Dry everything and run a straight water test into the drain only. Block the drain with a test plug below the strainer (or tape the drain, depending on the type). Fill the base of the shower with a couple of inches of water using a hose or bucket aimed at the center, away from the walls. If the ceiling below shows moisture during this test, the problem is the drain connection or the pan.
- Check the drain clamping ring. The most common cause is a leaking shower pan connection where the waterproof membrane meets the drain. That membrane must be gripped between the lower and upper clamping rings, with the weep holes in the ring clear of mortar or thinset. If the weep holes are plugged, water has nowhere to go but deeper into the assembly. Look in the drain from above with a flashlight. Weep holes full of grey material means the crew skipped setting the ring properly.
- Test the walls. If the drain test comes back dry, aim water only at wall tile for a few minutes. Water that appears below during a wall wetting is coming through the grout lines and tile, not the pan. Grout is not waterproof. The waterproofing is the membrane or backer board behind it, so a wall leak means that layer was compromised or never installed.
- Look for the fail that hides in plain sight. A pan liner cut too short to reach the curb, nailed through below the top of the curb, or a pan that was never flood-tested at 24 hours. Any of those is a skipped step.
A slow drip on the ceiling below the shower or a recurring soft spot in the floor near it is the signal that this becomes a licensed trade job. A plumber handles the drain connection and the pan. If the wall waterproofing is the culprit, it is a tile-setter’s job. DIY silicone at the tile corners can buy you a week and only makes sense if the leak is at a corner and the damage is small. A water test should be run before any fix is signed off. You can keep a Santa Ana bathroom from going back to failing by testing before the final tile goes on, which is why we treat flood testing as a scheduled step, not a formality.
Why Doesn’t My Exhaust Fan Clear the Steam?
Because the fan was sized by price, not by cubic feet per minute. A bathroom exhaust fan needs to move roughly one cubic foot per minute per square foot of bathroom, with at least 50 CFM for any bathroom and 75 to 80 CFM for a typical full bath. A builder-grade fan that says nothing useful on the cover, mounted in a 60-square-foot bath, is often a 50 CFM unit at best, and that is before the ducting robs it of half its capacity.
Two other skipped steps cause most of the rest:
- The duct terminates in the attic or dead-ends at the soffit vent. Warm moist air dropped into a cold or even a dry hot attic eventually condenses. In a Santa Ana attic, the daytime heat and the cooler night air can drive condensation against plywood and insulation. That is not just a humidity problem; it is a slow moisture intrusion.
- The duct is long, kinked, or the wrong diameter. A 4-inch duct run 25 feet with two elbows will lose most of its designed airflow. A crew that installs the fan and snugs the flex duct around a corner skips the airflow requirement entirely.
Check the cover first. Most bathroom fans have a CFM rating stamped on the grille or on a label visible from below. If it says 50 and your bathroom is 80 square feet, that is your answer. Then check the run. Measure the angle from the fan to wherever it exhausts, and confirm it goes through the roof or a wall cap, not into the attic.
The fix: A new fan sized to the room, on a short, straight, insulated duct with a proper roof or wall termination, resolves the condensation problem and prevents the paint peel and mold in the corners that follow a steamy room over time. An electrician or a licensed contractor should pull the bathroom’s fan circuit; a straight swap of like-for-like is often a handyman-scope job, but the moment the duct or wiring changes, it’s a permitted job. We have seen a Santa Ana bathroom where the fan was vented straight into the space above a drop ceiling, and the moisture had turned the top plate black. That is not a fan problem. That is a venting problem.
What Causes a Slow Drain in a Newly Remodeled Bathroom?
Construction debris in the trap or the branch line. A newly remodeled bathroom with a slow drain usually has thinset, grout, or a chunk of tile in the P-trap or sitting in the drain body, dropped in during tile work and never fished out before the drain was covered.
The order of diagnosis matters. Work from the drain body down:
- Remove the drain stopper and the strainer. On a pop-up drain, the stopper often is held by a lift rod or a small screw under the stopper. Pull it and look down the shoe with a flashlight.
- Run a hand auger (not a chemical drain cleaner) down the first 12 to 18 inches. If it catches solid material, the problem is close to the surface and you may need a small piece of a masonry bit and pliers to pull it.
- If the auger goes through clean but the drain stays slow, the obstruction is past the trap. A plumber with a camera will find it in a few minutes and tell you whether the obstruction is near the drain or in the branch line that serves the sink.
The material itself tells you the origin: grey thinset smears at the drain collar mean the crew didn’t protect the drain opening during tiling. A quarter-inch chip of porcelain means the same. In our experience, a slow drain in a Santa Ana bathroom that was remodeled with a tile pan almost always shows up within the first week of use, not months later, which is exactly when it’s cheapest to fix.
The fix: Pull the debris mechanically, then run a camera to confirm the line is clear. Don’t pour chemical drain cleaner down first. In a new drain with a workmanship warranty, a chemical burn can void the finish and sometimes the warranty itself if the product manufacturer specifies approved cleaners. Document what was found with a photo before any attempt to clear it, and keep the sample if it’s solid.
Why Are There Cold Spots in My Heated Floor?
Because the electric heating mat is laid over a floor that wasn’t flat, or a cable was nicked or pinched and the continuity was never checked after tile. An electric radiant heating mat is a series of thin cables. Where the mat is bent too sharply, crossed over itself, or laid over a hump it can’t conform to, that stretch of cable develops a fatigue point or a break.
Diagnosis and fix:
- Check the thermostat first. A floor sensor reading that is flat or wildly off from the set point points to the sensor, not the mat. Most thermostat manufacturers show a sensor resistance table in the manual; a reading near the table’s expected value means the sensor is fine.
- Check the power and the GFCI. Hairline cracks in the tile near the cold spot suggest a thermal expansion issue around a pinched cable.
- A continuity and resistance test at the thermostat leads tells you whether the mat circuit is open. An open circuit means a cable break, and the break is usually where the mat crosses a crack or a joint. Cracks in tile directly over a cold spot are the tell.
The honest answer for a cold spot over a damaged cable is that the tile and thinset above it have to come out to repair the cable. There is no shortcut that does not involve removing a tile field. A floor-covering crew can sometimes cut a relief joint at a grout line and take up the tile around a single cold zone without disturbing the rest, but on a large field that’s often more destructive than it sounds. The skipped step is the one that happened during installation: flatten the substrate, avoid crossing the cable, check the resistance before the tile goes down, and record the readings. We keep the pre-tile mat readings in the photo record on every bathroom project for exactly this reason. The next thing we hear about it is usually a homeowner asking why one tile in a Santa Ana bathroom is colder than the rest.
Why Does One Tripped GFCI Knock Out Three Bathrooms?
Because the same ground-fault circuit interrupter protects outlets in more than one bathroom in many homes, and the downstream outlets are wired through the load terminals of that first device. A single GFCI receptacle can feed the downstream receptacles in a bathroom, the hall, and sometimes a second bathroom, and the whole string goes dead when the device sees a fault.
The wiring configuration that causes it: the hot wire from the panel lands on the GFCI’s LINE terminal, and the outgoing hot to the downstream outlets connects to the LOAD terminal. The neutral acts the same way. Every outlet past the LOAD terminals is protected by that one device and will die when it trips. This is legal in older construction and common in homes built through the 1990s. What is not acceptable is that a fault on any downstream receptacle is invisible at that outlet; the homeowner walks to a bedroom and finds dead outlets in a hallway, and eventually discovers the tripped GFCI behind a towel in the guest bath.
How to describe it accurately to an electrician:
- “The GFCI at the guest bath is on the LINE, and the hall and primary bath receptacles are downstream on LOAD.”
- “It trips when the hair dryer on the downstream outlet in the primary bath is turned on.”
- “Reset at the guest bath makes all three circuits live again, so the fault is likely on the downstream load, not the GFCI itself.”
An electrician will separate the bathrooms onto individual GFCI protection so a fault in one is isolated. It is a permitted electrical change in California and worth doing, because the current setup gives you no way to know which bath has the actual fault. On the outlet in a bathroom, the fixture must be GFCI-protected at the device or the breaker, and the NEC required bathroom receptacles to have GFCI protection for decades. A crew that installs a vanity outlet without protection hasn’t just skipped a step, they’ve created a shock hazard near water. We won’t sign off a bathroom until every wet-area receptacle tests with a plug-in GFCI tester, and the test is documented.
What Do I Do About Mold Found Behind Tile or Under Flooring?
Stop the source first, then test the extent, then decide who is allowed to touch it. In California, a licensed contractor is required for mold remediation when the affected area exceeds 10 square feet, and that threshold is the line most homeowners cross without realizing it.
The legal boundary:
- Under 10 square feet of surface area in a single contiguous patch, a homeowner may clean it themselves. The area is measured as the surface square footage of affected material, which can be less than you’d guess once the drywall behind a shower pan is opened.
- Over 10 square feet means a contractor licensed for mold remediation, and it generally comes with containment, negative air pressure, and personal protection for the crew.
- Any mold in the HVAC system or in a wall cavity serving multiple rooms should be tested by a professional whether or not the visible patch is small.
Testing whether remediation worked: a post-remediation verification by an independent assessor or a moisture reading plus a visual inspection done by a third party. Don’t accept a verbal “it’s clean.” A post-clearing Air-O-Cell or spore trap sample, done after the containment is removed, is what gives you a real answer. The typical indicator that remediation wasn’t successful is not a visual find, it’s a moisture reading that is still above 10 percent in the wood framing, or a musty smell that returns within a few weeks.
This is where the timeline matters. If the mold is behind new tile, the re-tile and the mold remediation have to happen in the right order. The remediation crew sets the containment and removes the affected substrate; the tile-setter re-installs after clearance. That’s a documented sequence, not a negotiation. We’ve written about foundations and framing on our Rowan Construction Group Santa Ana home page, because mold discovered behind tile is often a waterproofing failure and not a surface condition. In Santa Ana, we see this most in second-floor bathrooms where a shower pan has been leaking slowly for a season before the ceiling below shows a stain.
How Do I Document a Defect to Trigger a Warranty Repair?
Put it in writing, with a date, a photo, and a precise description, and send it to the contractor before the warranty window closes. A standard workmanship warranty is typically one year from substantial completion, though some trades and some states stretch that. The written scope and the written warranty terms are what your claim rests on, so find them first.
What a standard workmanship warranty covers, typically:
- Installation failures: a cracked corner from a missing movement joint, a leaking pan, an improperly vented fan.
- Fixes to the installation method that the written scope specified, if the crew deviated from it.
What it excludes, typically:
- Damage from misuse or a water line that broke after the work, or a fixture the homeowner installed themselves.
- Normal wear and material failure over time, such as ten years of grout erosion.
- Work the homeowner or a different contractor touched after completion.
Document it like this:
- Photograph the defect next to a tape measure, from two angles, with daylight and a plain background.
- Write one or two sentences that describe the condition, not your feelings about it: “The grout joint at the north wall of the shower and the pan curb is cracked full depth and the crack extends 8 inches.”
- Include the date the work was completed and the date you found the issue.
- Send it by email, not a phone call, so the claim is timestamped. Ask for a written reply and a scheduled inspection.
- Keep the written scope and warranty documents with the photos, and keep a copy of the contractor’s reply.
If a contractor asks for a Free Second Opinion on a written estimate before signing, that’s reading the existing quote line by line before work starts, and It’s good practice on a warranty claim too. Under Clause 1 of the Haven Standard, the price is written before anyone starts, and the 365-Day Done Right Promise is the guarantee that a warranty claim is handled with a documented record. When a defect is turned into a written record, the contractor has a clear obligation and you have a paper trail. Call (833) 853-5955 for a free estimate – estimates are free.
Common Mistakes to Avoid
- Grouting the corners because the gap is small. At a corner the joint must flex. Grout in a change of plane will fail, and the water behind it is what turns a hairline crack into a soft wall.
- Trusting the fan label over the room size. A 50 CFM unit in a 100-square-foot Santa Ana bathroom is undersized by design. Check the duct run first, then the CFM rating.
- Pouring chemical cleaner into a new drain. It can damage a fresh finish and it hides the real cause. Pull the debris first, and photograph what you find.
- Letting a shower leak wait until the ceiling below stains. A slow pan leak will find the floor framing in a Santa Ana house fast, and the repair goes from a drain gasket to a drywall and flooring job.
- Skipping the pre-tile heating mat resistance reading. Once the tile is set, the only way to find a cable break is to pull up tile. Check the reading before the tile goes down, and keep it.
- Testing a GFCI with the reset button and stopping there. Tripping it once doesn’t prove the downstream outlets are protected. Use a plug-in tester, and note what dies when it trips.
- Paying in full before the final walkthrough. The last payment is the leverage you have to get the punch list and the photo record completed. Hold it until it is.
See the difference
 Before
 After
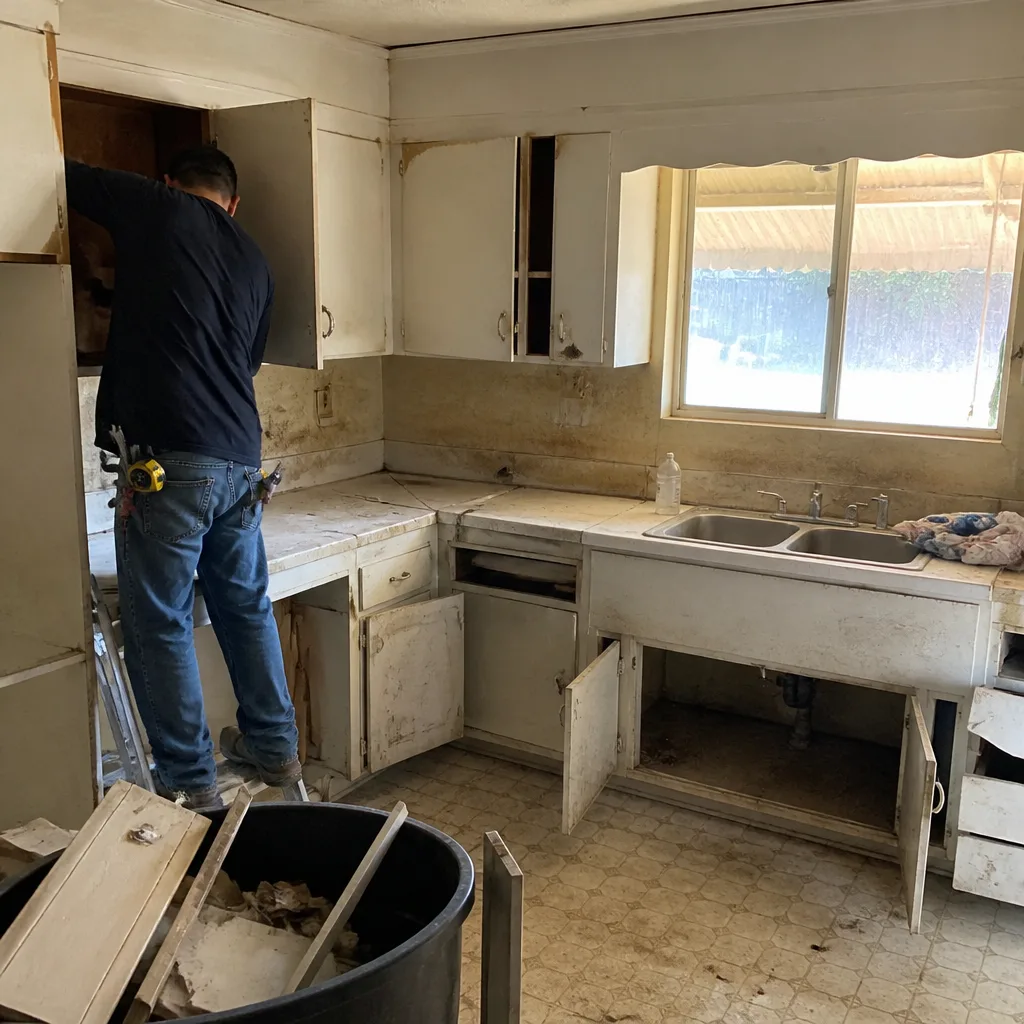 Before
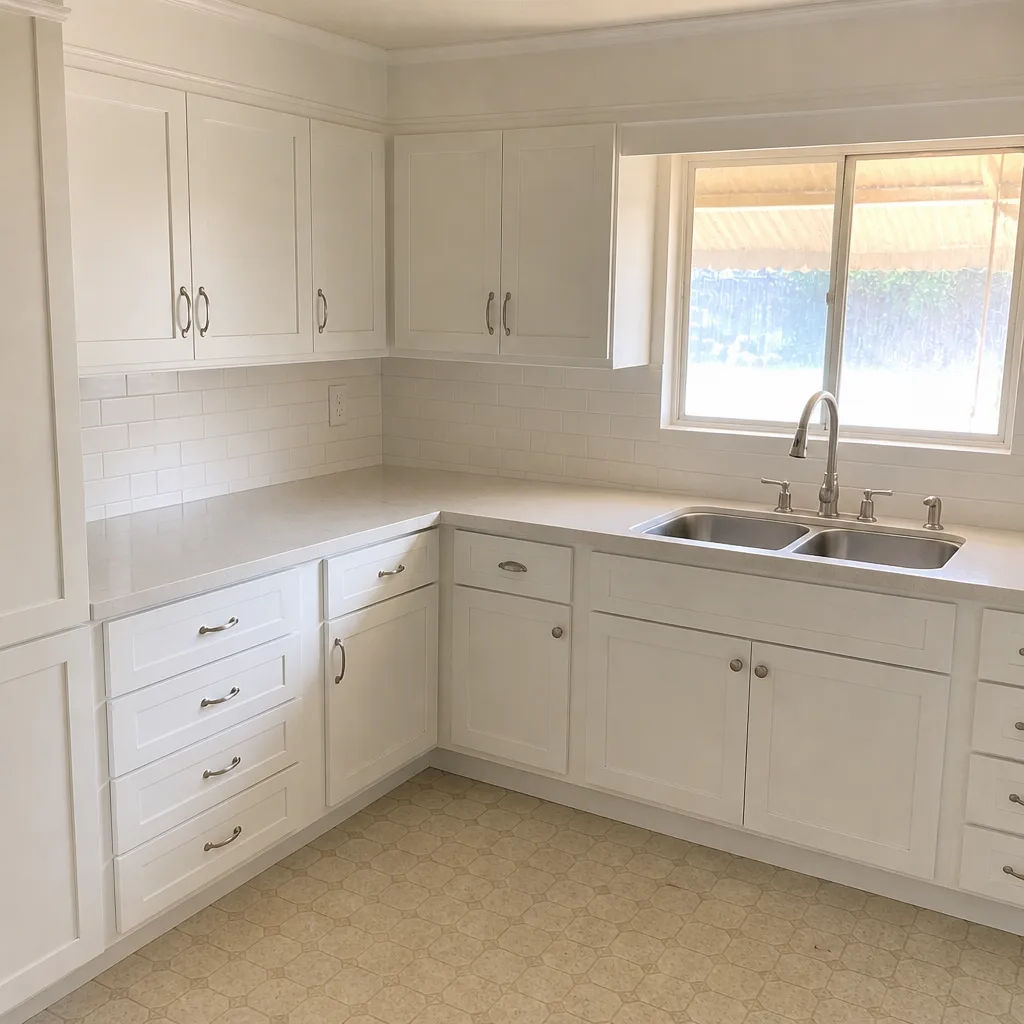 After
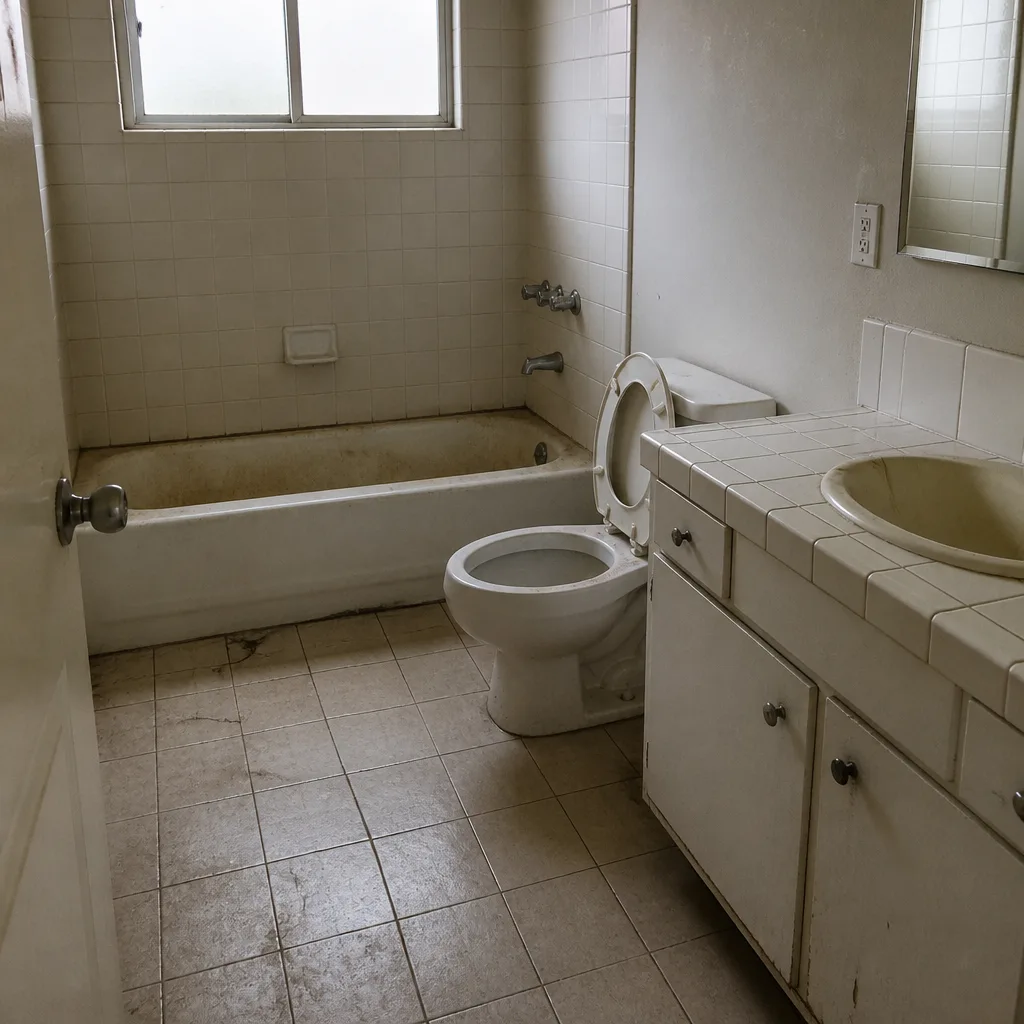 Before
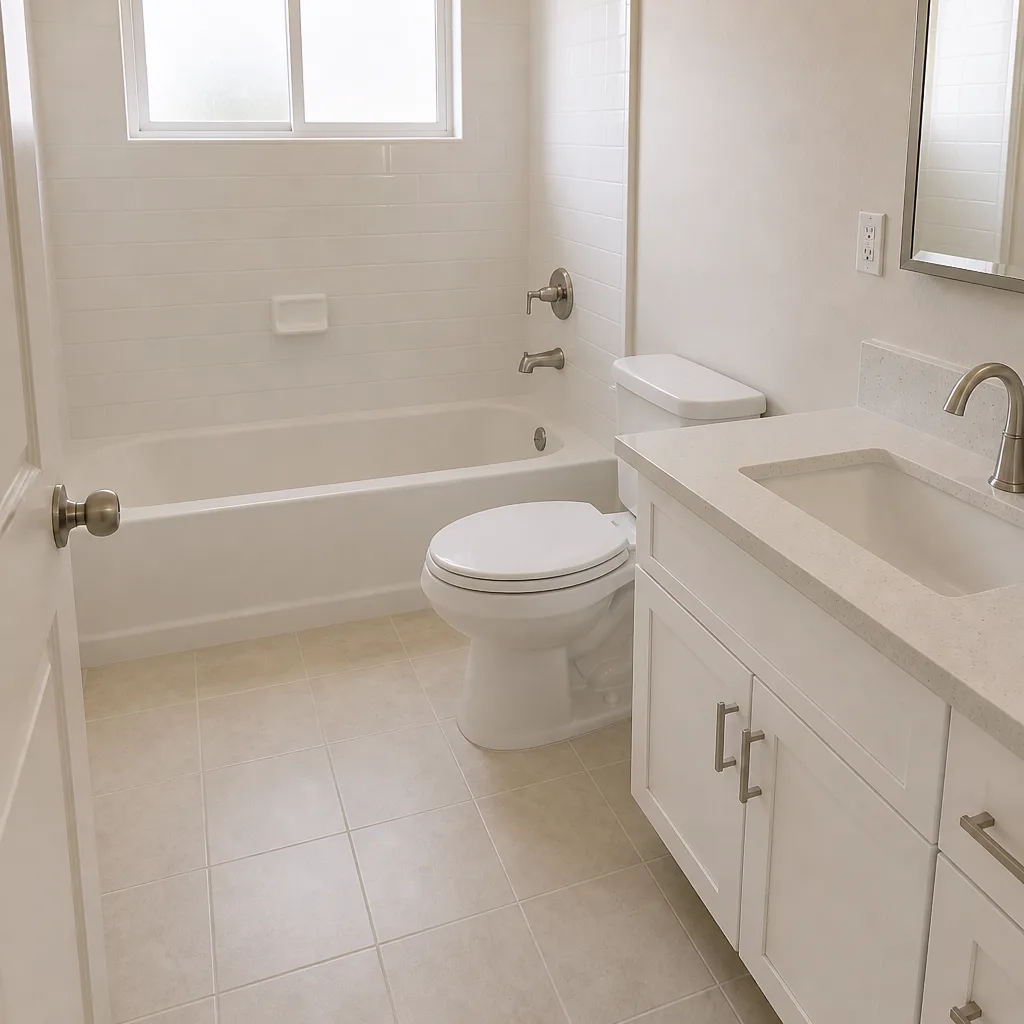 After
When to Call a Professional
Call when the shower is leaking past the drain or the pan, when the waterproofing behind the tile is in question, when a heating cable is open, or when mold exceeds the California 10-square-foot threshold. Call when a GFCI keeps tripping after the reset and you can’t isolate which downstream device is causing it, and when the exhaust duct needs to be rerouted through the roof. An experienced crew with the right tools has all of this on the schedule before the backer board is closed. Rowan Construction Group Santa Ana offers free estimates in Santa Ana. Call (833) 853-5955. We’ll write the scope and the price before any tool is picked up, and we’ll leave a documented photo record on the visit. If you’re planning the larger project, our Santa Ana bathroom remodeling page covers the full process from demo to final walkthrough, and the guide to kitchen remodeling in Santa Ana is useful if the same crew is touching the kitchen. A remodel that goes wrong most often goes wrong in the same handful of installation steps. Knowing how to spot them is the whole point.
Frequently Asked Questions
Most installation failures show up within the first 12 months if they’re going to show up, which is why a one-year workmanship warranty covers the critical window. A properly installed bathroom should have its grout joints and sealant last years longer, and the tile set shouldn’t fail at all. A leak that appears in month three is a construction defect, not wear.
It’s both, and the order of diagnosis matters. The pan liner, the clamping drain, and the weep holes are the plumbing side. The waterproof membrane and the wall backer board are the tile side. Start the wet test at the drain, then test the walls. A plumber handles the drain connection, the tile-setter handles the waterproofing.
Waterproofing repairs and shower pan replacement generally require a permit when the work involves the pan, the drain connection, or relocating fixtures. A cosmetic grout repair does not. Call your local building department or ask the contractor to write the permit scope into the quote, and make sure the permit and inspection are in the written scope.
Go into the attic and follow the duct. If it ends in the insulation or on a floor joist instead of terminating at a roof or wall cap, it’s venting into the attic. That is a defect worth fixing, because the moisture has to go somewhere. Call (833) 853-5955 for a free estimate on the fix – estimates are free.
For a thermostat or sensor issue, the repair is usually a few hundred dollars. For an open cable under tile, expect to pay for removing and replacing the tile field above the damaged mat, which runs into the thousands because it is a demo and re-tile job, not an electrical repair. The pre-tile resistance reading is the step that prevents the expensive version.
You can clean mold yourself when the affected surface area is under 10 contiguous square feet. Above that, California requires a licensed mold remediation contractor. Test after remediation with a moisture reading and, for any significant area, a post-clearing sample done by an independent assessor. Don’t sign off on a verbal all-clear.
The Bottom Line
Nearly every post-remodel bathroom failure traces to one skipped step: no movement joint at a corner, no flood test on the pan, a fan that was never sized to the room, a drain left open during tile work, a heating mat laid over an uneven floor, a GFCI tied to too many downstream outlets. The fix is often small when it’s caught early and large when it’s left. The five failures in this guide are the ones we see most in Santa Ana, and each one has a specific cause and a documented cure. Know what to look for, keep the written scope and the written warranty, and put a defect in writing before the warranty window closes. The bathroom you paid for should be the bathroom you get.
Written by the team at Rowan Construction Group Santa Ana.