Last updated November 18, 2026


Free written scope consultation - allowances, timeline, and change-order rules on paper before a single trade is scheduled
Driveway & Pavers Maintenance Checklist for Santa Ana Homeowners
Efflorescence, the white mineral crust that blooms on pavers after rain, is cosmetic in most of the country. In Santa Ana it’s often the first readable signal that water is wicking upward through a base that was never compacted properly. That single difference drives everything in this guide. Santa Ana’s alkaline soil, its rare but violent December-to-February rain events, and summers that push past 95°F put pavers and concrete through a cycle that a generic four-season maintenance template will miss. What follows is a month-by-month task list keyed to Santa Ana’s actual weather calendar, plus the measurements that separate a $40 Saturday fix from a base-failure re-lay.
Styles & brands we work with
- Kitchen remodeling
- Bathroom remodeling
- Home additions & ADU
- Roofing
- Windows & doors
- Driveway & pavers
- Fence
Quick Answer
Driveway pavers in Santa Ana need three things on a fixed schedule: joint sand topped up before the December rainy window, drainage pitch checked with a line level every fall, and efflorescence treated as a diagnostic rather than a cleaning problem. Concrete driveways need crack monitoring by width, with anything over 1/8 inch sealed and anything over 1/4 inch inspected for base failure. The work is genuinely DIY-doable except for re-laying a failed section, which is a compaction and sub-base job.
Table of Contents
- Why Santa Ana Soil Changes the Maintenance Math
- The Twelve-Month Santa Ana Paver & Concrete Calendar
- Joint Sand and Polymeric Sand Rated for Alkaline Conditions
- Crack Width: When to Seal and When to Re-Lay
- Testing Driveway Drainage Pitch Before the Rainy Window
- Reading Efflorescence Correctly
- Documentation That Protects Resale Value and Insurance Claims
Why Santa Ana Soil Changes the Maintenance Math
Santa Ana soil pH typically runs 7.5 to 8.5. That alkalinity comes from the same limestone and caliche-bearing ground that makes foundation work interesting across Orange County, and it interacts with pavers in ways that matter. Alkaline water dissolves calcium compounds in the base and joint sand, carries them upward through capillary action during wetting and drying cycles, and deposits them on the surface as the white crust called efflorescence. On the paver face it’s ugly. Under the joint sand it’s a slow erosion channel.
The practical consequence is that joint sand in Santa Ana doesn’t just wash out from rain. It degrades chemically and migrates upward, which means the joints lose their friction lock faster than they would in a neutral-soil climate. We’ve seen joints in older Santa Ana neighborhoods, particularly around Floral Park and Washington Square where mature trees also drive root heave, go from clean to noticeably depleted in about 18 months without a top-up.
What this means for you
- Inspect joint sand twice a year here, not once. Full-depth (about 1/8 inch below the chamfer) is your target line.
- Treat efflorescence as a moisture report, not a stain. Cleaning it without checking the base underneath just delays the diagnosis.
- Expect the north-facing and shaded sections of a Santa Ana driveway to hold moisture longest and show efflorescence first.
For the full picture of how a properly built driveway goes together in the first place, the Driveway & Pavers in Santa Ana page walks through base depth, compaction and edge restraint, the three things that determine how much maintenance you’ll do later.
The Twelve-Month Santa Ana Paver & Concrete Calendar
Most maintenance checklists are written for a place with four seasons. Santa Ana has a dry season (roughly April through November), a short intense wet season (December through February), and a heat spike in late summer and early fall. Here’s the calendar built around that. Print it.
- January (mid-rain): Walk the driveway after each significant storm. Note puddling locations and photograph them. Check that water flows to the street or a drain, not toward the garage or foundation.
- February (end of rainy window): Re-sand any joints that have washed out over winter. This is the highest-priority sanding of the year in Santa Ana.
- March: First full efflorescence inspection of the year. Treat as diagnostic (see the efflorescence section below).
- April: Check drainage pitch with a line level before the dry season sets the driveway. Fix low spots now so summer heat cures them flat rather than water finding them in December.
- May: Inspect edge restraints and transition strips at the garage apron and street. Loose edges let pavers spread.
- June: Seal if you’re going to seal. Sealer applied in Santa Ana’s early summer cures evenly without the overnight moisture of the wet season. Plan on a full dry day and a 48-hour cure window.
- July – August: Peak heat. Concrete slabs expand slightly and existing hairline cracks can open. Measure and log any crack that appears or widens (see the crack width section).
- September: Weeds in joints peak after summer. Pull them or kill the root; don’t just cut the top.
- October: Pre-wet-season full inspection: joint sand, drainage, cracks, edge restraints. This is the checklist that gets you through December.
- November: Top up joint sand to full depth as insurance before the rains.
- December: Rainy window begins. Post-storm walks and photo documentation. Clear any drains or swales before the next storm.
Joint Sand and Polymeric Sand Rated for Alkaline Conditions
Here’s the gap in most homeowner maintenance advice: polymeric sand isn’t a single product, and not all of it is rated for high-pH conditions. A standard polymeric sand that works in the Midwest can soften and lose its bond faster in Santa Ana’s alkaline environment, especially where the driveway sees a lot of irrigation overspray or runoff from planting beds.
Two products we’ve seen perform in alkaline conditions are Techniseal and Alliance Gator. Techniseal’s polymeric formulations come with alkaline-specific ratings on the technical data sheet, and Alliance Gator makes a line designed for high-pH and hard-water areas. Ask for the technical data sheet for any product you’re buying, not the marketing page. It states the pH range the product is rated for. If it doesn’t state one, that’s your answer.
The top-up process
- Clean the joints with a stiff broom or a small pressure washer on low (keep the pressure off the paver face).
- Wait for the joints to be bone dry, 24-48 hours in Santa Ana’s dry season.
- Pour and sweep the sand into the joints until they’re filled to about 1/8 inch below the paver surface.
- Mist, don’t flood. Polymeric sand activates with a light wetting; a hose on flood setting washes it out.
- Stay off the driveway for the cure time on the label, which varies by product, typically 24 hours.
Polymeric sand isn’t the only choice. Plain kiln-dried sand is cheaper and still works, but in Santa Ana’s environment it needs topping up more often because it washes and migrates faster. Polymeric sand is the higher-effort set and long-term lower-effort top-up, which is why most homeowners here end up on it.
Crack Width: When to Seal and When to Re-Lay
Not every crack is a problem, and the ones that are a problem don’t announce themselves. The measurement is what tells you which you’re looking at. Get a set of crack feeler gauges (about $15 at any hardware store) or use a set of drill bits as makeshift gauges, and log the width of every crack you find.
- Under 1/8 inch (under about 3mm): This is normal concrete hairline cracking and paver joint settlement. Seal with a quality concrete crack sealant. It’s a maintenance task.
- 1/8 to 1/4 inch (3-6mm): Seal it, but inspect the full length. If the crack is the same width the whole way, it’s likely a control joint or a thermal crack, which is fine once sealed. If it varies in width, that’s a structural signal. Watch it for one season.
- Over 1/4 inch (over about 6mm): Stop sealing. A crack that wide is telling you the base under it has moved, which means water is getting into the sub-base. Sealant over it just hides the problem while it gets worse. This needs a re-lay or sub-base inspection, not a caulk.
- Any crack with height displacement (one side higher than the other): This is always a base issue, regardless of width. The paver or slab is settling differentially, and sealant is not the answer.
In our experience, the Santa Ana cracks that fail fastest are the ones near the driveway apron where it meets the street, where the sub-base is thinnest and where the city street slope and driveway slope compete. Those cracks deserve a closer look than the same width crack in the middle of the drive.
Testing Driveway Drainage Pitch Before the Rainy Window
A driveway that drains properly is the single biggest determinant of how much maintenance you’ll do. You can test yours for roughly $4 with a line level and a length of string, and you should do it every fall before Santa Ana’s rainy window opens in December.
The test
- Tie a length of string taut between two stakes, one at the highest point of the driveway (usually at the garage apron) and one at the lowest (the street or a drain).
- Hang a line level on the string and level it. At the high end, measure the gap between the string and the driveway surface. That gap is the total fall over the length of the run.
- Divide the fall by the length of the run in inches. A standard driveway pitch is about 2% to 4%, so 1 inch of fall over 25 inches of run.
- Walk the driveway and check for local low spots where water would pool: the line level won’t catch these if the overall pitch is fine. Pour a bucket of water at the top on a dry day and watch where it goes.
Reading the result
If the pitch is under 1% (less than about 1 inch of fall per 8 feet), water sits on the driveway during Santa Ana’s winter storms. That’s when you see the pattern: puddles that don’t clear within a few hours after rain, efflorescence blooming in a patch rather than scattered, and joint sand washing out specifically where the water pooled. That combination means drainage correction is the repair priority ahead of sanding or sealing, because sanding a driveway that pools just refills the joints to wash out again in the next storm.
If the pitch is fine but you have a local low spot, a paver re-lay to rebuild the grade at that spot is often the answer. If the whole driveway is flat, it’s a larger drainage job, and it’s worth getting a written scope and price before committing to anything.
Reading Efflorescence Correctly
The first efflorescence of the season tells you where moisture is moving. What separates a cosmetic case from a structural warning is where it sits and whether it recurs in the same spot.
- Cosmetic (scattered, seasonal, clears with a dry brush or light wash): This is normal for Santa Ana pavers and doesn’t need to be treated with an acid cleaner unless it’s heavy and persistent.
- Diagnostic (concentrated in a patch, recur
See the difference
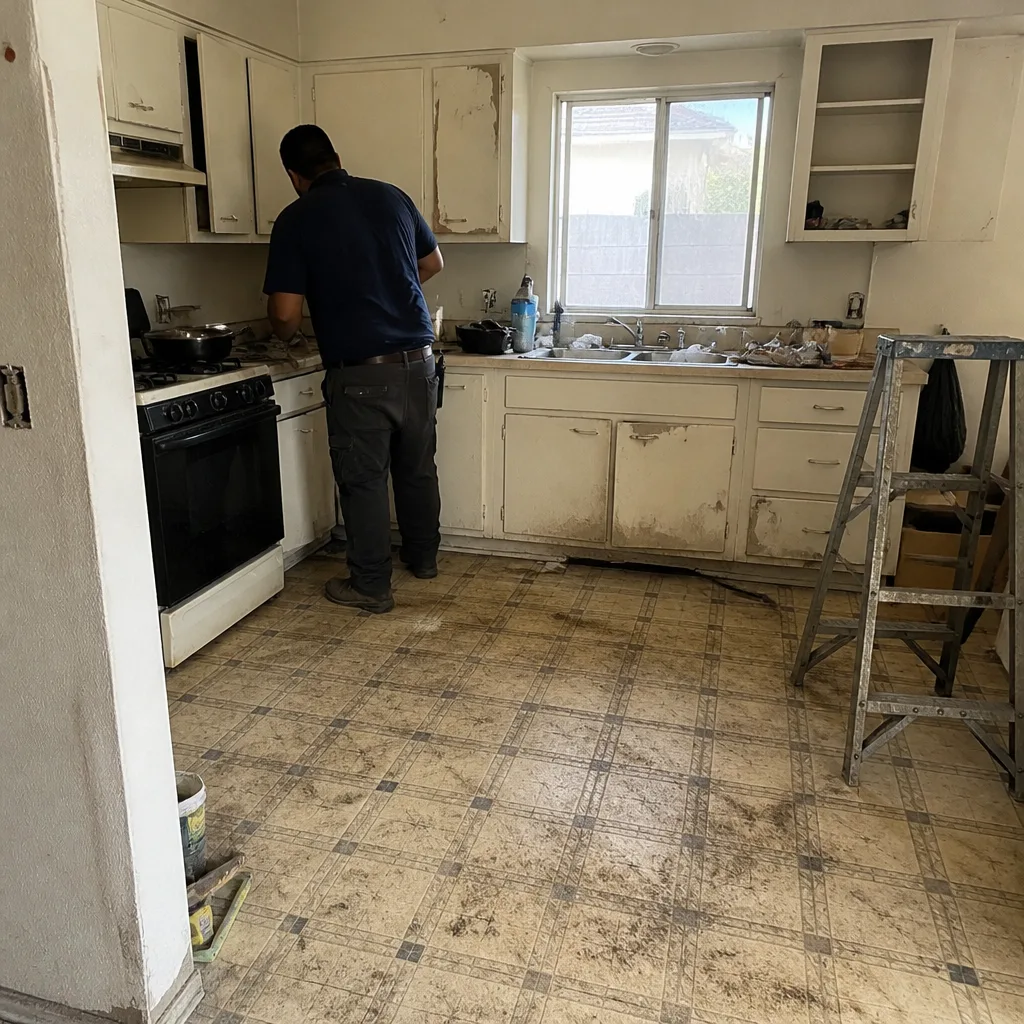 Before
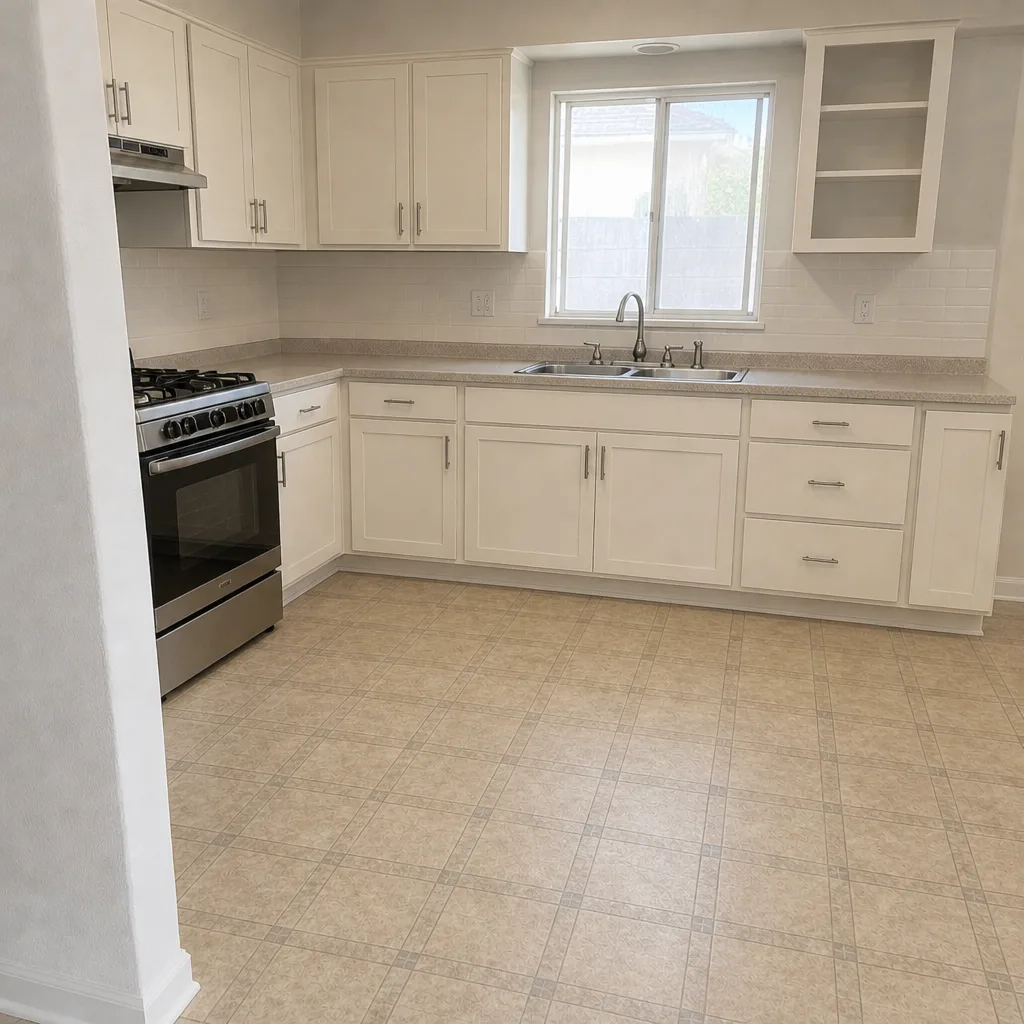 After
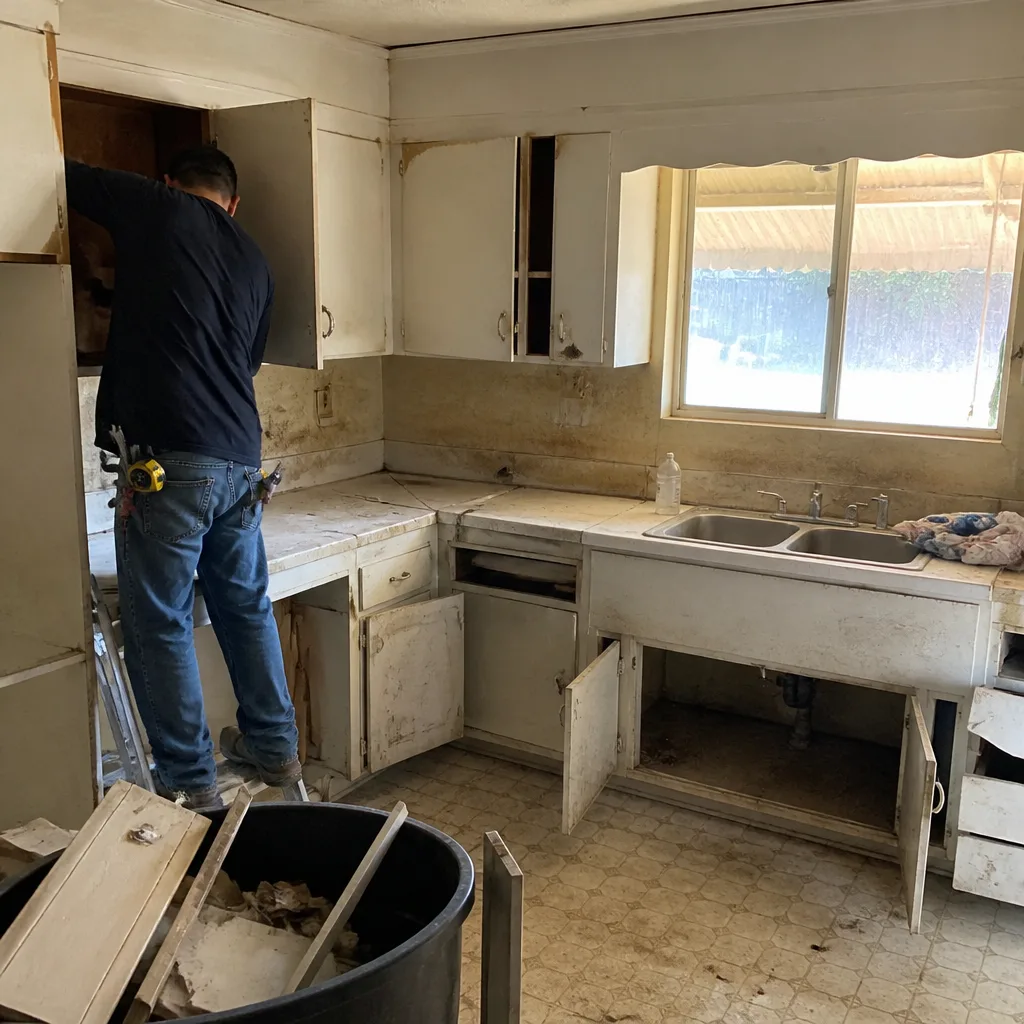 Before
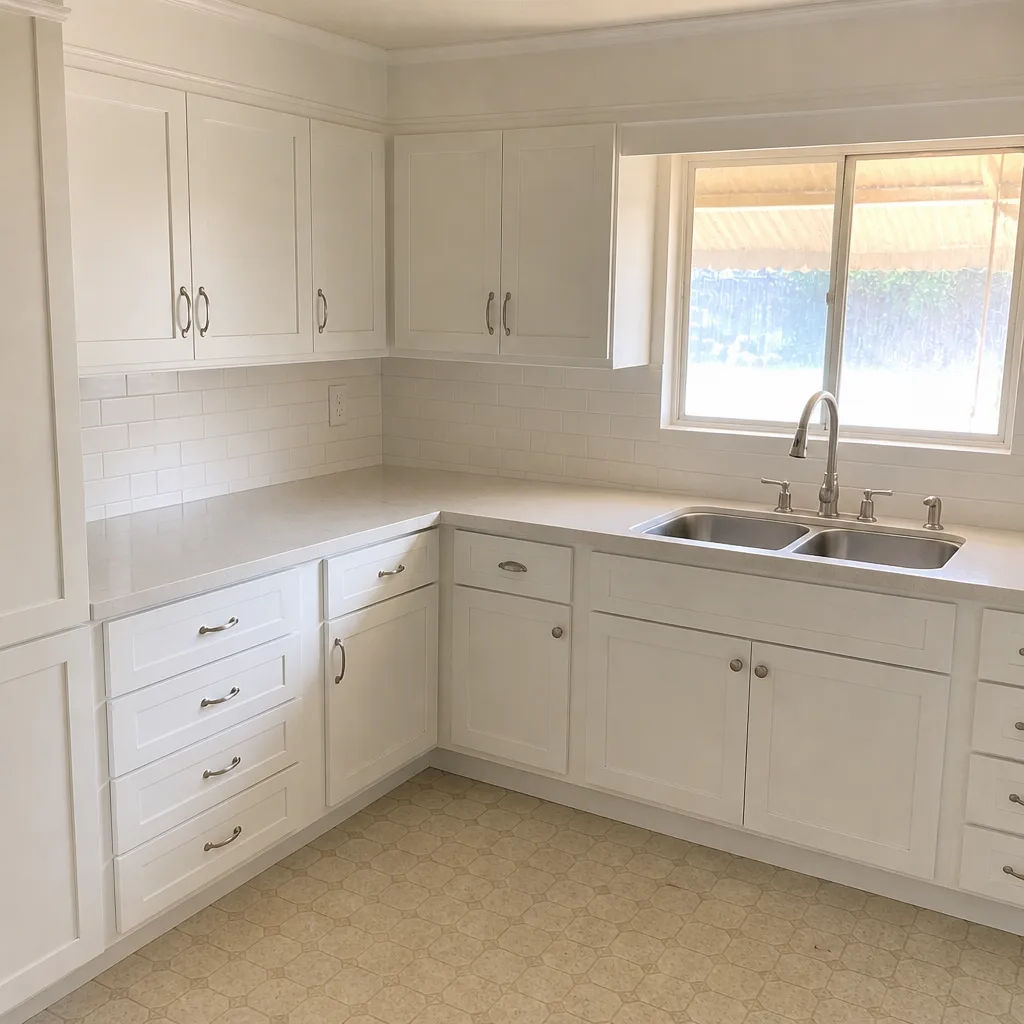 After
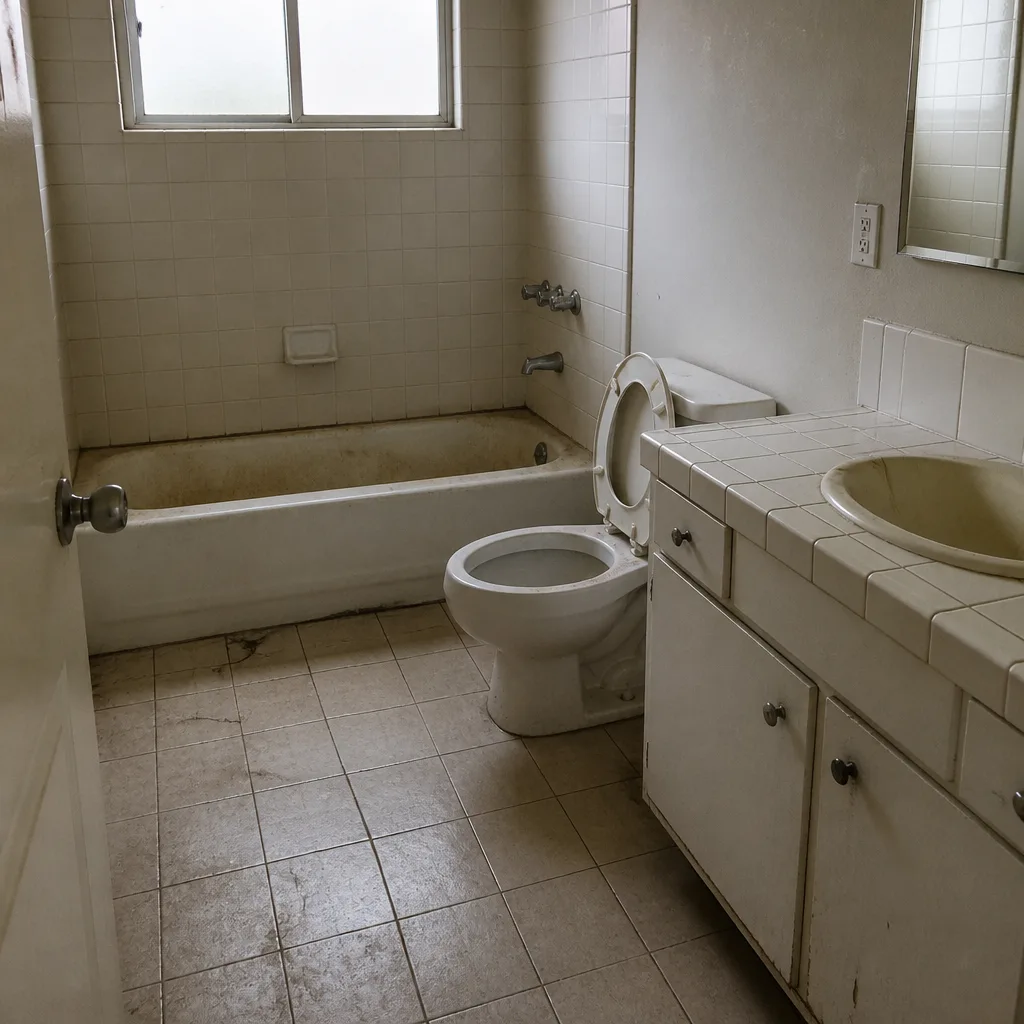 Before
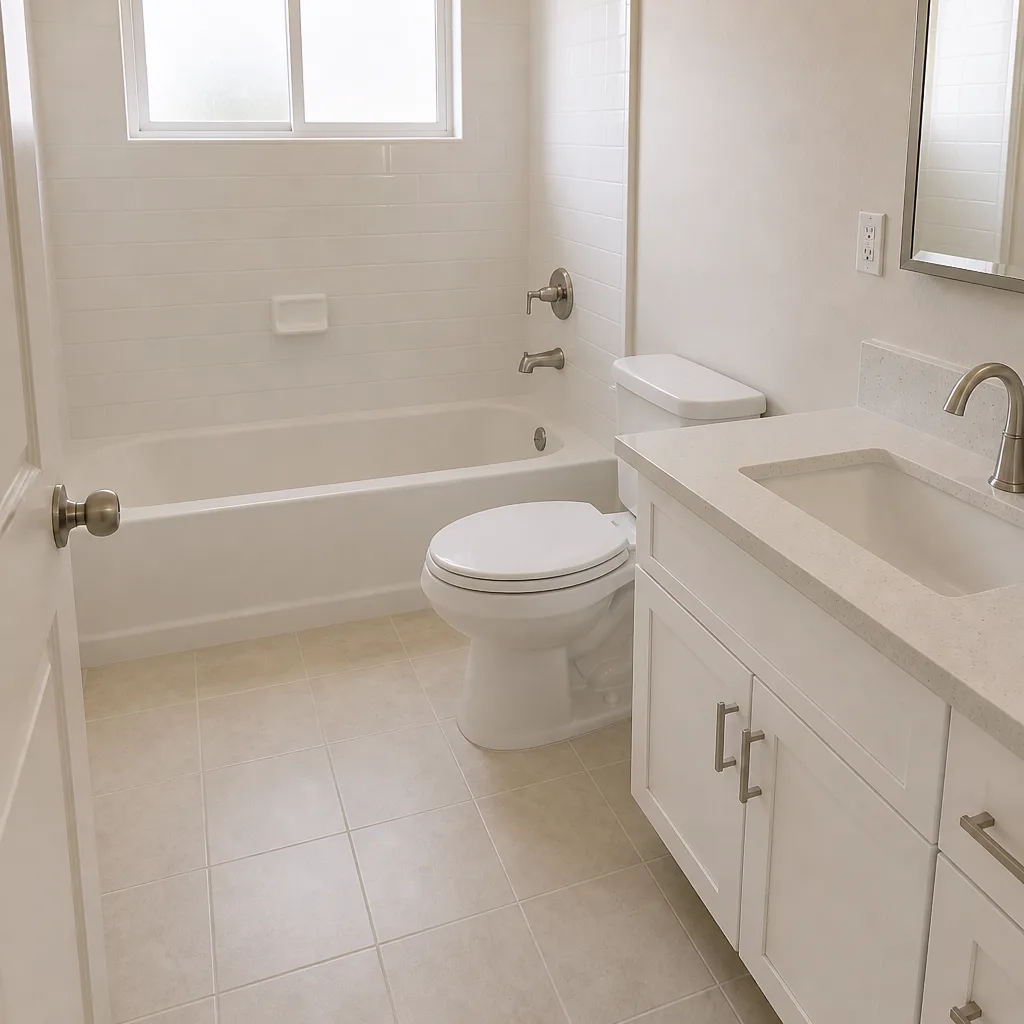 After